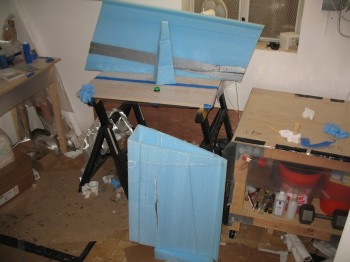
I sanded down a bunch of the Spar Cap (aka “Shear Web”), with a fair amount being in the middle wing area specifically. It appears that during the shear web layup that some of the redundant plies at the outer Butt Line marker–where the number of UNI plies went from 4 down to 2–were a little bit more redundant than they should have been. I’m not sure why I wasn’t able to catch these 3 errant bumps when I was peel plying the shear web, but they were certainly apparent the next day. I sanded them down with my sanding board, and got the Spar Cap base back to a fairly level surface. While I was in prep mode, I also found 3 small areas with air pockets… so I drilled holes & injected them with epoxy.

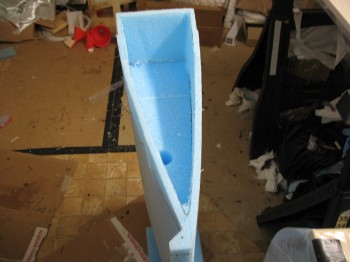
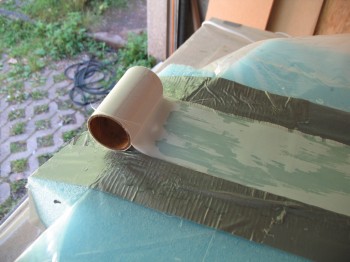
As per, “the plan” that I developed when I talked to Randi from the Cozy Girrrls, I made some epoxy runoff downspouts and tacked them into position at each end of where the spar cap’s 3″ UNI tape would be laid up into the wing.
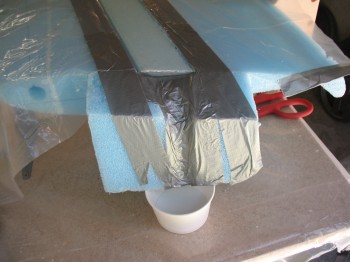
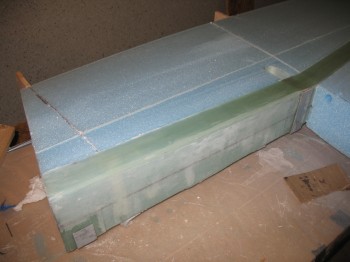
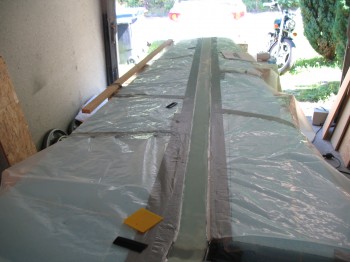
I then micro’d the channels & the foam running down each side of the spar cap, the entire length of the wing. I laid up the spar cap with 3″ UNI tape as per plans, with the extra plies required as per CP 25 since my 3″ UNI was a bit on the thin side. Again, thank God Gina was there manning the epoxy station… because this layup took quite a bit.
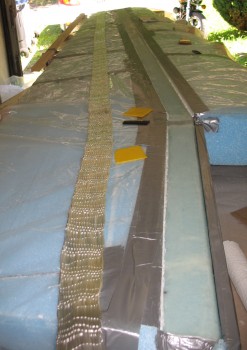
After all the 3″ UNI tape plies were laid up (after about 5 hours worth of glassing!), I peel plied the spar cap using 3″ peel ply off a roll.
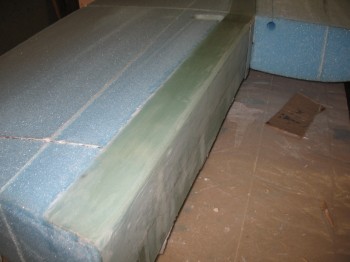
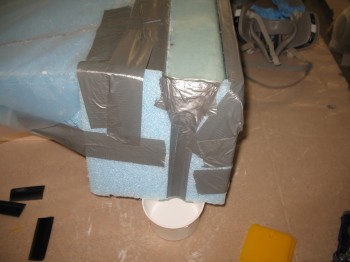
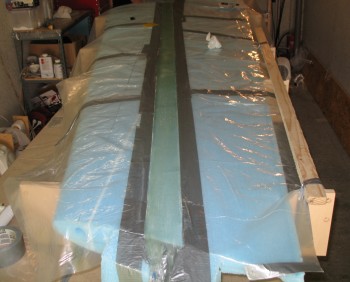
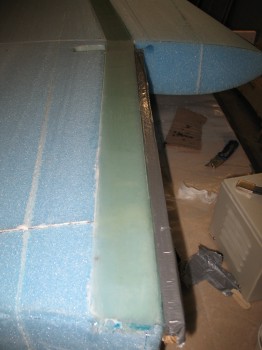
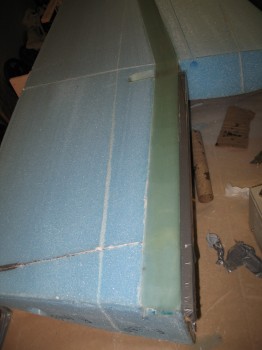
I then cut each end of the spar cap & removed the runoff spouts. I cleaned up the exposed Inboard shear web while Gina carefully removed the plastic.
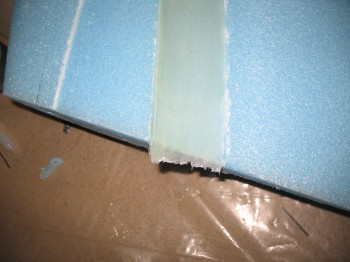
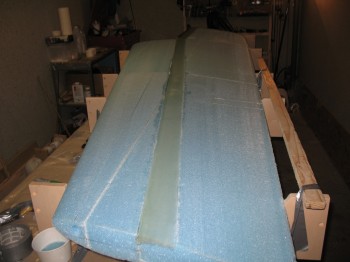
Later that evening I sanded down the top of the spar cap & also leveled it out at the foam junction. Now, the 3″ UNI tape used in the spar cap is made from S-glass, the same glass used in the landing gear bow. For all practical purposes, the next thing up the evolutionary chain as far as fiberglass cloth goes, is from E-glass (UNI & BID) to S-glass (Landing gears & 3″ UNI tape spar caps) and then Carbon Fiber. But my point in bringing this up is that S-glass is a lot harder to sand, and infinitely itchier than E-glass. Yuck!
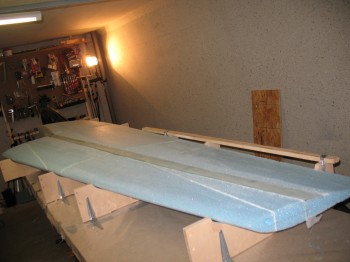
After the ‘bad’ sanding period was over with, I proceeded to clean up all the micro joints to remove ALL dead micro, and any micro that decide it was above all else (e.g. Wing surface!).
After a couple hours manning the Dremel, I removed the dam bondo’d to the Inboard side of the wing & sanded down the entire Inboard area.