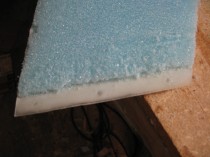
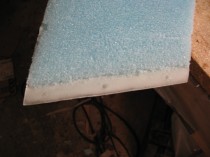
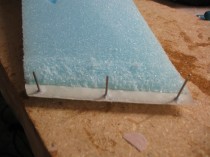
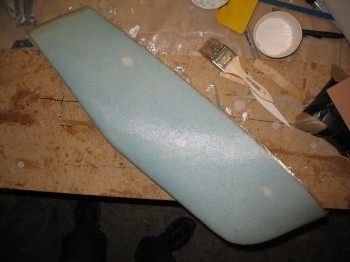
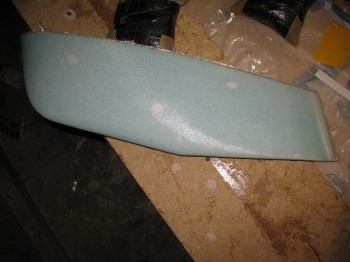
I started off today by sanding the lower winglets’ leading, bottom & trailing edges. I sanded the TE trough and filled it with dry micro.
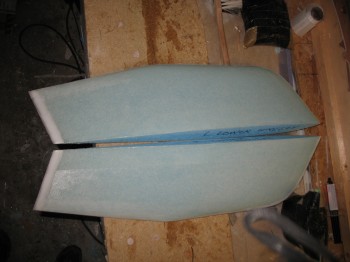
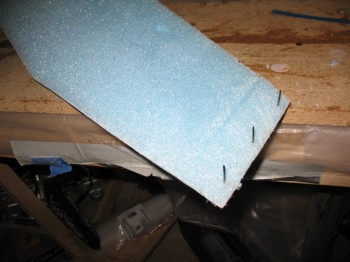
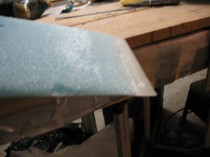
I cut off the lower winglets’ fish tail & removed the peel ply & nails, and then sanded to shape.


I transferred the cut UNI from my cutting table in my downstairs workshop to the garage.
I sanded the LE, bottom edge & TE for a smooth transition when I glassed the second side of the winglets.
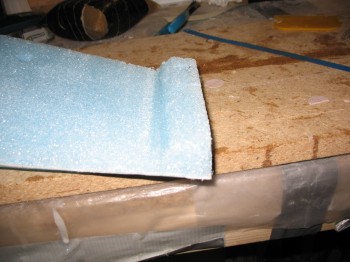
 I scrounged around & found 4 scrap pieces of wood as spacers & mounted them to the workbench with bondo.
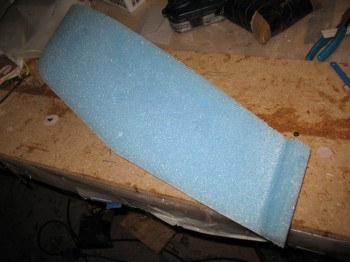
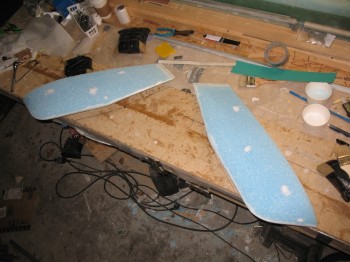
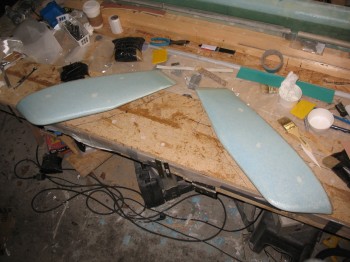
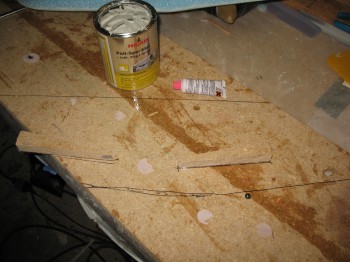 I then bondo’d the 2 winglets down to the workbench, using the scrap wedges to prop up the narrower bottom edges of the winglets so I had good solid platform at the appropriate angle to glass each winglet. It also gave me clearance to wrap the glass from Side B for a 2 inch overlap onto the LE & bottom edges of the Side A glass.
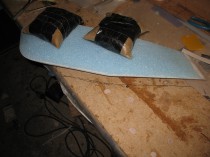
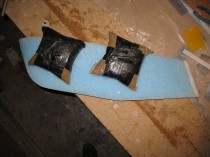
I then weighed the winglets down while they cured.
 I used dry micro to fill in the plugs that were extricated from the foam when it was 5-min glued down to secure when I had glassed Side A.
I used micropaste with a little flox mixed in for my usual LE foam prep/fill. Then microslurried the “field” on the winglets & glassed the 2-ply UNI layups (again, sequentially & one at a time). Since I didn’t want to waste glass, on the Left lower winglet I started by laying up 2-pieces of UNI butted up against each other for the first layer, then covered that with the second ply which covered the entire winglet. I then left the winglets to cure.
When I first started working on the winglets by filling in the TE troughs with micro, I used the leftover micro to add 2 small foam pieces to the front of the Right rear armrest console to extend it just a little bit to meet the plans’ dimensions. For some reason I had cut it too short, so I needed to fix that before I glass the outside surface of the armrest.
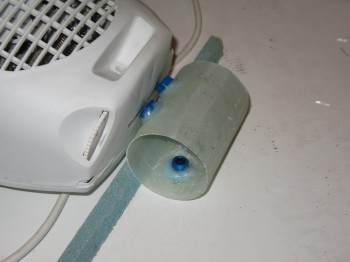
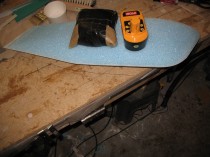
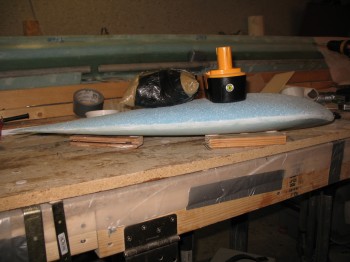
 Also, I used the remaining amount of epoxy from the winglet layups to mix up a batch of flox to install the the final 2 each AN912 bushings into my fuel vent manifold body. After I floxed them in, I set the manifold body in front of the heater to cure (the heater it’s leaning against is obviously not the heater being used).