
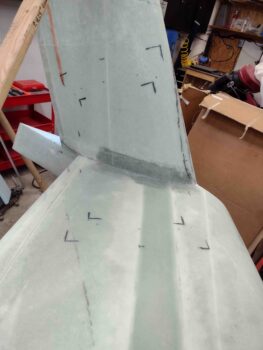
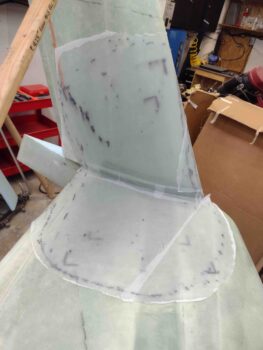
Today I started out by cleaning out the Bondo and hot glue from the junction of the left winglet to the left wing.
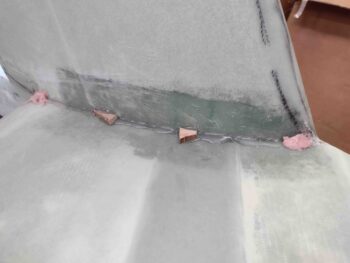
I started by removing the Bondo…
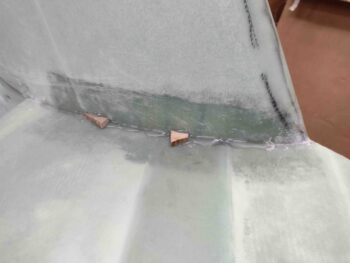
and then the hot glue and the wood blocks.
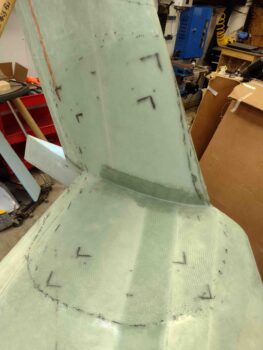
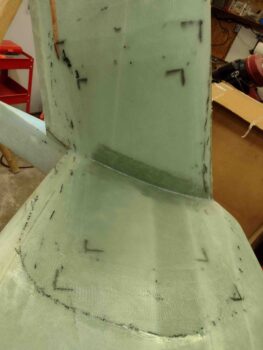
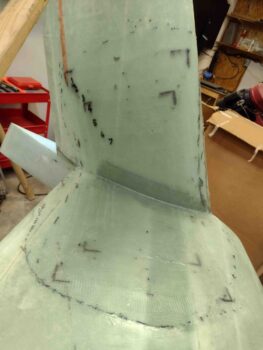
I then sanded, cleaned up, and prepped the junction and all the areas that will receive glass for Layup #4.
I then used my paper template to figure out how the UNI plies would be situated, followed by my plastic sheet template to determine the size and shape of the 2 BID plies.
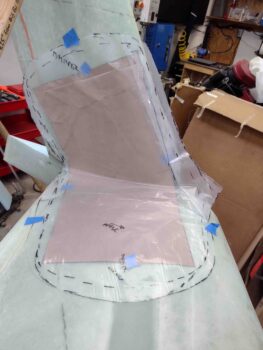
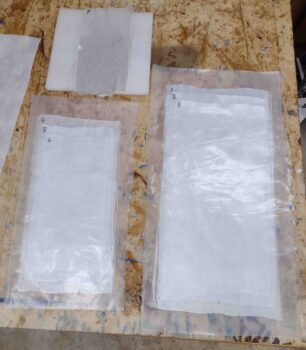
Here are the markups for the two sets of prepregged UNI plies: 1-3 and 4-6.
Here we have the Layup #4 UNI plies prepregged in prep for glassing. Note that the UNI is in 2 prepreg sets: Plies 1-3 and Plies 4-6. Ply 7 will be added without prepreg.
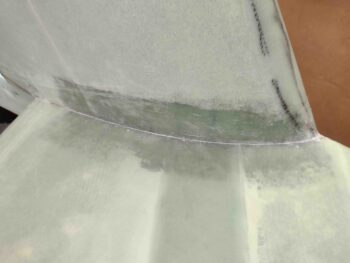
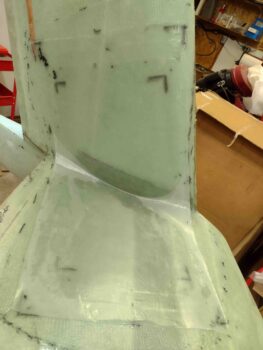
In prep for the BID layups I added a small flox fillet at the junction of the left winglet to the left wing.
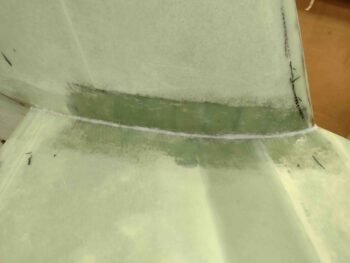
I then laid up the 2 plies of BID for Layup #4.
After wetting out my first set of prepregged UNI, plies 1-3, I laid them up on the inside junction of the left winglet and wing.
I then laid up the next set of prepregged UNI, plies 4-6, for Layup #4.
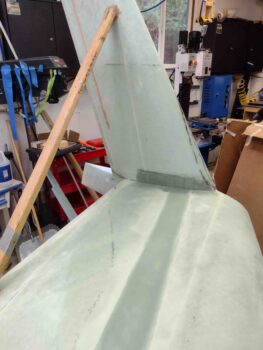
I then laid up UNI ply 7, which completed Layup #4.
I then peel plied the left winglet’s Layup #4.
I then used my trusty Fein saw to trim the Layup #7 glass on the left rudder pocket. This was a rough trim to get all the overhanging layup glass removed. Later I’ll take my time and trim down to the line before sanding the edges to to their final configuration, just as I did on the winglet pocket.
Tomorrow will be rinse and repeat on the right side as I plan to knock out Layup #4 and also trim the right rudder’s Layup #7, just as I did for the left side today.