
I got a late start today since I had to work an insurance policy and get some FAA N# info to the airport in order to accept my new hangar!
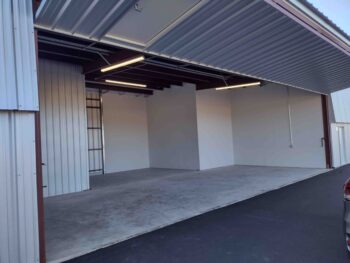
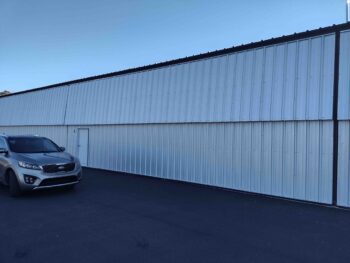
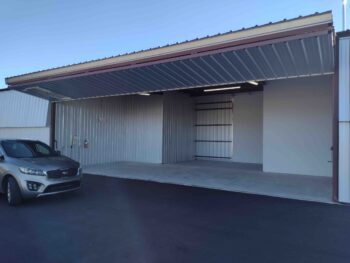
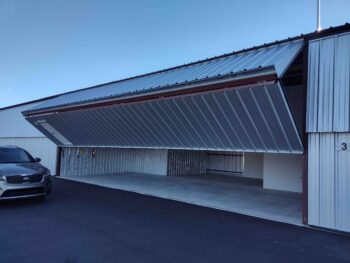
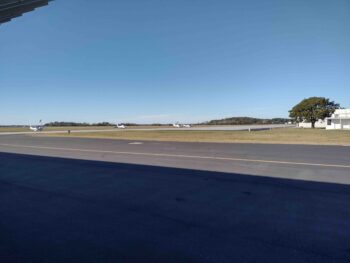
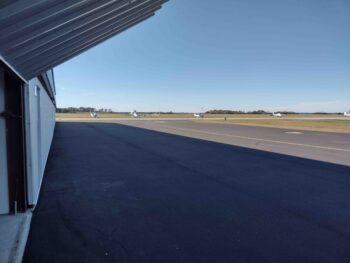
Here are a bunch of pics of the newly built “hurricane proof” hangars that replaced the old ones —one of which I had when I first moved down to NC in August 2019. Note the view I have out the front of my hangar: the ramp, runways and even water! No surprise that I’m pretty happy with it… Now I just need to put a Long-EZ in it!
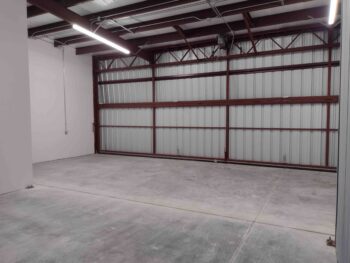
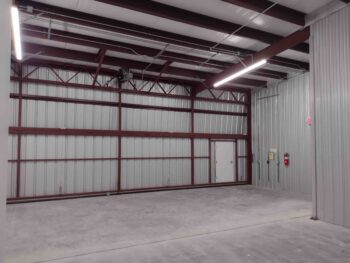
Ok, one last interior hangar pic.
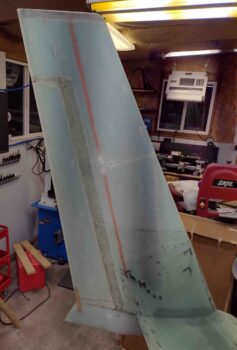
I had a few more things to do when I got home, so I got a later start in the shop. My first task was to clean up the seam between the right winglet and wing, which of course has a couple blobs of Bondo and a bunch of hot glue.
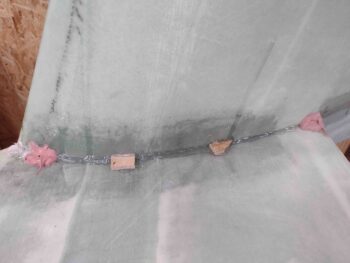
I first cleaned out the Bondo blobs . . .
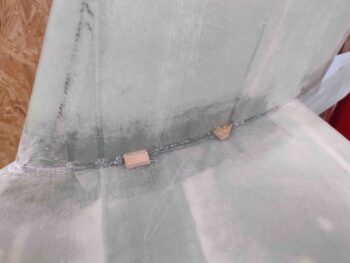
And then the hot glue and wood blocks.
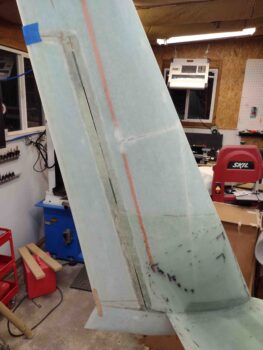
Here we have the seam between right wing and winglet ready for Layup #4 glass.
My issue was that it was getting fairly late, since I got such a late start. I decided to make a good bit of noise early and simply prep for Layup #4 to knock out first thing tomorrow. I’ll note that tonight was quite a cold night —near freezing— so the shop was in the low 60s temp-wise.
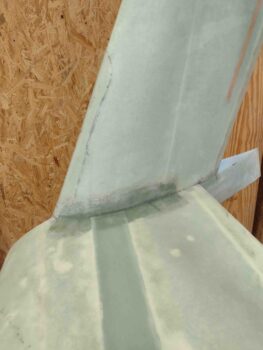
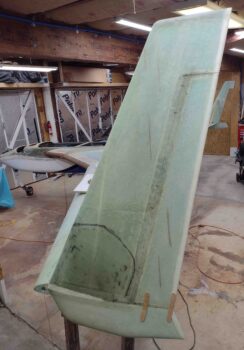
So in making more noise, my first task was to remove the 3-foot wood support strut on the left winglet. Clearly this is a big milestone as the left winglet is officially mounted.

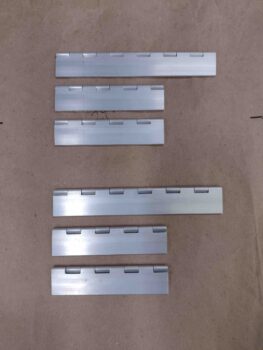
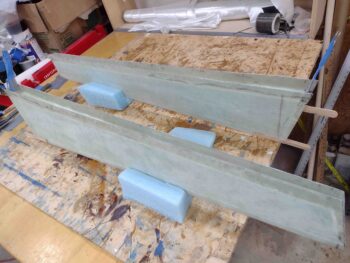
I then used my good chop saw to cut the hinges for the rudders. After I cut the aluminum hinges, I then set the hinge pin in place in each hinge set and cut the pin with the Dremel tool. Lastly, I hit each cut end with a file to debur any rough edges.
I then cut the right rudder Layup #7 —inside pocket— glass with the Fein saw, as I did the left rudder last night.
I then very carefully trimmed down the left rudder and sanded the edges back to the original cut line. I then set it back in place in the left winglet.
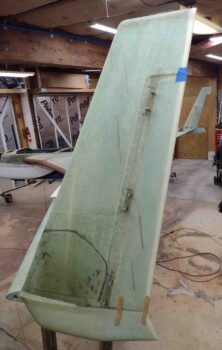
I then spent a bit of time aligning the rudder hinges to ensure they were even and level with each other before drilling and cleco’ing them into place.
I then set the left rudder back into the winglet and marked the final rudder hinge positions onto the winglet. Since I moved the bottom hinge up to edge of the top line to ensure clearance with the Internal Bellhorn pocket, I went to move the middle hinge up about 0.15″… but after all the finagling to ensure it was aligned with the other hinges, it ended up being about 0.2″ higher. Clearly no biggie, just explaining why its position is a little off vs the original marks.
I then got back to the quiet part of my evening: marking up the Layup #4 prepregged UNI plies 1-3 and 4-6 layup positions on the right wing and winglet. I then cut the 2 foundational BID plies.
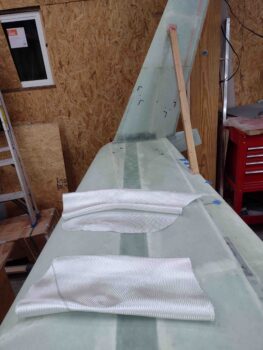
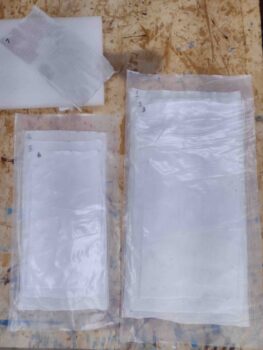
And prepregged 2 sets of Layup #4 UNI: plies 1-3, and plies 4-6.
It was fairly late at this point, so I called it a night and headed into the house. Tomorrow first thing I plan to knock out the right wing & winglet Layup #4.