
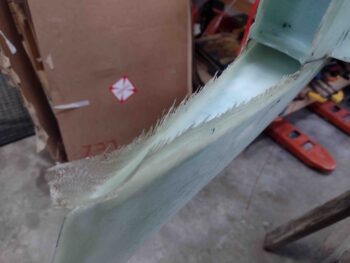
I started off today by doing final prep for the right lower winglet aft side trough, the area that sits below the rudder. To be clear this layup also links the aft lower winglet to the Layup #3 glass.
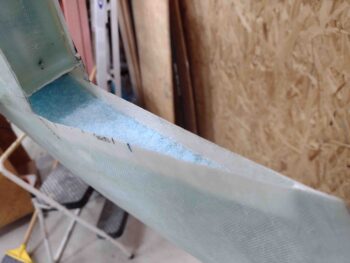
I then whipped up some wet micro and applied it to the blue foam. I also created a micro fillet at the edges of the blue foam for a transition to the glass sides.
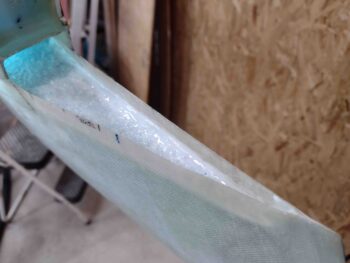
I then laid up the prepregged 2 plies of BID into the lower winglet trough. Again, this layup goes a good ways into the Bellhorn pocket and overlaps both onto the Layup #3 glass and the lower inside walls of the upper winglet, tying this lower winglet layup to the existing structure in multiple ways.
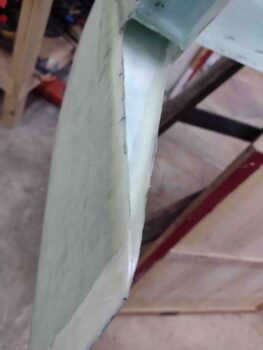
Jumping ahead, a few hours later I razor trimmed the layup.
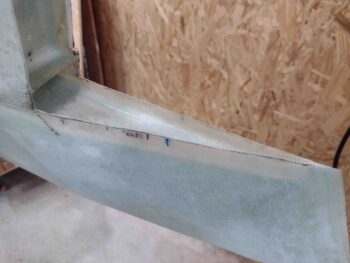
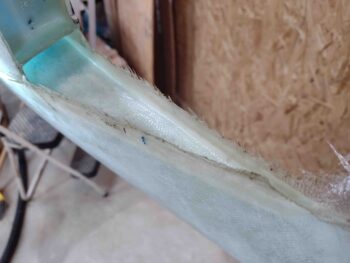
I then did the same thing on the left side. I will note that when I was thinning down the foam inside the Internal Bellhorn pocket I inadvertently dug into into the foam and knocked a decent sized divot out of it. Thus, I need a big blob of dry micro to fill in the void I mistakenly created.
Again, jumping ahead quite a few hours, I razor trimmed the layup.
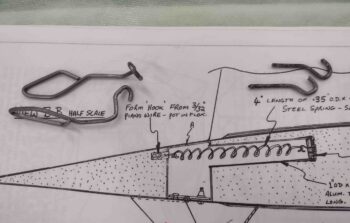
I then spent a good little bit of time forming the left and right rudder return springs from 3/32″ piano wire. As anyone who has attempted to work with this wire, it is not a task without a good bit of effort . . . a vise is definitely required.
Not shown is the work I did to take the raw cut end of each spring and create a loop 90° to the spring rotation to allow attaching the spring to one of these hooks.
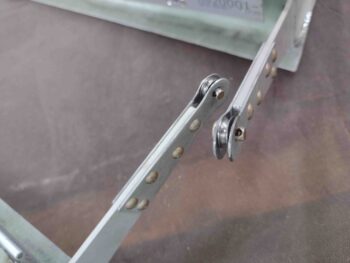
I then spent another good little bit of time using the Dremel tool and then hand file shaving down around 0.010″ off the inside of each arm end of the Internal Rudder Bellhorn that holds the AN111-C3 bushing, from 0.05″ thick down to around 0.04″ thick. To still allow free movement of these bushings, I also shaved the sides of them down as well by about 0.010″ off each side with the Dremel tool. All this Dremel and hand filing work —although not necessarily pretty— now allows free movement of the AN111-C3 bushings in the end of the Internal Bellhorn arms.
Looking back over the day’s work it doesn’t seem like I really go a lot done, but much of it was very time consuming tasks. So, with that, I called it a night.