
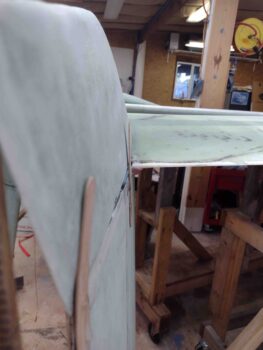
I started out today by pulling the peel ply from the right wing/winglet Layup #3 and cleaning it up a bit. Everything looked good so I pressed forward.
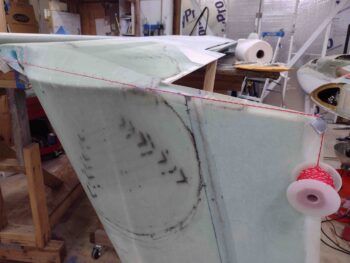
I pulled the mold material for the right Internal Rudder Bellhorn pocket and then removed the peel ply as well (much easier removing this peel ply than the left side!).
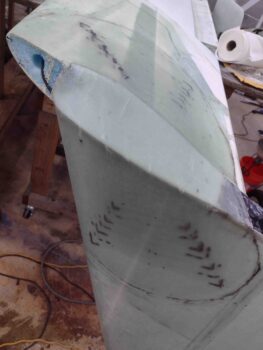
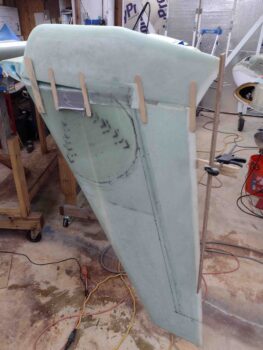
Here’s a shot into the right winglet Internal Rudder arm Bellhorn pocket.
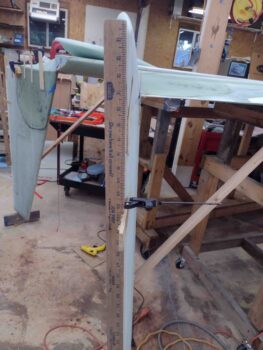
I then spent the next couple of hours measuring and verifying the rudder dimensions. I’m happy to report that from the top of each winglet to the bottom of each rudder at W.L. 28.2, the difference between right vs left is less than 0.050″.
To get a decent idea of where my W.L. 28.2 line is on each winglet for installing the lower winglets, I ran a string from the LE to the TE.
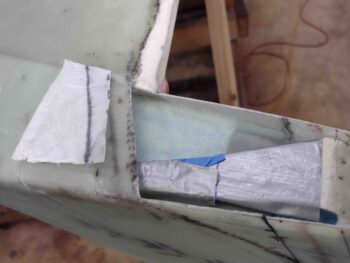
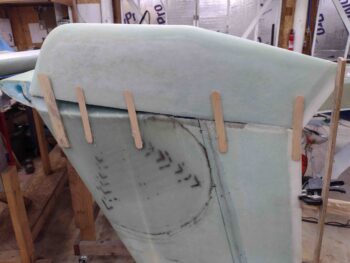
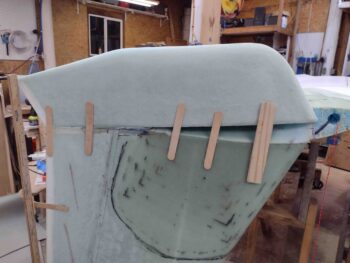
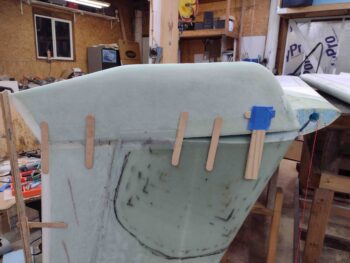
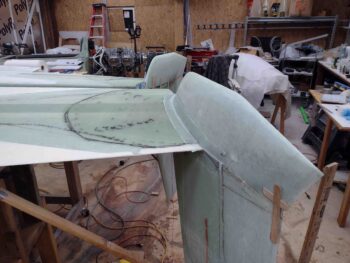
Next, I hot glued some wood wedges and stir sticks to contain and align the lower winglets as I trimmed them for install.
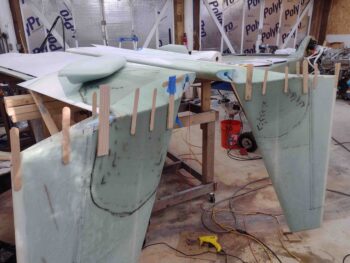
Here we have the right lower winglet, which I slowly trimmed in iterative fashion to dial in its fit for install.
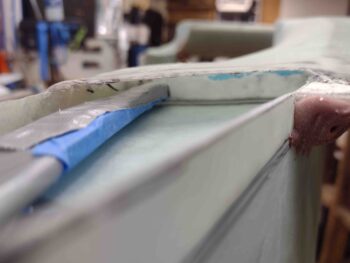
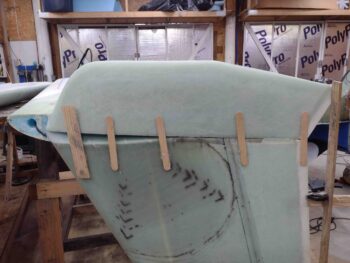
Another shot of the somewhat slow process of trimming the right lower rudder for install.
I also glued some old yardsticks (that I think I’ve used literally from the very beginning of this build, but I digress…) to the upper winglets’ trailing edges to then allow me to align the TE of each lower winglet to keep it aligned with its associated upper winglet.
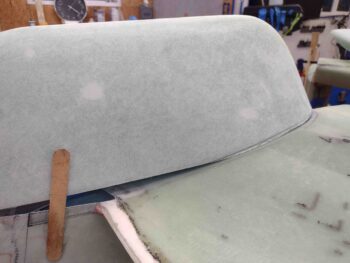
I’ll note that my sins of the past reared their ugly head a bit here: since I reduced the height of my lower winglets by about a 1/3, they are now about 0.15″ narrower than the upper winglet, including at the rudder. Not a huge deal since my rudder is only contained within the upper winglet so that’s workable… plus, by keeping the outboard edges of the winglets aligned, I can “bury” most of the offset on the inboard wing side.
Back to the point on the TE. I’m not sure about the full-sized winglets, but the shape of my winglets together creates a slight dogleg on the outboard side if the lower winglet’s TE is completely straight with the upper winglet’s. Thus, to make the outboard skin alignment more aligned, I have to allow the bottom winglet’s TE to track inboard about a 1/4″. I honestly don’t think it will be that noticeable when it’s all finished. And I will note that the winglets are about 1/8″ off on their lower winglet’s TE alignment compared to each other… again, I don’t think it will impact performance or be at all noticeable.
So I worked a few more rounds of trimming, and then was finally ready for glass.
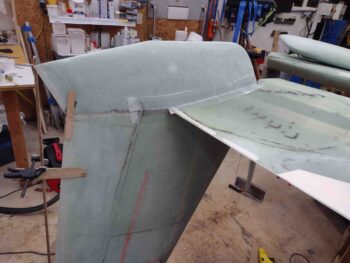
I’m doing the glassing in 2 parts. First, I glass the adjoining seam on the outboard side of the winglets —about 5.5″— with 1 ply of BID.
Then I glassed the inboard side, starting from the aft going forward is about 3″ where the upper and lower winglets meet (still part 1). Note that I am NOT glassing the 8.5″ on either side of the rudder since the bottom rudder line is the bottom of the upper winglet.
The same ply of BID going forward is cut 1″ on the “upper winglet” side at the TE to transition into securing the bottom winglet onto the bottom of the wing. Since there is a glass-to-glass bond here I laid in a small bead of flox at the junction of the wing (‘A’ Block transition) and lower winglet.
Part 2 will be filling the outboard gap with pour foam and laying up a final ply of BID on that, and whatever other minor areas need some flox/micro/glass.
I then got to work on the left lower winglet install, again with a bunch of trimming iterations to get it dialed in for install.
As I did on the right side, I glassed a 5.25″ segment of the bottom winglet to the upper winglet on the outboard face.
And then laid up a single ply of BID on the lower/upper winglet junction just forward of the rudder that transitions into a lower winglet to bottom wing BID tape.
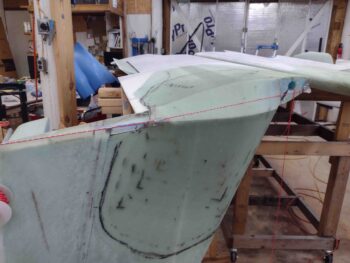
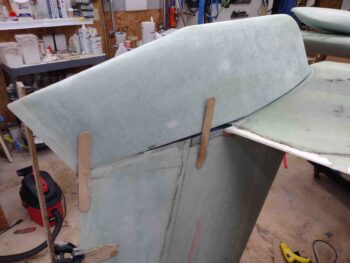
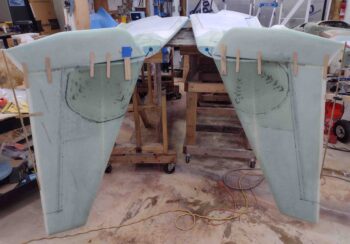
Here we have the initial fitting and glassing in place of the lower winglets to the upper winglets and wings.
I had hoped to get more done on the lower winglet installs, but it was quite late by the time I finished on the left side, so I called it a night. Tomorrow I’ll fill the gaps on the outboard sides between upper and lower winglets with pour foam before doing the final layups to secure the lower winglets in place. I then plan on cutting, removing and glassing the rudders and prep them for hinge installations.