
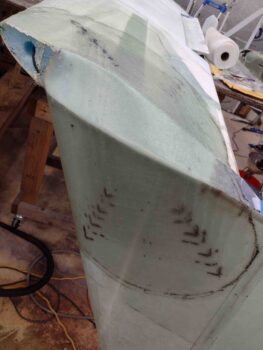
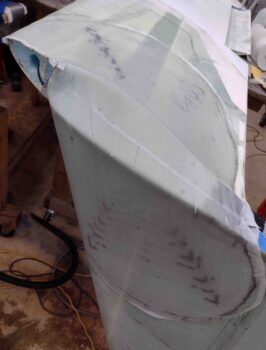
I started off today by trimming and sanding the right rudder aft bottom layup.
With the micro cured securing the right wing/winglet ‘A’ Block I then removed the tape and weights off the ‘A’ Block.
I then used the Fein saw and an old kitchen knife to trim the ‘A’ Block along the winglet side.
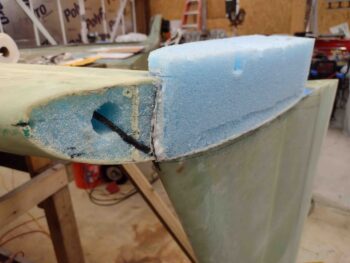
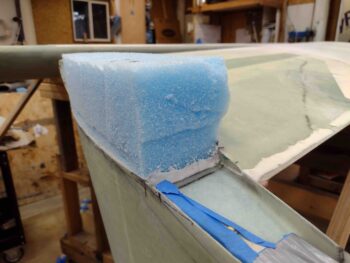
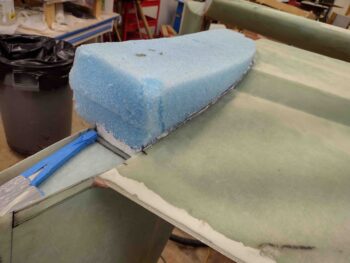
And trimmed down the ‘A’ Block foam along the bottom wing edge.
I then started trimming down right winglet ‘A’ Block foam with my kitchen knife.
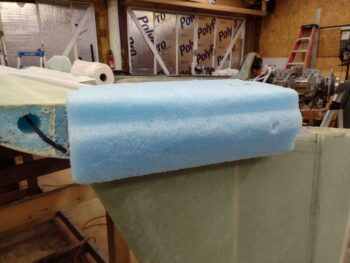
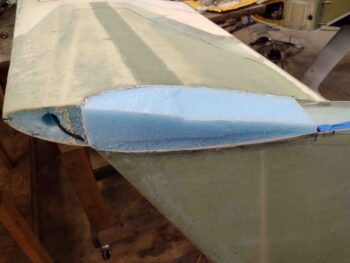
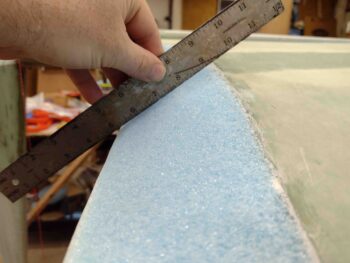
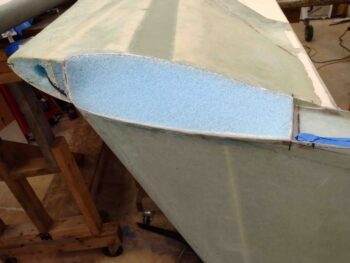
I grabbed my Perma-grit sanding blocks and shaped the ‘A’ Block as close to the Plans diagram as possible: flat in the middle and curved right by the edges.
Here we have the right ‘A’ Block foam shaped in prep for Layup #3.
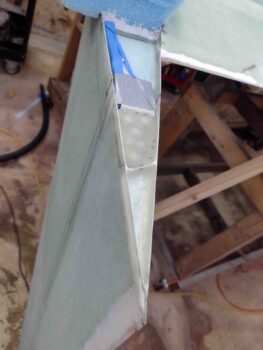
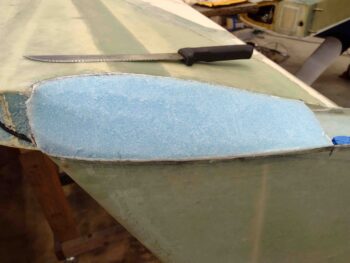
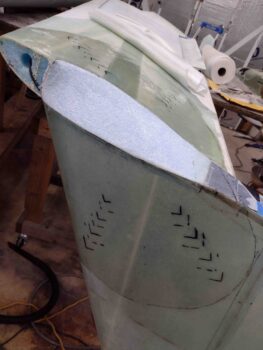
With the ‘A’ Block sanded and shaped I then pressed forward creating the Internal Rudder Bellhorn pocket mold. After I got the mold shaped and taped up as a mold release, I then cut a piece of peel ply to cover up the tape.

I also used my paper templates to mark out where all the Layup #3 UNI plies would get laid up on the right wing and winglet. Just after marking up the UNI layup positions, I then re-used the left side plastic pattern to cut out the 2 big plies of BID for the right side Layup #3.
As I did on the left winglet, I wetted out the Internal Rudder Bellhorn pocket mold peel ply before laying up an added reinforcement ply of BID to help strengthen the Bellhorn arm pocket.
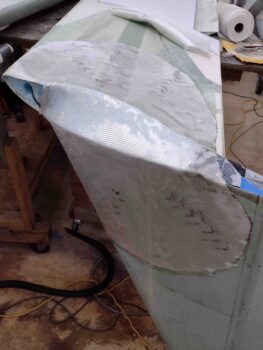
With all my prep out of the way, I applied wet micro to the blue foam and raw epoxy to the wing and winglet areas that will receive Layup #3 glass.
I then laid up the first big ply of BID onto the wing, winglet and ‘A’ Block…
followed by the second ply of BID after I wetted out the first.

I then spent the next 2.5 hours laying up all the UNI plies. Here we have the final ply of UNI, the last ply of Layup #3, set in position. After wetting this last ply of UNI out, Layup #3 was officially complete….
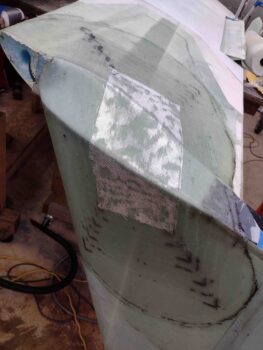
Well, after some peel ply of course!
With all the major outside winglet securing layups completed on both sides, tomorrow I plan on starting the lower winglet installs, as well as the rudder cutouts, glassing and installations.