
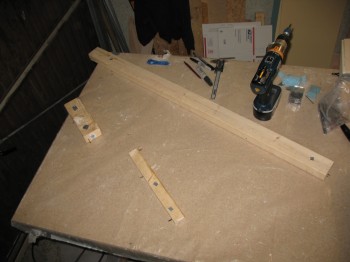
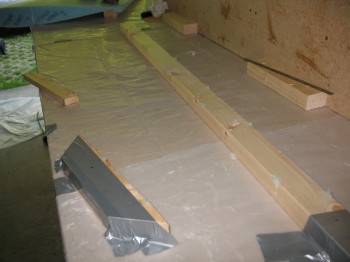
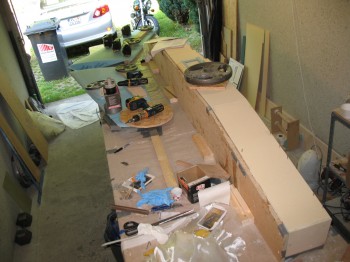
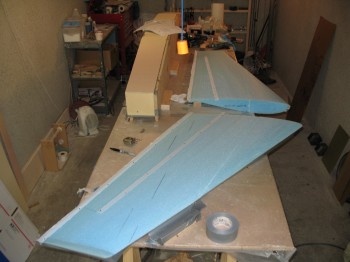
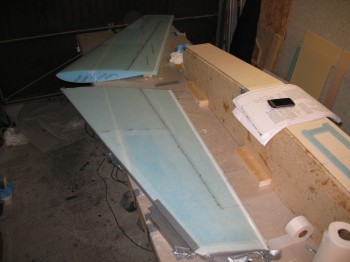
Today I cleared some area off of the workbench next to the curing CS spar to set up the mounting boards for the Left & Right Upper Winglets. I’ll be skinning the outside of the winglets by glassing 2-plies of UNI crossing each other at about 30° (or 60° I guess, depending on how you look at it!).
Once I have the mounting boards screwed down to the table, I put bits of duct tape over the screws so they don’t inadvertently get epoxied or floxed into place. The mounting boards do 2 things:
1) They stabilize the winglets, making them much easier to glass.
2) With the winglets secured in place, they won’t warp as the glass cures on the one side of the winglet. Making for a straighter, truer winglet.
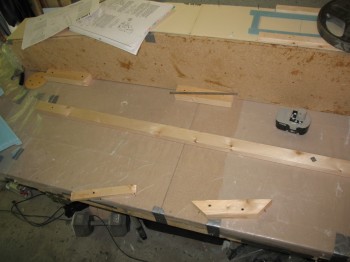
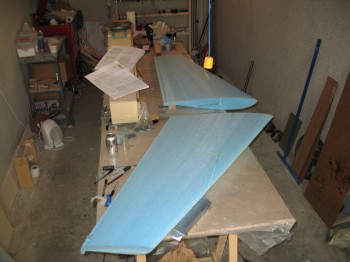
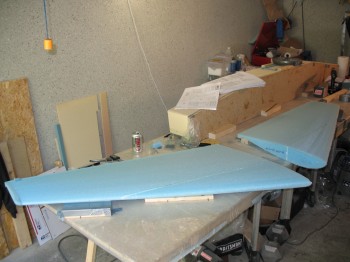
Once I got the proper spacing down so the winglets laid true on the wood mounts, I floxed the winglets to the mounts by adding little dabs of flox along the wood surfaces & laid the winglets on the mounts (Before I removed the mocked up winglets, I marked the edge so I knew where to place them back down). After I mounted the winglets to the floxed boards, I weighed them down to ensure a good seal.
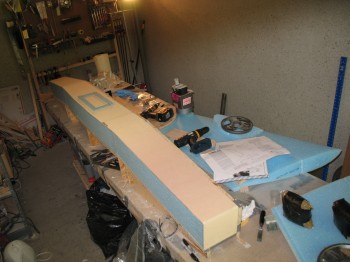
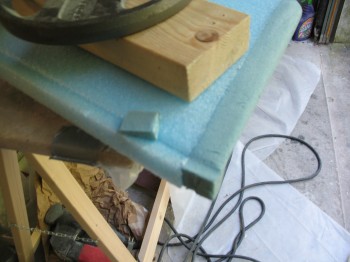
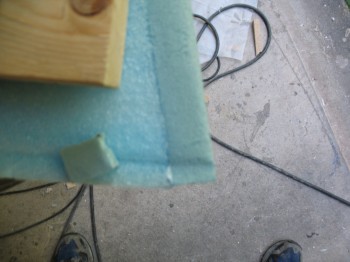
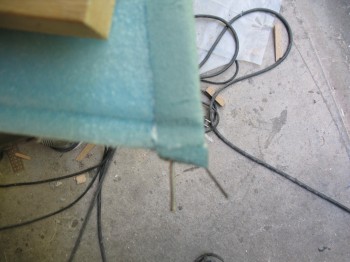
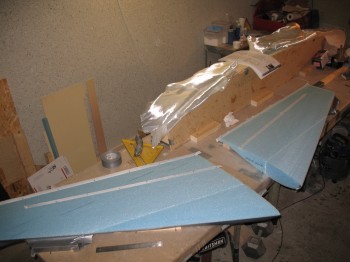
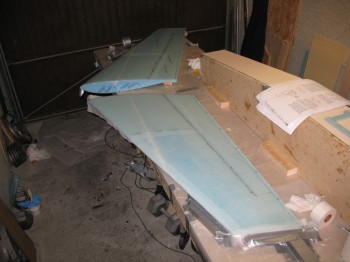
Below are some good shots of the curing CS Spar. I had weights all along the top of the spar for some 30+ hours to ensure a good seal between the front spar walls (top of jig as it sits here) & the spar box. I removed the weights to keep them from somehow hurling themselves off the spar and onto–thus smashing into pieces–the unsuspecting TE edge of an innocent winglet (yep, with me it could happen…took no chances!). The blue foam rectangular outline on top is to protect ME against the tacks protruding through the foam that hold the peel ply to the 5″ x 14″ center oval access that gets cut out later.
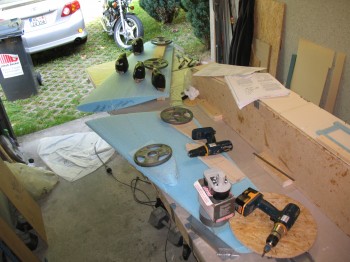
With the winglets weighed down & curing onto their respective mounts, I prepped for the upcoming layups. I charged my Dritz scissors and soaked/cleaned some squeegees.
Also, my decorative top cap on the Left winglet was lacking at the tail end, so I cut & shaped a small foam wedge to add to the TE. I micro’d it & held it in place with a thin nail.
I then went back to prepping for the upcoming layups.
I went to my cutting table in the downstairs shop to cut 2 pieces of 38″ x 54″ UNI and 2 pieces of 38″ x 64″ UNI.
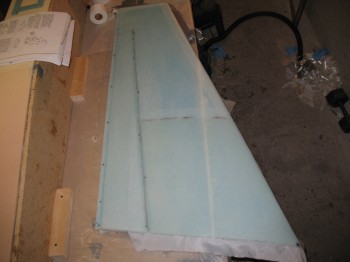
I left the glass in the downstairs shop. Since the flox on the winglet mounts had cured, I went back the garage to prep the winglets’ outside surfaces for glass. I pulled all the weights off and then used the Dremel tool to remove all the dead micro in the seams & joints. I then carefully sanded the leading edges smooth. I also marked up where the rudders would be going (like the ailerons getting cut out of the wing structure, the rudders also simply get cut out of the glassed structure of the winglet).

Obviously the winglets get glassed to the wing, and just like the wing, they get a reinforcement piece of BID glassed onto the surface area that will get glassed to the wing. I made a cardboard template of the area where the BID piece will go. After I cut the 2 pieces of BID–1 for each winglet–I then used the same template to cut the peel ply that would cover the BID.
I vacuumed the entire top surfaces of both winglets & then taped the LE halfway along the entire length. I then tacked on a 1″ piece of peel ply down the TE trough that runs the TE length of the winglet, top to bottom. Before I could do this though, I had to physically create that trough on both upper winglet caps that I added.

I also threw in peel ply down the center of the seam of where the rudder will get cut out of the winglet, since the foam & glass inside there will get removed with a glass-to-glass layup occurring where the peel ply gets removed (at least along a good portion of the peel ply… I’ll still have to prep some glass that has only foam attached to it).

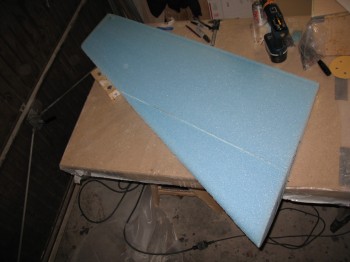
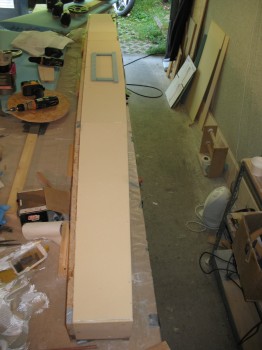
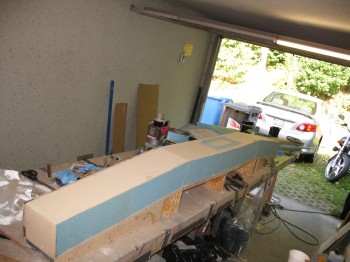
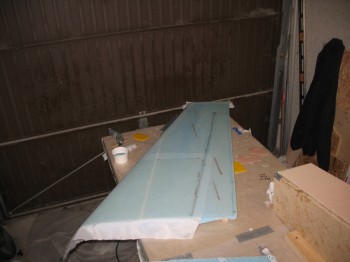
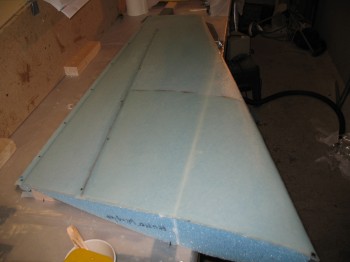
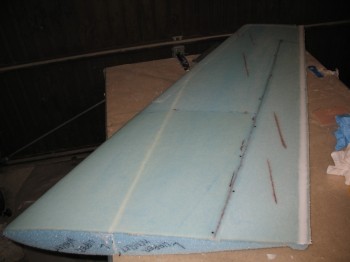
Ready to do some layups, I grabbed my glass from downstairs & double checked my winglets’ surfaces. As you can see in the pic above & below, I added angle marks to allow me to get my glass laid up in the correct orientation.
I dry micro’d the channels (where I had cut the dead glass out) & microslurried the fields. I then started glassing like the wind!
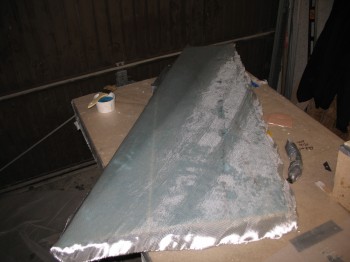
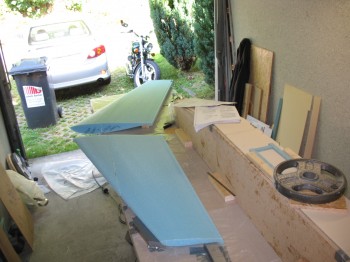
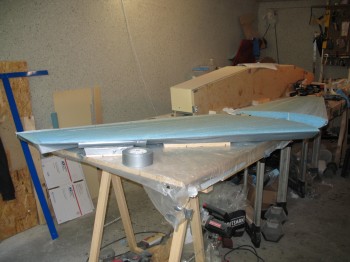
Above pics shows second ply of UNI getting glassed on. Below is the finished Left winglet.
The pic below shows my last minute top-cap add-on/repair result.
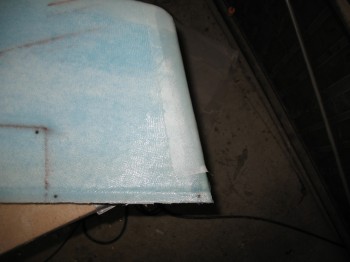
After the layup had cured for a little bit, I removed the tape from the LE. The peel ply was having a hard time wrapping around the sharp bend of the LE & top, so I coaxed it a little by taping the dryer part of the peel ply and then wrapping it around the winglet LE & attaching it to the dry foam underneath.
After the winglets had cured for quite a while, but while still tacky, I micro’d in the TE trough with dry micro.