
The goal today was to get the fuel probes tested out as per the instructions provided by Nick Ugolini.
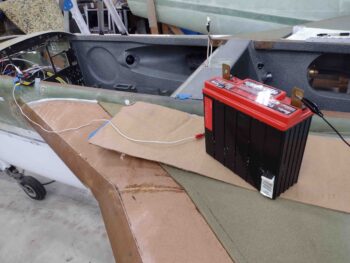
I wired up the fuel probes . . .
and connected them to battery power.
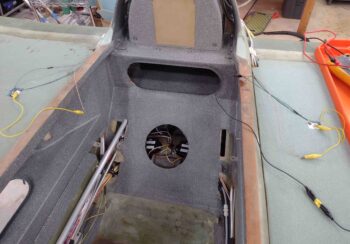
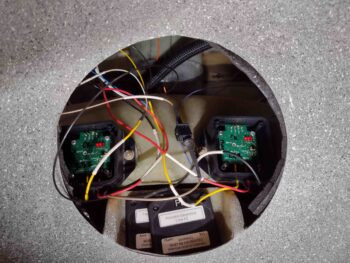
Here are the fuel probe control heads, just inside the GIB back seat access hole.

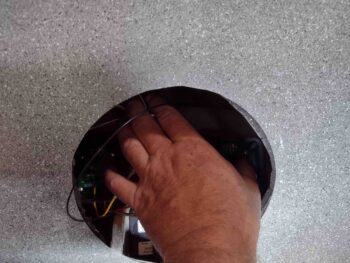
I then removed the covers to start the initialization test. The key components on the board involved with any testing is 3 LED lights and a push button.
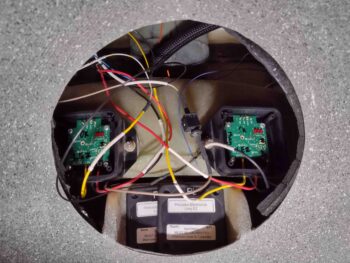
To start the initialization, you push the button in while applying power to the control heads. Luckily, I was able to push both buttons while powering up the fuel probe control heads.
The first indicator that all is going well is the left red LED blinks… I didn’t want to spend time making a video, so I grabbed a few shots to show the left red LED “blinking” (aka on).
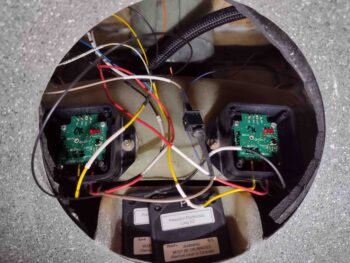
I then kicked off the initialization process, which then goes to the next step with the left and center LED light blinking… clearly the system is working correctly. After this step I simply pulled the power and called it good.
I’ll note that in corroborating with Nick Ugolini on these fuel probes, he provided an extra information sheet showing how to set up the probes before they get installed into the tanks.
I then spent a good little bit of time wiring up the GIB map light and also the fuel site gages’ LED lights.
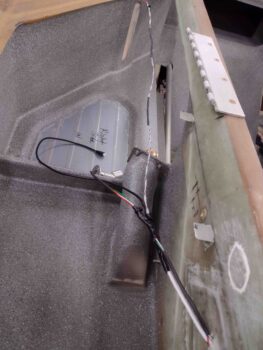
This pretty much finishes off all the prerequisite tasks need to close out the strake tops. In an overview of all my prerequisite tasks prior to closing out the strake tops, I shot this video:
Of course I have a bunch of prep work to knock out before I close out the strakes, but I am going to work my tail off to get this done ASAP.