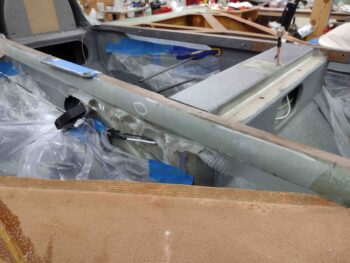
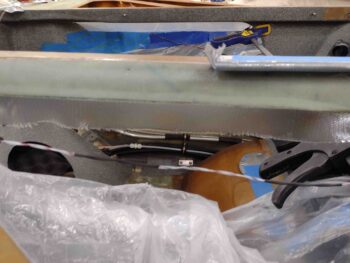
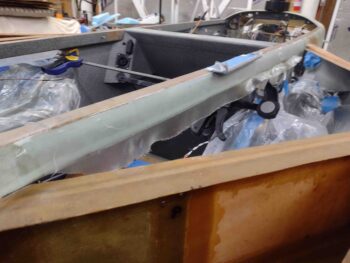
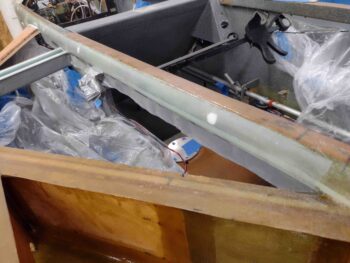
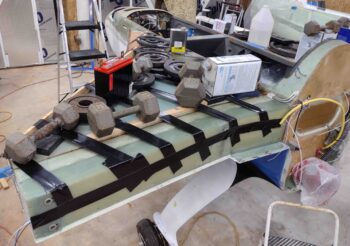
Today was a huge milestone for my Long-EZ build in that I got the top strake skins floxed on and the strakes closed out.
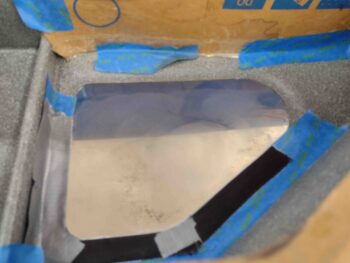
My first task of the day was just annoying, to be honest. I found yet another epoxy bead from a tape seam as the light hit the left GIB strake window just at the right angle as I was looking through it. Ugh! I wet sanded it with 600, 1000, 1500 and 2000 grit before buffing it out with my kit.
Done. It better be the last time (ok, except for the outside… I know that’s coming!)
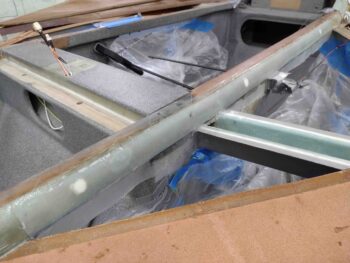
Not shown here, but I first taped the GIB windows and fuel site gages back up before sanding down the longerons in prep for layups. I then vacuumed out the dust (both inside the baggage areas and the fuel tanks) before taping in plastic sheeting to protect the just-painted baggage areas from any epoxy or flox gunk that may ensue from closing out the strakes.
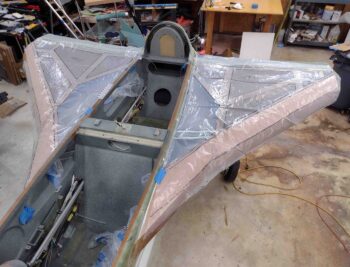
I then took a page out of Dave Berenholtz strake build and covered my open strakes with clear plastic to create a rib/T-hat/LE map for reference later on if I need it. A 20 minute task that may prove very useful in the future. Thanks Dave!
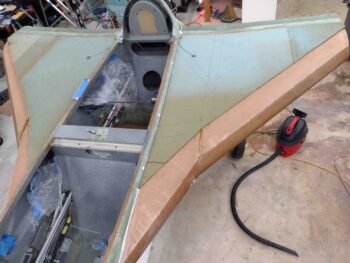
I then did a final fitting and prep of the strake top skins. I also transferred and marked up the T-hat positions actually on the strake skin foam cores themselves. I wanted to have a quick reference as to where to put the weights once these things were floxed on.
I then removed the strake top skins, vacuumed out the entire fuel tank each side, then removed all the protective tape pieces —fuel vents, drain screens, site gage holes— and then vacuumed again before doing a visual check for any bits of dust or lint.
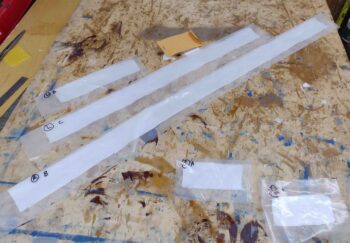
Unabashedly copying yet another builder, I then took a page from Ary Glantz’s strake build and made up single ply BID tapes that will be laid up on the longerons first, then overlapped onto the inboard underside edge of the strake skins when they’re put into position. Much easier than the plans method of leaving an inch of glass overhanging down the inboard edge of the strake skin un-wetted-out to then be overlapped upward onto the longeron… as Ary essentially noted on his blog: use gravity as your friend.
I then prepregged these BID tapes.
The smaller ~5″ wide BID tapes in the lower right corner of the pic are the ply of BID that goes from the inboard underside edge of the strake skin and overlaps onto the longeron, only in the very aft where it is sitting on top of the T-hat/flange… so these are separate layups that I used EZ Poxy to layup. I laid these up on the aft edge of each top strake skin.
I then laid up the forward, longer BID tapes on the longerons using MGS 335 epoxy with a 50/50 mix of fast and slow hardener…. here’s the right longeron with the BID tape in place.
Ahem! I got a little cocky here and should have gone slow hardener all the way because these BID tapes were getting pretty dry by the time I got the actual flox on all the T-hats and strake top skins set in place. I made it though… just barely.
Here’s the left longeron BID tapes.
I will note that I set the left strake in place first and then moved onto the right side. At some point I had a bit too much weight in the area above the GIB strake baggage opening. The weight caused this layup to pull back/away a bit as the surface it was attached to moved further down/away. As I rebalanced the weight on the left strake top a bit later, I wasn’t thinking about that layup. So once the top skin came back up to its proper position, and with the BID tape well into curing, it simply pulled it upward in its now “elongated” state…. in short, I have a decent bit of bunching right along the longeron bottom/inboard skin seam on the left underside baggage opening.
I clamped the top skin and the longeron to bring the position to the correct height as it fully cured. I’ll wait to fix this until after I glass the outside tops of the strake so it’s stronger and has support to secure this segment of the top skin edge into place. Thankfully the right strake is fine.
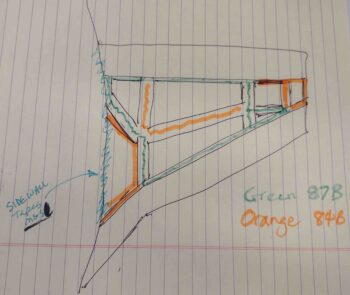
Since I had just a half of a squeeze bottle left of E-Z Poxy 87B hardener left and a bunch more 84B on hand, I prioritized my hardener usage so that I would ensure the actual perimeter of the fuel tank was secured with E-Z 87B hardener (the best stuff according to Gary Hunter) and then the middle/inside rib tops/T-hats got the E-Z 84B hardener.
Here’s my chicken scratch drawing of my plan:
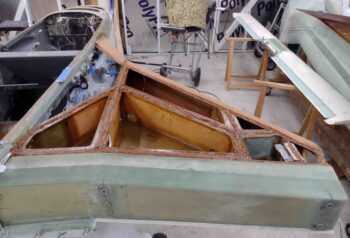
And here it is in application. Actually the left strake got pretty much exactly what you see above, while I was able to use the 87B on a few more areas on the right strake since I knew I was in the clear.
Although I do have probably just enough 87B for the initial floxing in of the fuel probes.
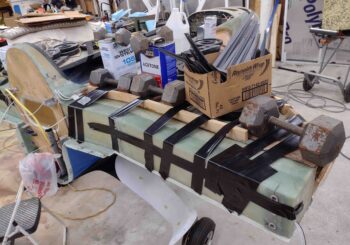
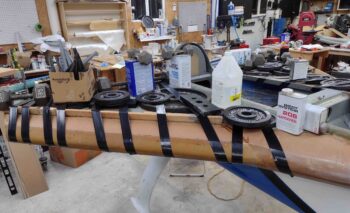
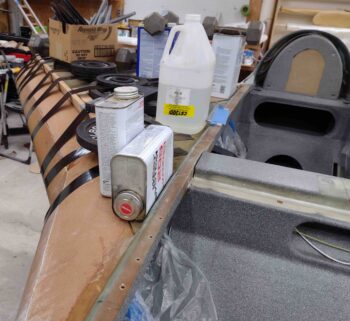
I would call the above the “before pic” while this one below is the “after pic”… with the right strake top skin floxed in place and tons of gym weights and other items weighing it down in place . . .
as well as ACS shipping dunnage wood strips taped in place to really get a good compression on the front edge of the foam where it overlaps the leading edge flange.
Here is the front side of the right strake closeout.
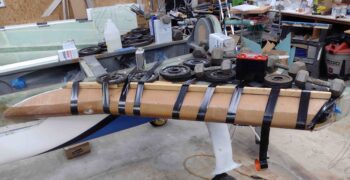
The left strake was actually the first side I closed out. Here’s a shot of that.
You can see I used a lot more standard gym weights on the left side, which is why I had to get more creative on the right side and use other heavy items to weigh it down.
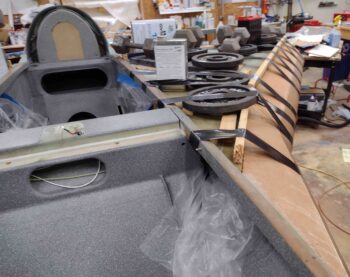
Finally, here’s a shot of the aft side of the left strake top skin closeout.
It was quite late and a VERY long day… time to have a glass of red and celebrate this milestone before jumping back into the fray!

