
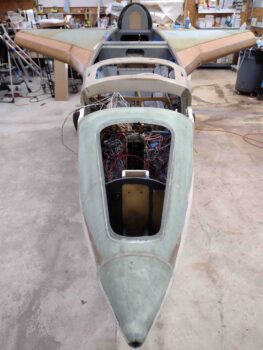
I started out this morning by removing the weights, tape and boards from the tops of the strakes.
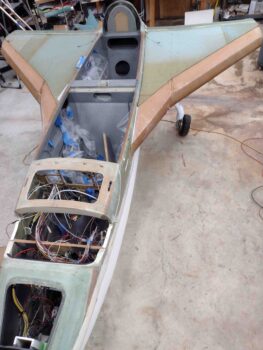
From what I can tell so far, all looks good as far as the strakes floxed in place.
I pulled the weights, tape etc. in the mid morning, which put the flox cure time under weight at right about 36 hours.
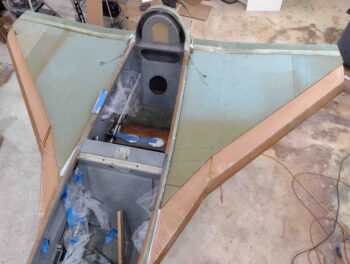
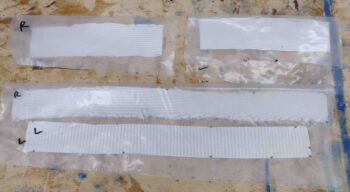
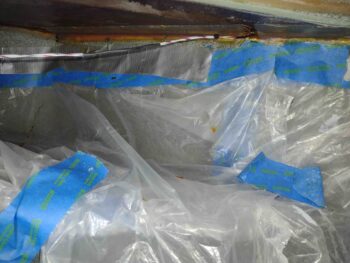
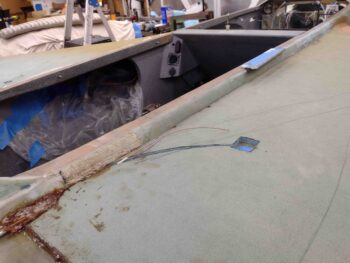
I then cut some BID for the front strake baggage opening, where the there’s an underside bare strip of foam… which is the original fuselage sidewall just outboard of the longeron. This is the top 2 tapes in the pic below, which are about 7″ long.
The bottom BID tapes are the ones I precut before I closed out the strakes. These are for the inside seams between the installed top skin core and the leading edge flange.
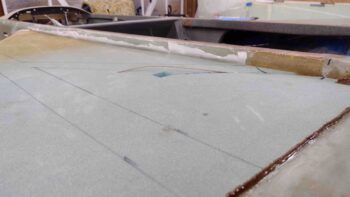
After removing a few flox globs and a good bit of sanding, I then filled some of the irregular spots with flox while I applied wet micro to the bare foam. I then laid up al the prepregged BID tapes show above. I then peel plied the BID tapes.
I’ll note that these weren’t the easiest layups, but they weren’t too bad . . .
as compared to this next round… Whew!
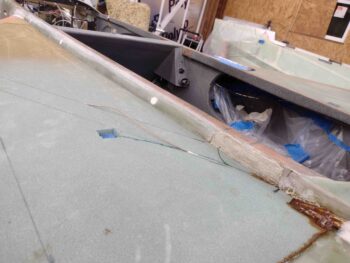
These layups rank up there as some of the most difficult layups I’ve done on this bird. Mainly because I’m laying across the back side of the strake/longeron, hanging my head down inside the strake opening and trying to add a decently long, wet BID tape to a very small corner target. Admittedly it may have been easier to use aluminum foil here, but probably not much better.

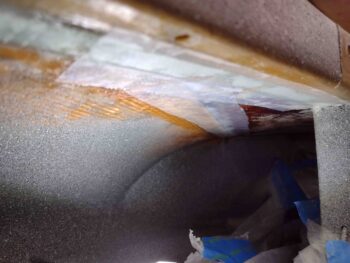
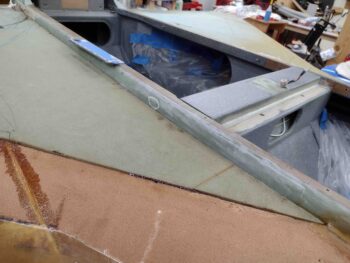
Regardless, I got the 2 aft sides of the interior left strake upper corner seams completed… again, this is a BID tape that overlaps the seam between the T-hat and the underside top strake skin, with a bead of flox along the seam to ensure A) no fuel leakage (thus, EZ Poxy) and B) added physical strength to the strake skin attachment.
I only did the very aft layup on the right side since the front BID tape, above, was still curing and was peel plied. The left side has a natural gap between front and side BID tapes with the Oil heat RAM air duct/bridge, so there’s not overlap or contact between front and middle BID tape.
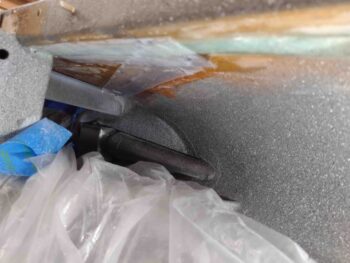
Here’s the aft left inside corner along the segment just above the fuel site gage.
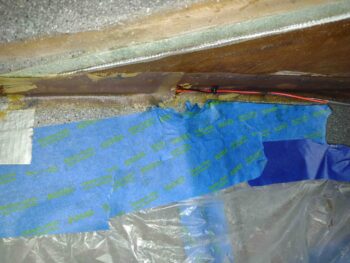
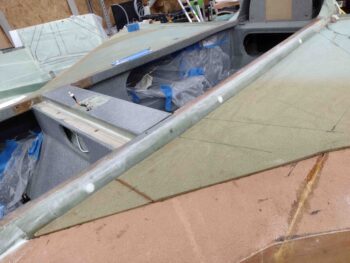
This is still some of the aft segment (BAB bulkhead) on the left half of the pic below, along with the segment of the BL23 rib. Although further in, the BL23 rib was a little easier to layup since it was a shorter segment and also a straight view in… whereas the BAB segment was angled and harder to see and judge distance.
Also remember: EZ Poxy is messy. It likes to stain everything it touches… so I was trying my best to keep the painted sidewalls clean and unblemished from this rust colored stuff.
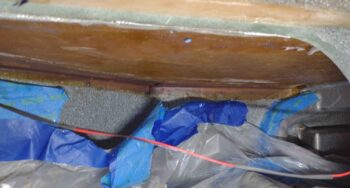
On the right side, the focal point in the pic below is all along the top. This is the EZ Poxy BID tape along the corner intersection of the BAB bulkhead T-hat and the underside strake skin. I’ll note that I peel plied all these corner BID tape layups.
After I finished the first round of the “layups from hell,” I got busy pulling the peel ply from the 1-ply BID layup that comes off the outboard longeron face and wraps under the long inboard/underside edge of the top strake skin. Here we have the left side.
Once the peel ply was removed I cleaned up the layup and also sanded the aft 5-inch ply of BID on the longeron.
Here’s another shot of the left side longeron peel ply pulled and aft BID sanded.
I then did the same on the right side… here’s a couple shots of that.
I also pulled out the clamped blocks on the forward side of the aft baggage openings. I had peel plied the tops of those blocks, so I removed the peel ply from the inside corners as well.
Tomorrow I’ll continue pressing forward with the inside baggage area top strake skins layups.