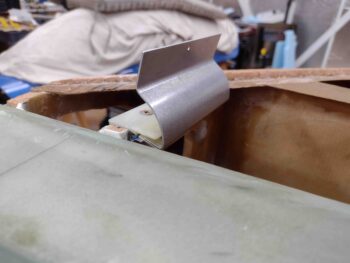
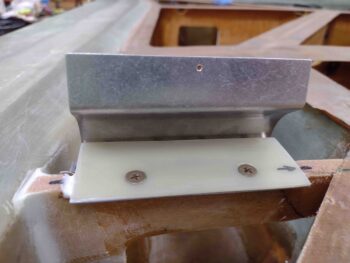
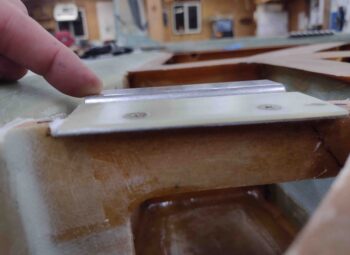
Today was all about getting the outboard strake storage compartment hinges into place.
Yes, this is just another mod of many. I know mods move the timeline to the right a fair amount, but I can’t pass up an opportunity to add some fairly significant and handy storage that will prove —IMO— to be very beneficial and make life easier in the long run.
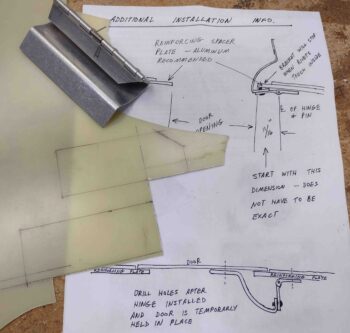
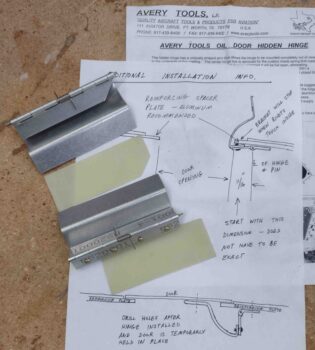
I started out by grabbing my 1/16″ thick stock of G10 phenolic to create a reinforcement plate for each side, as called out for in the included instructions to these hidden hinges.
I took the G10 out in front of my shop and cut it with my saber saw. I then cleaned them up on the sanding boards and 100 grit sandpaper.
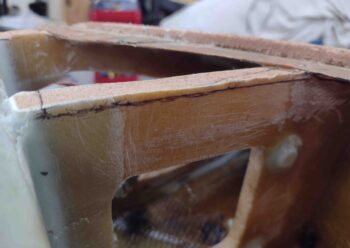
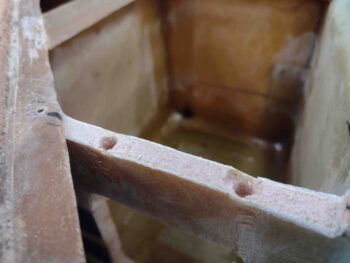
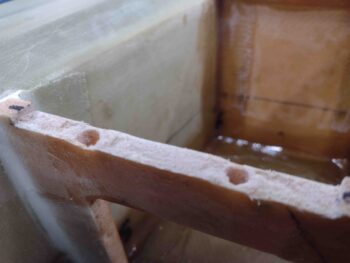
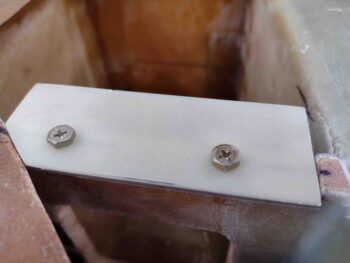
I measured the thickness of the hinge and the reinforcement plate together which came out right around 0.113″. I set my calipers at 0.105 inches and marked a line for cutout on each “OD” rib. I then notched the “OD” rib on each side (see below) and dialed in the depth with a bit of judicious sanding.
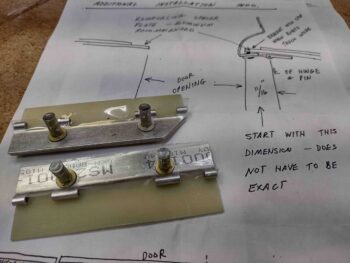
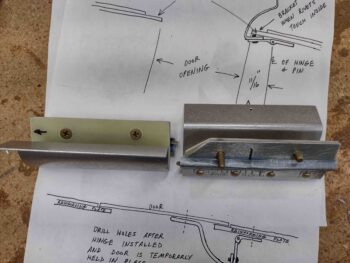
I then prepped 2x #10 RivNuts for each hinge. I taped the bottom of the hinge to protect against any gunk and then mounted the prepped RivNuts.
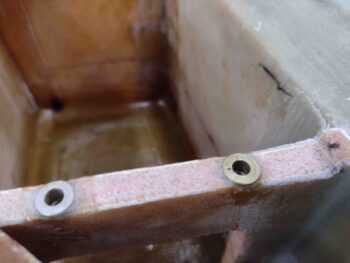
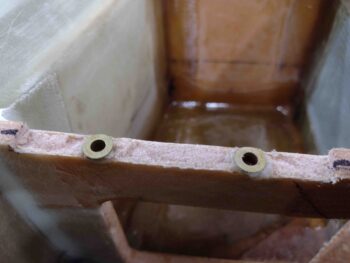
I then prepped the holes in each “OD” rib to ensure the RivNuts could be mounted even with the top of the rib if required.
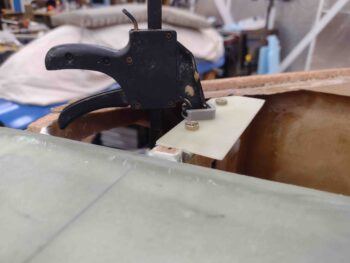
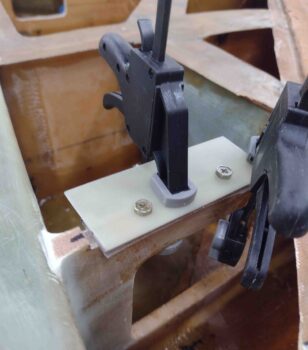
I then floxed the RivNuts into the rib holes and set a clamp on the plate/hinge. Here’s the left side . . .
And the right.
A few hours later I pulled the clamps off the hinge/plate assemblies.
And then took the screws out to reveal floxed-in-place RivNuts in the “OD” ribs.
After counter-sinking the reinforcing plates, I then assembled the reinforcement plate/hinge assemblies with countersunk screws in place..
I then used a good bit of flox and micro to install the reinforcing plate/hinge assemblies in place. Again, here’s the left side . . .
And the right side.
As a point of note, here’s what the right side hidden hinge assembly looks like in the down position.
I set a clamp on each hinge assembly just to make sure nothing crazy happened overnight, and then called it a night myself.

