
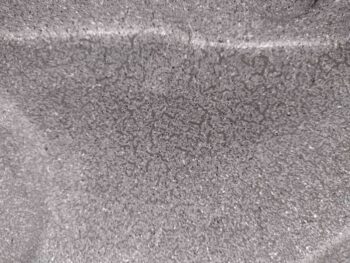
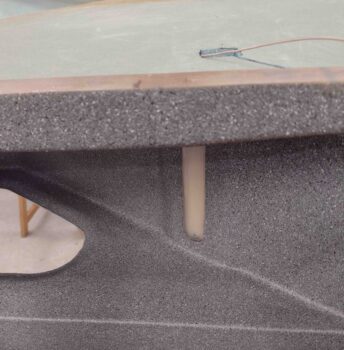
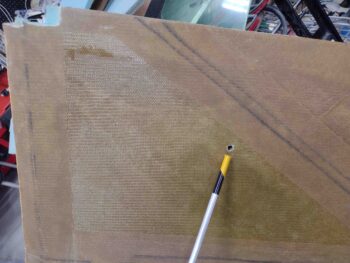
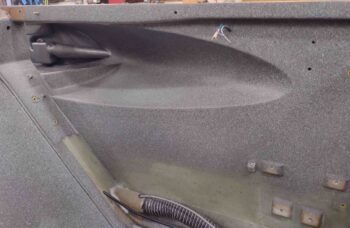
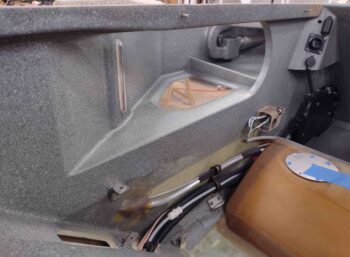
I started out this morning clear-coating the gray granite paint and quickly noticed that in a few areas the previously near-perfect looking paint surface started mottling up. At first I noticed it in the area under the right fuel site gage (first pic).
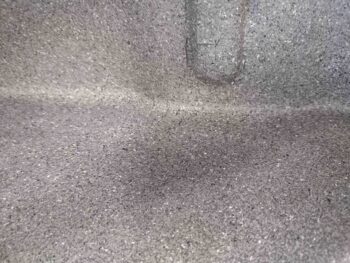
Then, when I looked around at the rest of the paint, I found another mottled area in front of the right front baggage dam. I’m thinking it was areas of thicker paint that may not have been fully cured (although I let the paint cure overnight) and thus reacted to the clear coat. I’ll note that both the paint and the clear coat are Rustoleum.
I figured the best way to deal with the mottled paint was to “seal” it in clear coat, let the mottle reaction play out, then wait until the clear coat thoroughly cured before hitting the blotched areas with another shot of the gray granite paint… which then required another 5 hour cure cycle before final clear coat.
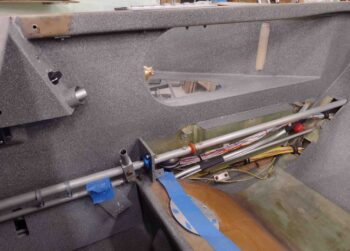
While the latest fresh coat of paint cured, I started working on notching the aft inboard right strake top core to allow it to fit around the exiting fuel vent lines.
I marked up the strake top core as best possible.
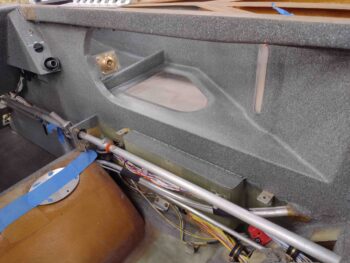
Then after a few iterations I got the notch cut and the right strake top fitted.
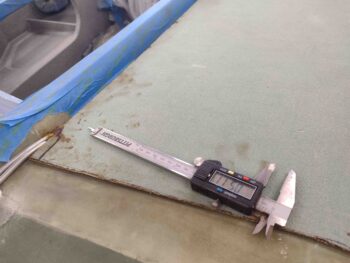
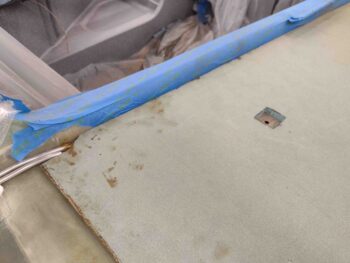
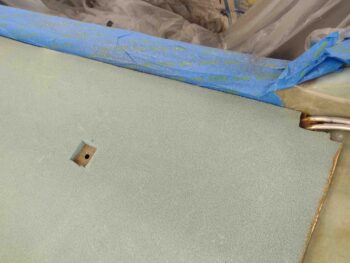
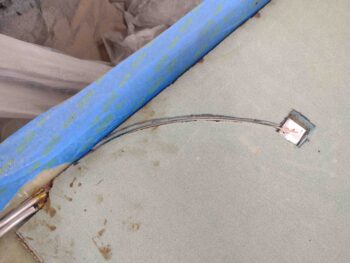
I then measured and marked the position for the fuel tank probe and after drilling it with a small diameter bit from the exterior side, I then drilled it out from the inside out.

I then marked and cut out a notch for the top flange of the fuel probe. My measurements for the fuel probe positioning is 5.5″ out from the longeron and 16.5″ from the aft edge of the CS spar forward.
This puts the fuel probe no more than 2-3″ from the fuel site gage, so I should be getting fairly close matching fuel levels on both of those (if I don’t screw anything up!).
I had planned on floxing in the fuel probe body first (there’s 2 parts: the outer body/sleeve, and the inner probe), before I mount the strake top skin and then merely slide the inner electrically-connected probe into place after the strakes were closed out.
This would allow me to get the probe installed and ensure no flox got into the vent holes near top of the tube. However, the length of wire I have and then running it essentially from Point A (aft strake corner) to Point B (fuel probe) through a channel would require the wires to be long enough to not have the inner probe cant at an angle that could bend the small inner probe tube. However, since my wires are hard set from the corner forward, if they are long enough to allow me to easily slide in the inner probe, then I would have excess wire on hand and no where to put it… a chicken vs. egg conundrum.
[Note: I thought about a long curved channel to give me more wire, in theory. But it doesn’t really matter since I have just enough wire on the right side coming from the control box, and just a hair more on the left… so this discussion is merely explanatory)
Thus, I decided to simply —and carefully— flox in the probes after the skins are in place.
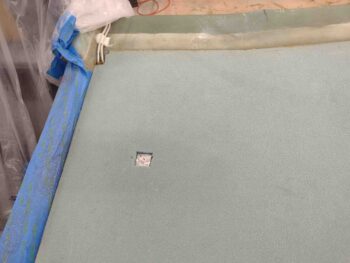
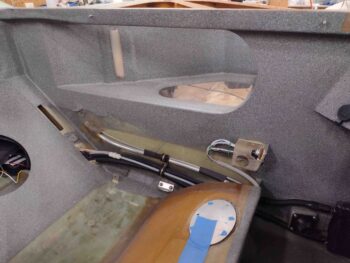
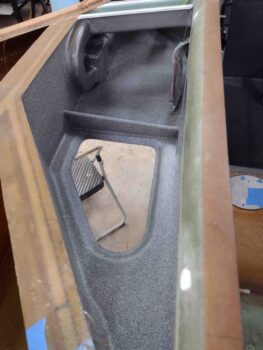
I threw a light inside the fuel tank and reset the top strake skin in place… note in the upper corner the edge of the T-hat can be seen.
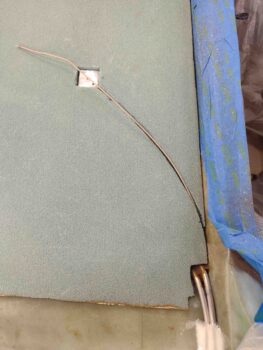
I then notched the left strake top skin core in the aft inboard corner for the fuel vents, and also measured and marked out the position of the left fuel probe.
As I did on the right strake top skin, I drilled the fuel probe access hole from the inside out for a cleaner hole.
I then marked and notched the left strake top foam to allow inserting the fuel probe flange.
Here we have a shot from the front of the strake looking aft of the left fuel probe being test fitted into the notched strake top.
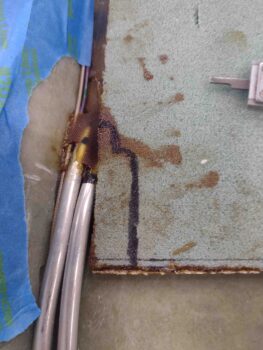
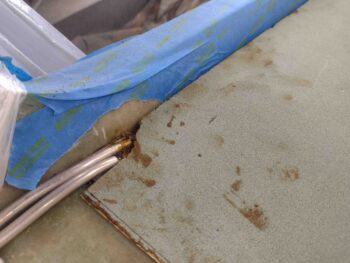
I then marked and cut a channel for the fuel probe wires (data + ground) on the right side.
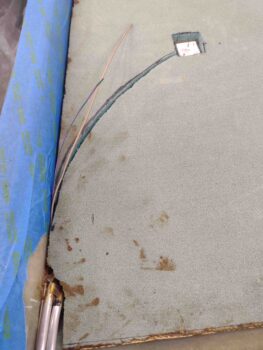
I then test ran the wires… looking good.
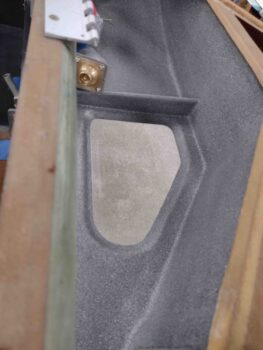
Here I again have a light inside the left fuel tank to backlight the fuel probe notch. I’ll note that the right side fuel probe was about as close as I wanted to comfortably get to the T-hat, so I used 5.5″ x 16″ on the left side. Moving the probe about 5/8″ farther from the T-hat than on the right side.
As I also did on the right, I assessed the wire path and marked the wire channel run.

I then cut the channel for the left fuel probe wires.

And test ran those wires. Again, so far so good.
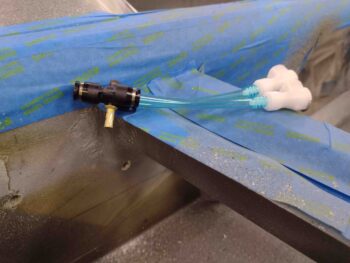
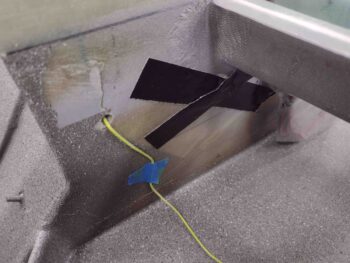
I then focused on installing yet another tidbit while I still have unfettered access into the strake baggage areas: a small #6 RivNut hardpoint that will allow me to secure the O2 system’s oxygen tube Y-splitter. This splitter allows for one feed tube off the regulator on the O2 bottle in the right strake to then run through about a 30″ line to the left strake where it splits to feed both pilot and GIB cannulas.
[Side note: I called Mountain High to order a longer feed tube to facilitate my configuration above and they simply sent me a 36″ length of tubing free of charge… great customer service!]
I had planned on using a #6 nutplate/phenolic assembly mounted on a 3/8″ thick base of foam, not realizing I had any #6 RivNuts on hand. Moreover, I can’t find my bag of small rivets and in looking for it found the RivNuts… one problem solved, but I’ll of course need to find my bag of rivets (which I know I have since I used them on the GIB eyeball vent mounting flange!).
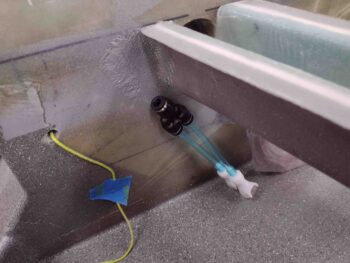
Here I have the Y-splitter test-mounted to the #6 RivNut.
I then floxed in the #6 RivNut . . .
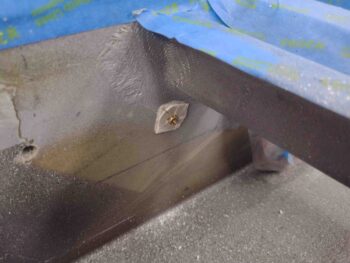
and secured it in place to cure with Gorilla duct tape.
I also ran a yellow pull string to allow for pulling the O2 feed tubing from the right baggage compartment to the left.
A few hours later I pulled off the tape and tape-covered-washer and then test-mounted the Y-splitter… works a treat!
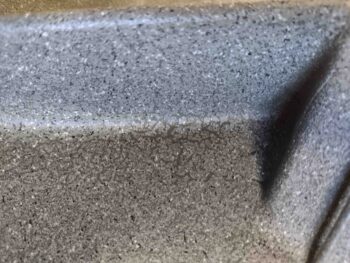
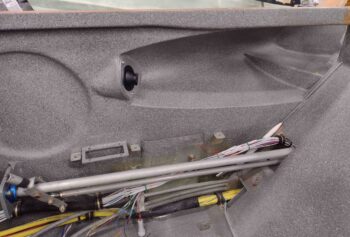
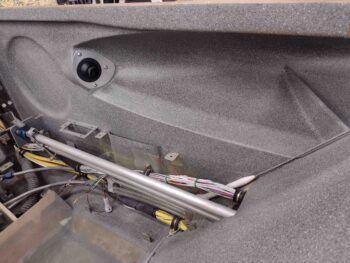
With my clear coat well into the cured state, I then spent a good hour removing all the plastic sheeting and tape to reveal the new FINISHED cockpit and strake baggage compartment paint job. With the mottled paint issue remedied, I have to say I’m very pleased with the outcome.
Here we have the front right side.
And another angle… with the pilot eyeball vent reinstalled.
Then the left side front… note the slightly different metallic color of the RAM air scoop setup.
And here we have the right backseat area. As you can see I removed the tape from both the GIB windows and the fuel site gage bubbles.
And the left side GIB area.
Finally, the baggage compartments with the GIB windows.
It was a fairly long build day and now very late in the evening (ahem, morning)… time to knock off for a few hours!