
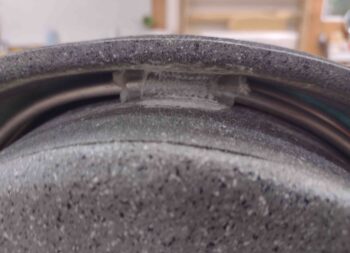
I started off this morning by removing the clamps and the spacers to reveal my flox and glass gatekeeper to keep the fuel vents wrangled in the Turtledeck. While the glass and flox certainly did the job, it’s interesting to note that the pressure I put on the layup squeezed a good bit of epoxy out of the glass layup and made it fairly dry.
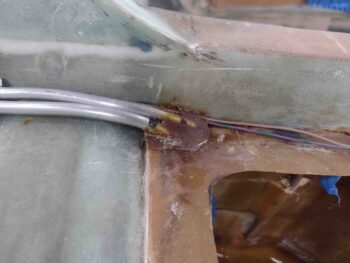
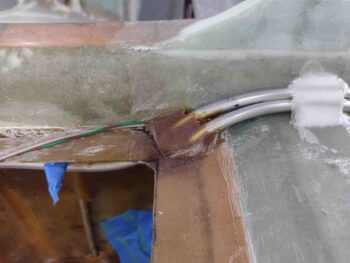
I also grabbed shots of the E-Z Poxy floxed fuel vent lines exiting the aft corners of the fuel tanks via the flange. I peel plied them since there will be more added to these flox bits when the strake tops get floxed into place.
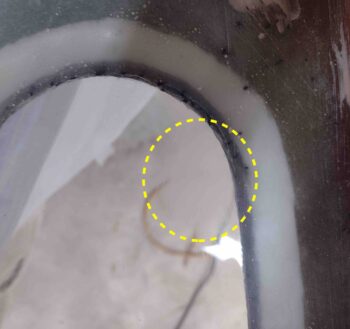
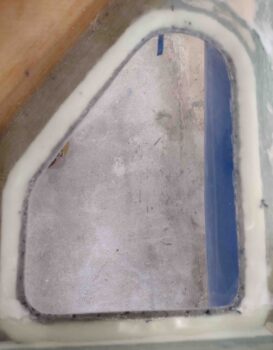
I then gathered up some 600, 1200 and 1500 grit sandpaper and wet sanded the scratch on the aft end of the left GIB strake window. If you focus on the electrical cord on the ground you can see how it disappears into a haze… that haze is the wet-sanded scratch.
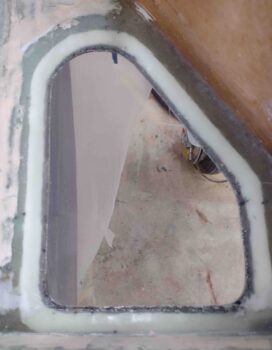
I then buffed out both the right and the left GIB strake windows… and with the windows pretty much scratch free on the inside, it was time to tape them up for paint.
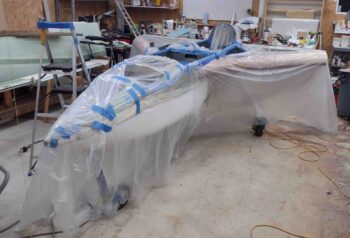
I also taped up a whole bunch of other things as well in prep for paint.
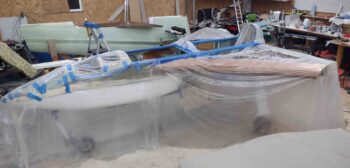
And covered a bunch of areas with plastic to ensure anything that was not supposed to get paint, didn’t.
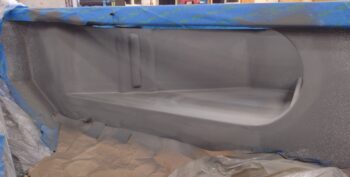
I then broke out the primer and hit the pilot right baggage opening.
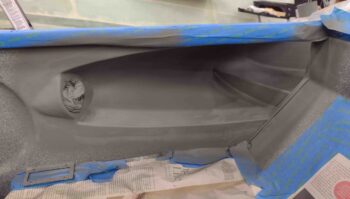
As well as the GIB right baggage opening…
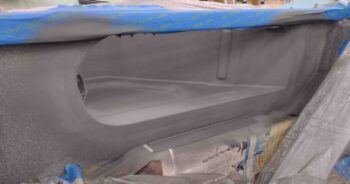
then the left side in the back.
And finally, the left pilot baggage opening. I have to say, I really like this gray… too bad it doesn’t cover as well as the gray granite paint.
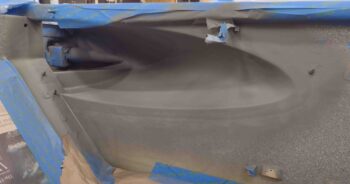
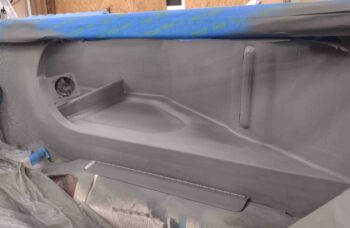
After a good 30 minutes plus, I then painted the inside of the baggage areas and fuselage with the Rustoleum gray granite paint.
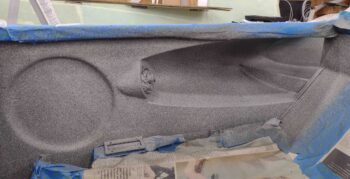
I was a bit concerned with how well it would blend with the previous paint, but thankfully it looked like it came out of the same can! As I always say: better to be lucky than good. Ha!
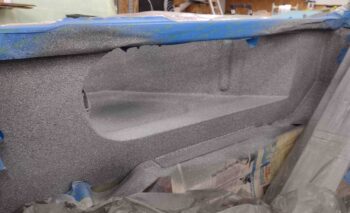
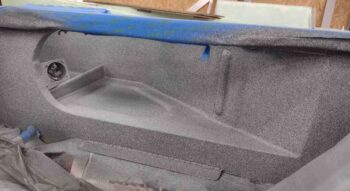
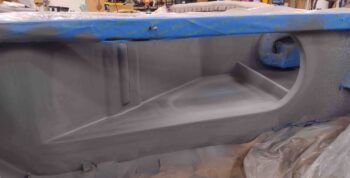
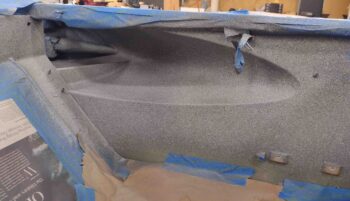
And the last couple of shots. All these pics were taken after I shot the second and final coat of paint.
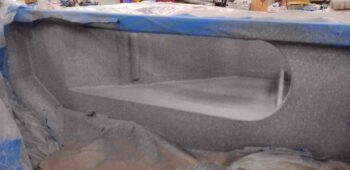
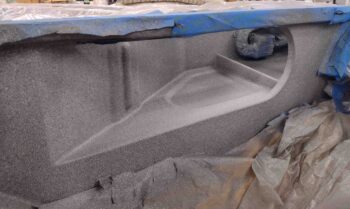
I’m extremely pleased with how the paint looks. Moreover, I’m glad I took the time to micro up the various spots of the baggage areas to smooth out the rough stuff.
Tomorrow I’ll shoot a couple rounds of clear coat before moving on to the outboard strake storage compartments and preinstall on the fuel probes.