
Today I got up fairly early and hit the aft edge of O2 bottle mounting sleeve with a couple rounds of matte clear coat. I know this picture isn’t that great for the paint, but the structure in the background is a pretty good shot… so I left it in the lineup.
I wanted satin clear for the oil heat RAM scoop components, so I departed for Lowe’s and got there just shortly after they opened. I then returned and hit the RAM air scoop, vapor box and ducts with 2-3 shots of satin clear coat.
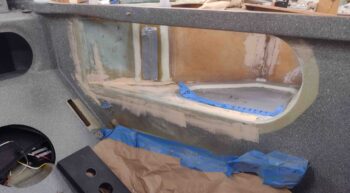
I then got to work on the inside fuselage and baggage areas for final sanding and hole filling, etc. in prep for final paint. In my mind there is a bit of a priority in how nice you make these areas in order of visibility eh? <wink> With the front right pilot baggage area getting the most love since it’s the most visible when the plane is opened up. #2 would be the back seat right baggage area. #3 would be the front seat left side, with the back seat left side being #4.
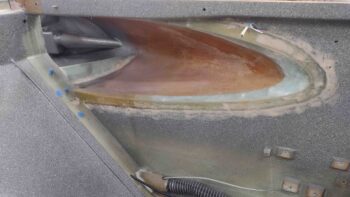
Here we have the front seat pilot strake/baggage openings. I sanded a good bit inside, as well as the new baggage dams, and quite a bit around the perimeter where the glass overlaps into the main cabin onto the fuselage sidewalls. As you can see, after some rigorous sanding I then hit these areas with a bit of micro/West 410 mix.
I then moved aft to the back right side. Again, the main culprit is the overlapping glass into the cabin on the sidewalls. After a fair bit more sanding I employed micro/West 410 again to help smooth things out.
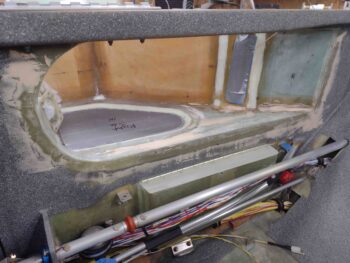
As I did on the back left side. I have to say, this was quite the workout leaning into the cockpit and sanding all this stuff.
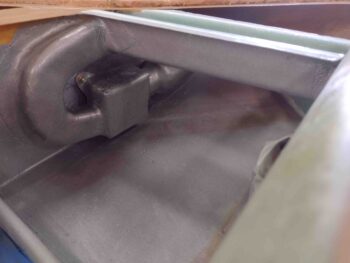
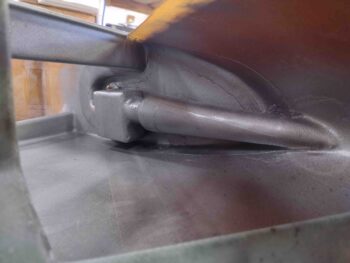
I also whipped up some flox and a couple of plies of prepregged BID, about 3/4″ x 1″, and first floxed up the fuel vent tubes in the center top area of Turtledeck. I then used a taped up rectangular foam wedge (with the 2-plies of BID and a top layer of peel ply) followed by a taped up 1/2″ thick wood piece to force the fuel vents as far aft into the groove between the GIB headrest and the outer Turtledeck frame.
Hopefully this will keep those fuel vent lines wrangled inside of there until I can figure out exactly what I want to do with all that.
I then whipped up some flox using E-Z Poxy 84B hardener for the right side aft internal corner for the fuel vents exiting out of the top fuel tank flange (again, sorry, no pic).
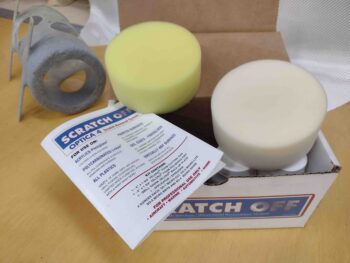
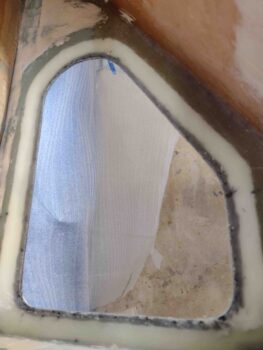
I then pulled down the Scratch Off plexiglass cleaner and scratch removal kit. I cleaned up the pads in the house since I haven’t used this in a couple of years.
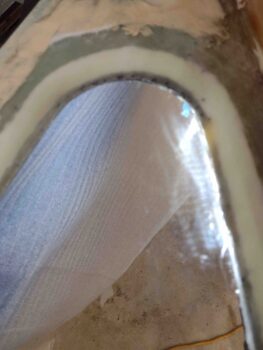
I then got ready to hit the left GIB strake window since I have some pretty decent scratches/epoxy residue from the epoxy wicking up under the tape seams (big sigh).
These are before shots of the scratches…
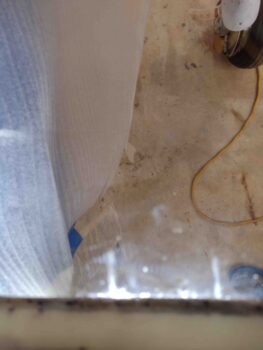
As is this.
There’s a chart in the Scratch Off instructions on where you should start depending on the type of scratch you have, with it noting that you can always start over with more extreme measures if need be.
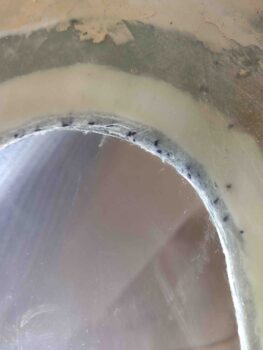
Well, I was 3 pads into the sequence when I really noticed one of the big scratches I was going for wasn’t buffing out. I had skipped Step 1 which starts with 600 grit wet sanding, and went straight to the pads…
Well, tomorrow I’ll go back to it starting with the 600 grit wet sanding.
I will note there is definitely a very noticeable improvement in the overall clearness and cleanliness of the window. I’ll hit the outsides of these windows at a later point.
After a VERY long day in the shop, I’m calling it a night.