
For today’s blog I’ll cover a little of yesterday’s build events as well, no matter how light it may have been.
Yesterday I was just plain beat from this past weekend. I guess you would call it more of a planning day: not only for the airplane build, but for my upcoming trip out west as well. I did spend a few hours re-printing all the wiring diagrams that needed printed… which required some updates on a few them. I will also note that it was quite a chilly day too.
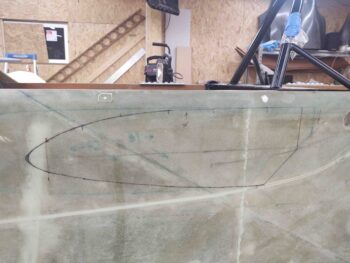
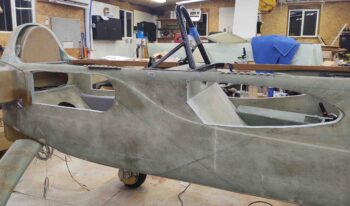
As for today, I spent about 2 hours marking up the sides of the fuselage –as per plans (all but the rounded front tip)– for the strake cutouts.
Here we have the front left fuselage strake cutout marked up.
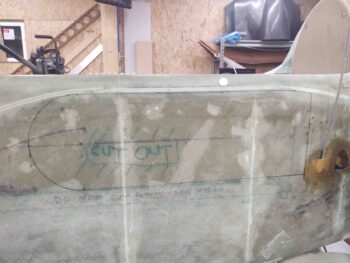
And the aft left strake cutout as well.
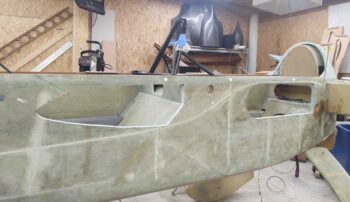
I then cut out the strake openings in the fuselage, ensuring to cut just a hair inside the line to sand a smooth line afterwards.
I’m doing what I call the “Steve Volovsek Elbow Room Mod,” which I learned about from my buddy Marco. Instead of starting the aft side of the GIB strake opening 15″ forward of the CS spar, as per plans, you start the opening way aft: mine is 5″ forward of the spar. As the name implies, this mod allows the back seat passenger to rest their arms inside the strake openings, which really opens up that area back there to help reduce the feeling of confined quarters and adds quite a bit of comfort for the GIB.
As a pittance of a counterbalance however, I did move the rounded front edge of the GIB strake opening aft 1.5″ to end up at 28.5″ forward of the spar, vs. the plans 30″ forward of spar. I figured this would add back in just a skooch of rigidity without any really access room being lost.
[BTW, Mike Beasley incorporated this in his recently airborne Long-EZ, and Ary Glantz followed suit] I myself have been planning to incorporate this mod since very early on in the build.
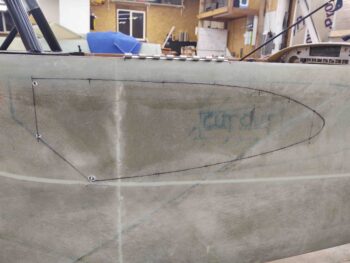
I then did the same thing on the right side. Here’s the fuselage front strake cutout marking.
And here’s the right side fuselage strake cutouts, which completes this initial task for the strakes. Again, I still have to sand the cutout edges to get them dialed in nice, straight and smooth.
After finishing the strake cutouts, I finally got around to pulling the peel ply and cleaning up the GIB right sub-panel interior layup.
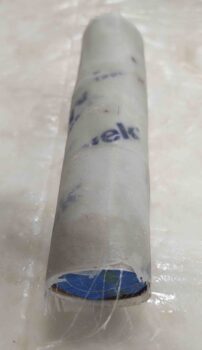
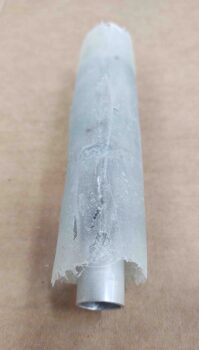
I didn’t have a pic of this earlier, but this is the storage tube for the GIB removable control stick.
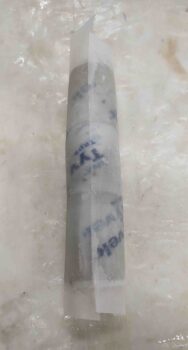
I actually took a cardboard tube and wrapped it around the GIB control stick, and then taped it up.
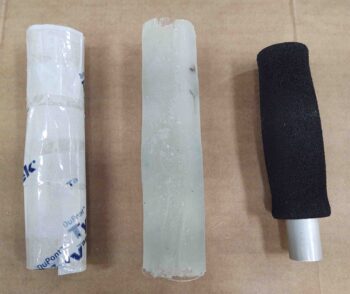
I then laid up a bunch of small pieces of scrap glass onto the taped tube, and peel plied it. Here it is with the peel ply removed.
And with the taped, and untaped, control stick removed.
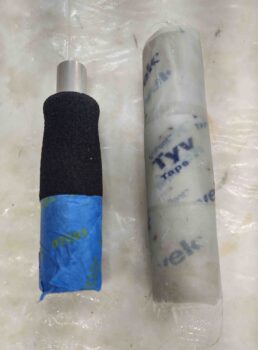
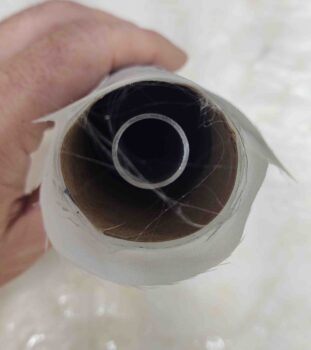
Here’s the taped cardboard tube form, the GIB control stick stowage tube, and the GIB control stick.
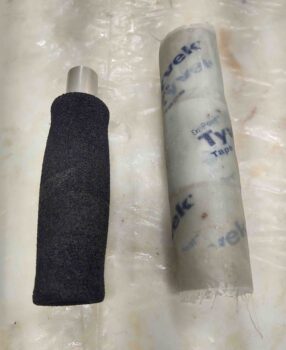
Here we have the GIB control stick in the stowage tube.
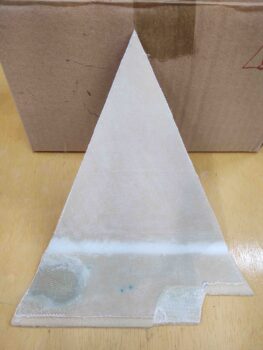
Before I cut out the strake openings in the fuselage, I tested the saber saw bit on one of the included strake outboard ribs. With a nice clean cut on the outboard rib, I then proceeded forward with using the saber saw for cutting out the fuselage strake openings.
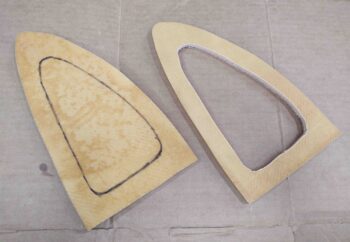
After the strake openings were cut out, I then went back and cut out the middle area of the other strake outboard end rib. On both ribs the width of the remaining rib material is about an inch.
I’m adding these access holes since I don’t want a solid rib staring me in the face when I remove the wings. On the outboard end of the left strake I’ll have 2 GRT magnetometers mounted: One for the HXr EFIS and the other for the Mini-X EFIS. Clearly I’ll need access to those.
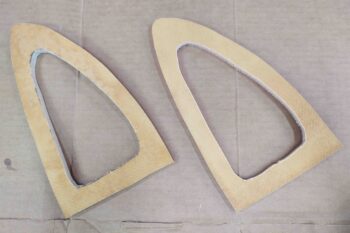
On the outboard strake on the right side I need an accessible pocket in case my nose mounted transponder antenna is causing noise issues (an oft-reported clicking with new S-mode transponders) and I need to remount the transponder and/or antenna.