
Due to traffic, road construction, etc. I got back much later last night than I had intended to. Since I didn’t really have any groceries, I dumped my stuff in the house and grabbed a bite to eat out. When I got back home I called it a night.
I started off today checking out the heat/air duct mounting in the GIB area just aft of the pilot seat on the left side. As a reminder, I used silicone RTV to mount the ducts just in case I ever need to remove them.
After removing the clecos and duct tape, I did a quick clean up on some of the more obvious areas, and assessed the duct system attachment to the interior fuselage. Overall, I’m really pleased. There are a few minor areas that I’ll need to redo, but nothing major. In short, the ducts are definitely attached securely.

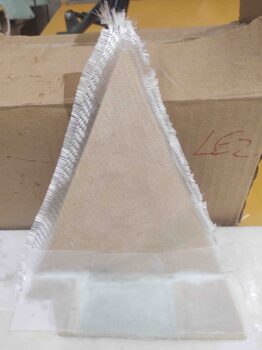
I then got to glassing the interior of the right GIB sub-panel. I used an added ply of BID on the depression where the 2 switches will get mounted, and then used a couple of overlapping scrap plies of BID for the rest of the interior surface.
My friend needed me to watch her kid for a few hours, so my little buddy came over to hang out. I was just finishing up the layup above, and was able to get the interior of the left GIB sub-panel shaped (sorry, forgot to get a pic). I’ll glass that sub-panel tomorrow.
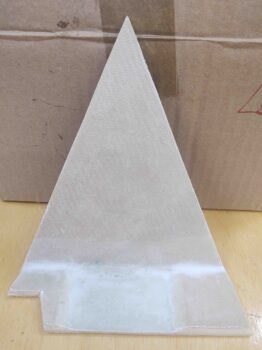
I did get back out to the shop later in the evening to pull the peel ply and razor trim the right GIB sub-panel once the glass had cured.