
The weather is supposed to be acceptably warm (mid-70s) over the next 2-3 days so I’m rushing as fast I can to finish up the interior tasks in the cockpit so I can paint.
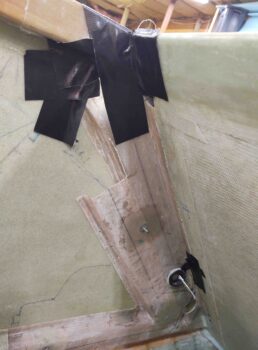
On the heat/air duct I needed to reseal a couple of spots that didn’t quite pass muster. There was one strip towards the bottom, but most of it the areas of concern were all at the top.
I re-silicone RTV’d the flanges and then taped them as tight as I could get it.
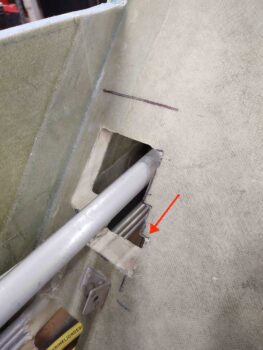
I then started some seat back hole filling along the edges of the armrests, both on the front seat (red arrow).
The upper right GIB seat . . .
And the lower left GIB seat.
I also filled the back side of the through-seat hole edge on the back of the pilot seat, as well as installed a clickbond to secure the landing brake cable with an adel clamp.
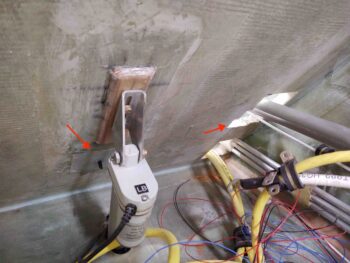
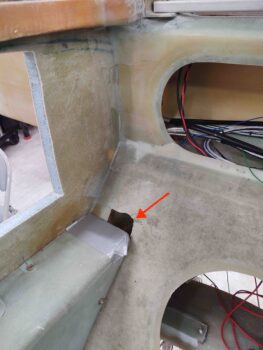
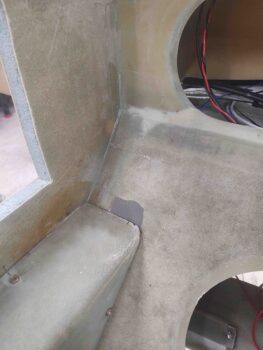
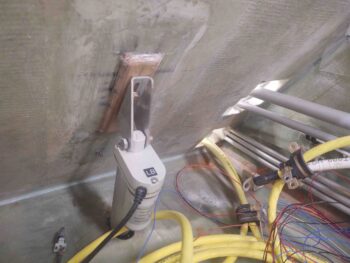
After all these years I’ve finally decided where I’m going to mount my ELT antenna. For a very long time I had it in my mind that it would go near AC centerline on the back of the pilot’s seat, right next to the landing brake actuator.
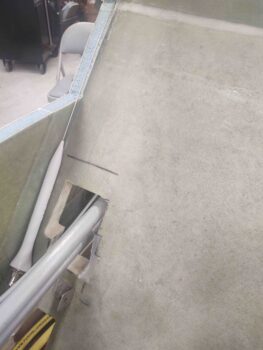
The problem was/is that the angle of the antenna connector did not flow well at all with the seat. So I decided to put it at the very right edge of the front seat, only flipped around backwards to get a better angle for the antenna cable connector (I called ACK and made sure it was ok to do so). Here’s the general location of where the ELT antenna will be installed.
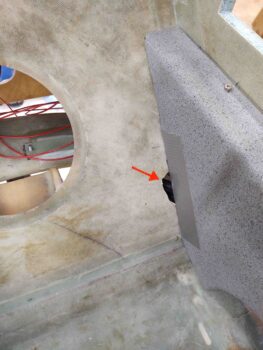
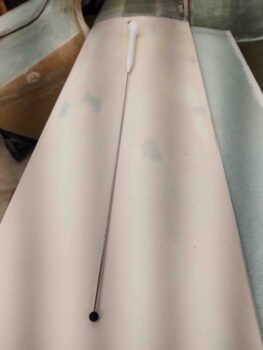
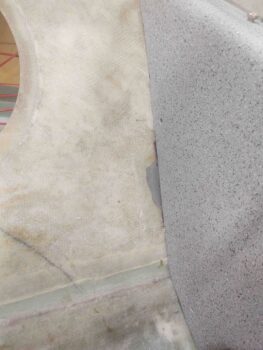
Once the strakes are installed, I will need to re-glass the edge of the front seat bulkhead where it meets the fuselage sidewall. At this point I intend to simply cover the ELT antenna with a ply or two of glass right at the very edge of the seat bulkhead. I also plan to drill a small hole in the pilot seat back structure and hide the top of the antenna in the side back.
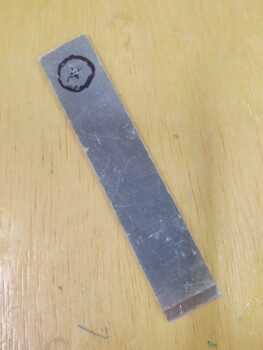
To do that, I want the smallest, most nondescript hole I can make. But the ELT antenna has a protective black ball on the tip.
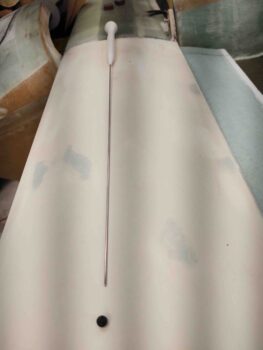
But a few minutes later, it didn’t (grin).
As I was glassing the various unsightly blemishes in the cockpit, I also laid up a ply of BID on the back of the GIB control stick storage tube as a stop to keep the stick from sliding in too far..

I then spent a good hour+ floxing the GIB removable control stick storage tube into the GIB right sub-panel. I used a good bit of micro as well and a few plies of BID to secure the stick storage tube.
Here’s another shot.
A couple hours later I pulled the peel ply and cleaned up the interior cockpit cleanup layups. Here’s the shots of all those:
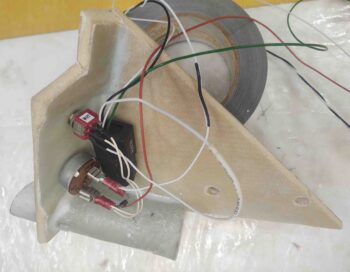
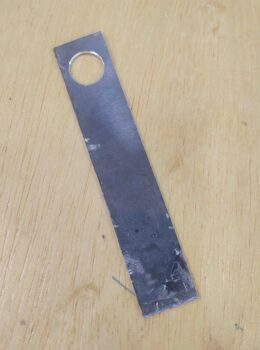
I then started constructing the ELT antenna mounting bracket. If you’re wondering why I’m messing with the ELT right now, it’s because I need to install 4-6 copper foil tape strips to create a back plane for the ELT antenna. At least 2-3 of these backplane strips will attach to surfaces that I plan to paint on the pilot seat bulkhead.
To get this task done, I needed to know the actual mounting position and configuration of the ELT antenna.
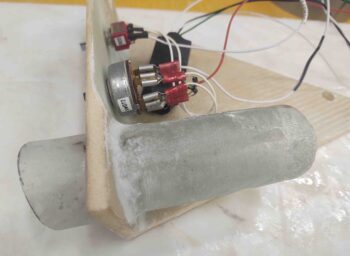
 Here’s another shot of the ELT antenna mounting bracket…. I actually did a lot more on it, but, alas, I forgot to grab any more shots.
I then mocked up and test fitted the GIB right sub-panel. Again, if you’re wondering why I went through the trouble of making a storage tube for the GIB control stick, it’s because I don’t like “gear afloat” (as the Navy would say) in the cockpit.
In fact, there’s a funny story (now) of me in the back of Marco’s Long-EZ trying to maintain a climb as Marco punched in waypoints in the GPS. He asked me what was up since my climb was quite anemic and we were at risk of overspeeding the prop.
Well, as I was moving stuff around in the back seat, the control stick fell out of the strake baggage area onto the floor: game over. There was no way I could retrieve it… my climb angle was so weak because I was using my finger in the control stick nub trying to lever it back as far as possible. Unfortunately my finger didn’t work as well as a stick handle!

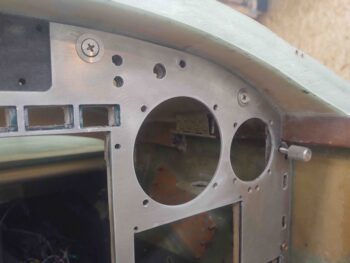
I then spent a good hour tearing down and removing the panel. Before the panel actually came off however, I decided to try out my new shorter SkyBolt/CAMLOC studs on the right side of the panel. The far right stud is a -8, while the one towards the center is a -9. Clearly these fit much better than the -10s I had before.
I’m going to try my hardest to knock out all the interior cockpit tasks so I can get the cockpit 80-90% painted tomorrow . . . in the good weather!