
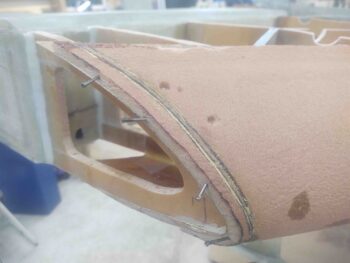
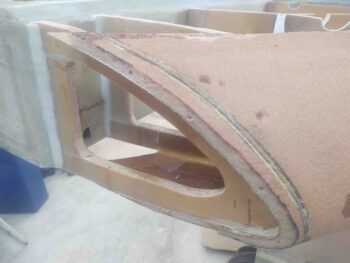
Today I finished the last layup securing the ribs to the strake leading edge. Specifically I glassed the outboard side of the left strake’s OD rib to the inside of the leading edge.
I also micro’d the last added strip to the right strake outboard leading edge that I had lopped off in error. Since I tore up the bottom edge I’ll have to improvise when it comes to repairing and adding to that lower edge.
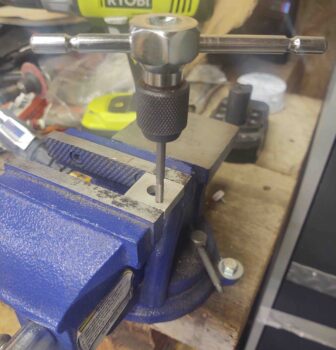
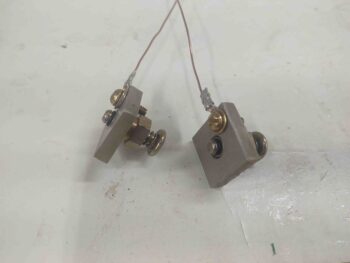
I then got to work on the strake fuel drain blocks to drill and tap both of them for a #8 brass screw. The screw will secure the internal tank ground wire to the interior side of the block. I found this method of tank grounding in a CSA issue and quite like the idea of attaching the fueling ground clamp to the tank drain nub, when feasible.
Here we are with hole drilled and mid-tap of the #8 threads.
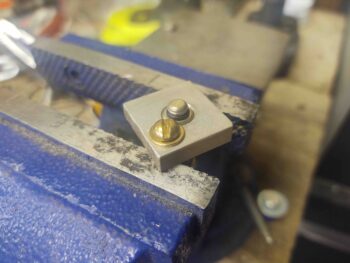
And then a test fit of both the drain and the #8 brass screw… from the inside fuel tank perspective.
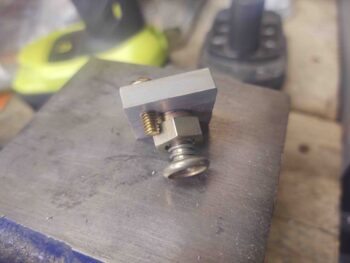
And from the outside fuel tank/strake perspective. This 1/2″ long brass screw was the shortest length I could find, so it will have to be trimmed in length.
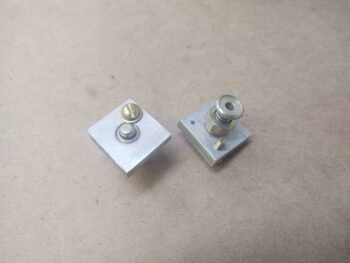
Here we have both fuel tank drains and securing blocks with holes drilled and tapped and their respective #8 brass screws installed.
Since I didn’t have any thinner gauge (18-20 AWG) solid core wire on hand, I had to make my own. I took a spare house thermostat 5-wire cable and removed the outer sheathing.
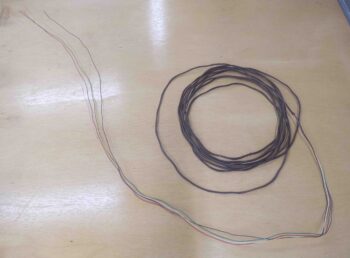
And then stripped the long lengths of wires before crimping a ring connector on each one.
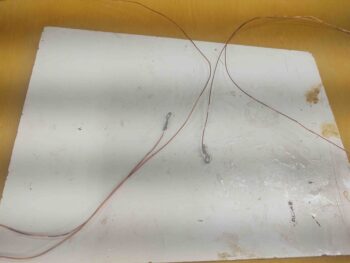
I then test mounted the ring connectors/wires to the fuel tank drain blocks. So far so good.
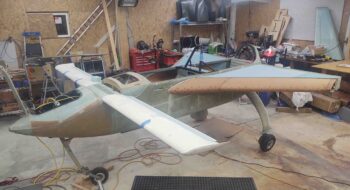
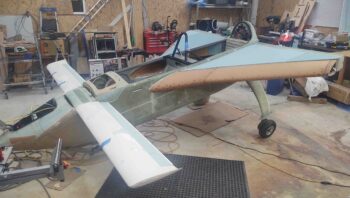
To find the low point of the fuel tank I needed to put the plane in the grazing position. But first I snapped this pic with the strakes looking somewhat complete.
And then installed the battery in the nose and connected up all the wires. After a few minutes of fiddling with the wires, I then fired up the gear and put the nose of the plane almost to the ground. Since it was getting a bit late, I didn’t want to start on the fuel drains this evening. I plan on installing them tomorrow.
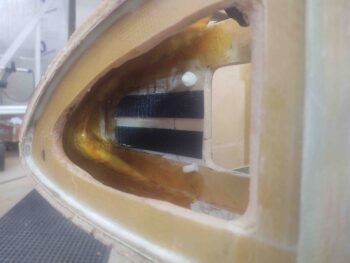
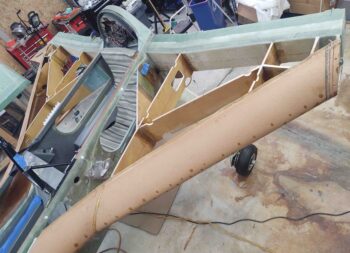
I also grabbed a shot of all the internal ribs and baffles in the strakes.
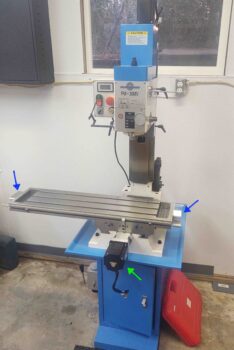
I did however get almost an hour in on the milling machine. I installed the X-axis ball screw under the length of the bed. I also installed the Y-axis stepper motor on the front side. I need to get some more metric screws to finish off the install, and will work that a bit here and there.
And with that, I called it a night.