
After not doing anything other than cleaning the shop up yesterday prior to Marco and Chris Cleaver’s visit, I wanted to get back into the shop and knock out a bunch of stuff. However, with early evening dinner plans I didn’t get as much accomplished as I wanted to.
I started off by pulling the peel ply and trimming all the excess glass from the interior and exterior BID tape layups that secure the outboard rib to the strake leading edge core.
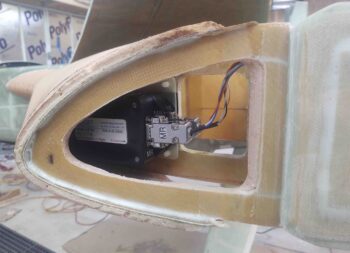
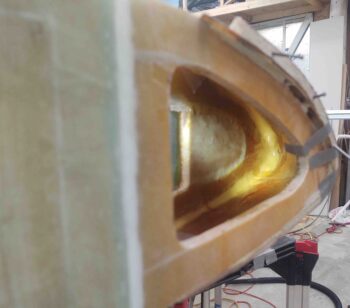
As you can see, I also temp installed the GRT EFIS magnetometers to ensure they fit properly.
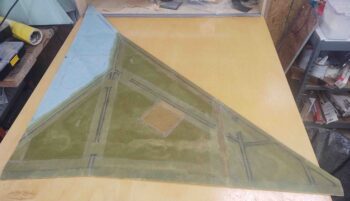
I then razor trimmed the overhanging glass and cleaned up all the peel ply boogers off the right strake bottom skin foam core tank area (primarily) layup.
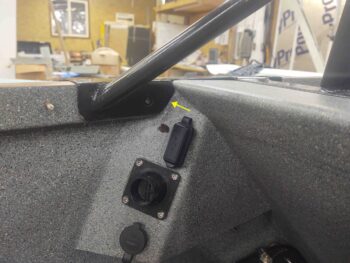
When Marco and Chris were on their way yesterday, I went to place the roll bar back into place just for show and tell. Well, I had forgotten that the roll bar flange on each side needed to be trimmed, and some slots made in the GIB side sub-panels, before the rollover frame could be set into place.
I spent about 45 minutes dialing in the roll bar frame to allow it fit along with the GIB side sub-panels.
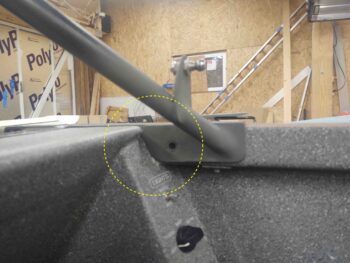
It didn’t take long to dial in the let side, while I spent the majority of my time on the right side.
I then broke out the Dremel tool and spent at least a half hour cleaning off all the dead flox that squeezed through to the outboard side from the much earlier inboard layup on the OD rib attach to the right strake LE. Since I have a large amount of flox on the inboard side, I went with micro here to really add a decent size fillet without adding a bunch more weight.
After adding in the micro fillet, I then laid up a ply BID to secure the outboard OD rib to the strake leading edge.
Tomorrow I’ll continue my quest forward to finish these strakes.