
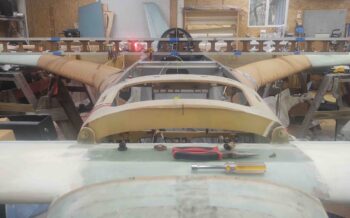
Today was all about getting the left strake leading edge installed… which I was able to accomplish.
I did have a prerequisite task to accomplish first: run a 1/4″ diameter Nylaflo tube from the front edge of the strake opening to behind the panel via the bottom edge of the canopy latch handle opening in the fuselage sidewall.
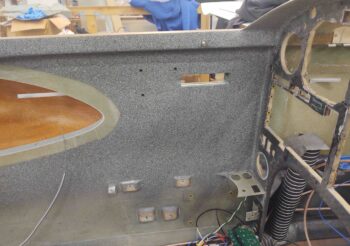
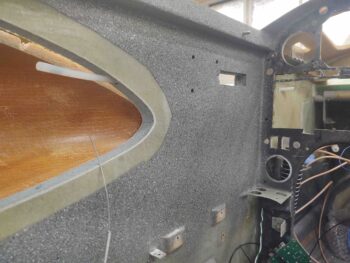
Here’s a before shot of the canopy latch handle opening.
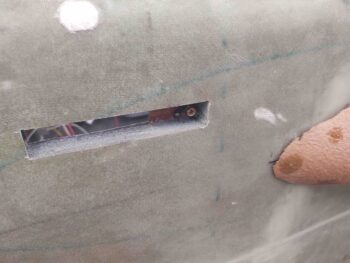
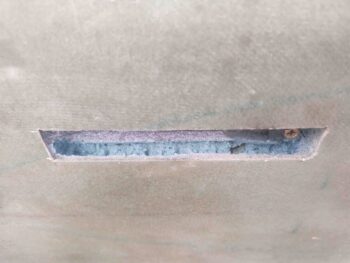
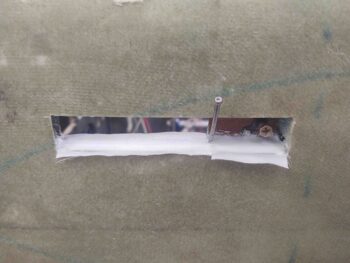
And then a shot after I dug about a 1/4″ trough down through the middle of it.
I then used a medium-long drill bit to drill from the front seat strake opening edge into the canopy latch handle opening trough, as you can see the bit traversing here.
And this is what the actual operation looked like.
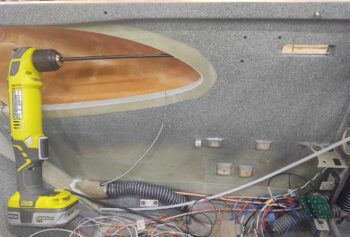
I then used a much longer 1/4″ bit to allow me to get behind the panel. I then reversed drilled at a very shallow (or steep, depending how you call it) angle to allow for a nice egress from the side wall of the Nylaflo tubing.
Here’s a another shot of it. At this point you might be asking, “Great, but what is it for?” … Good question. I’ll be running 2 pairs of 22 AWG wire through this tubing to allow mounting 2 switches that will control cockpit/map lighting in the front seat. Actually, I’ll probably dive in another pair of wires at the front edge of the canopy latch handle opening for the canopy warning microswitch.
And both ends of the Nylaflo tubing will be trimmed flush with the fuselage sidewall.
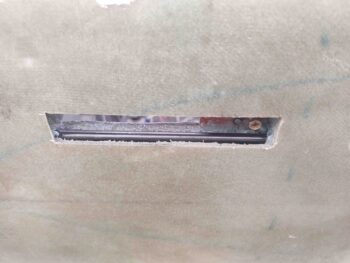
I then whipped up some micro and micro’d the Nylaflo into the canopy latch handle opening trough. I then peel plied the micro.
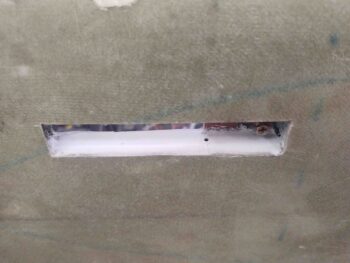
Fast forwarding a few hours, here it is after it cured and I pulled the peel ply:
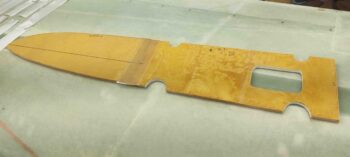
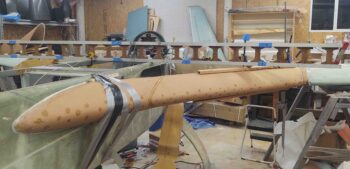
I then trimmed the inboard edge of the right strake leading edge before mounting it onto the fuselage, along with the left strake leading edge. To be clear, I still need to trim the outboard right strake leading edge before it’s ready to be mounted.
The purpose for mounting the right strake leading edge was to get a good assessment on the B23 baffle and R23 rib in joining them together. Matching the waterline marks seemed to be spot on, so that was the plan to glass these together.
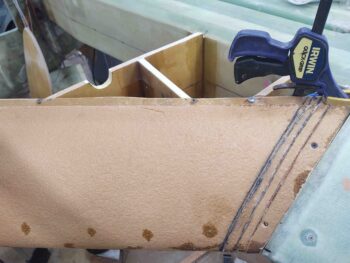
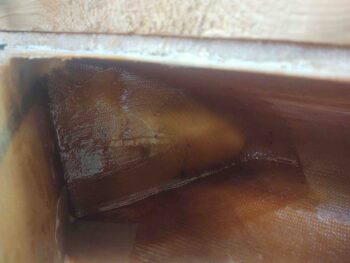
Here we have the R23 rib as seen from inside the front fuselage strake/baggage area opening.
Fast forwarding a number of hours, here we have the right strake R23 rib combined with the B23 baffle as one piece. I glassed this first thing out fo the gate before I started in on attaching the left strake leading edge.
I spent a good bit of time –an hour plus– cutting out al the BID tapes for the left strake leading edge install.
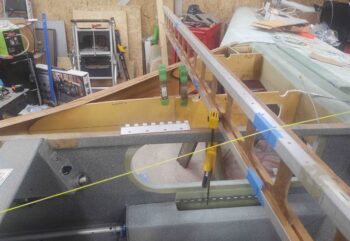
I also had drilled and set position screws on every rib to ensure I got a repeatable alignment once I got the left strake leading edge where I wanted it.
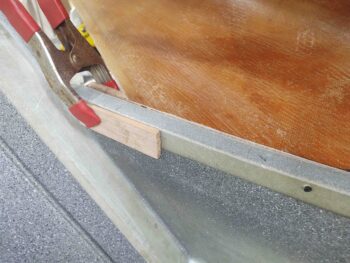
I also hot glued and clamped a small wood block on the bottom of the fuselage forward strake opening to ensure the bottom of the leading edge was aligned properly.

Here’s a closer look from the outside of the fuselage.

And a closer look from the inside of the fuselage.
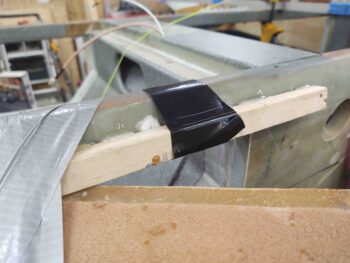
I also did the same thing on the top side to ensure the leading edge top flange was set in the correct position.
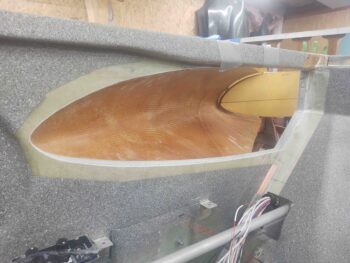
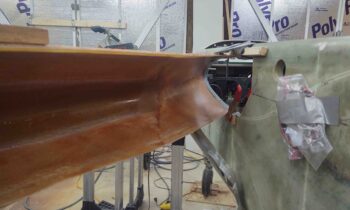
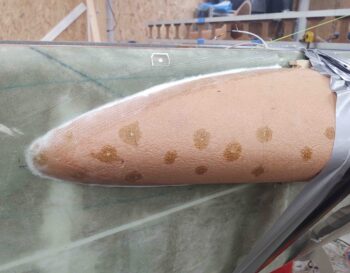
I then installed the left strake leading edge. Here’s a shot of it attached to the fuselage forward strake opening [Note the Kevlar strip inlay on the interior LE].
And although not the prettiest layup, here is the inboard side of the R45 rib showing how it is secured in place. I used 1 ply of BID here on each side.
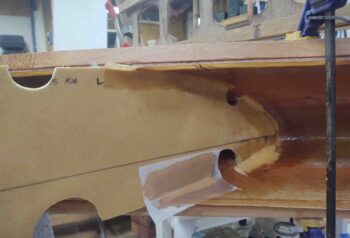
And then the modified OD rib that makes up the forward part of the fuel tank outer wall. I used 1 ply for the aft 3rd of the top joint followed by 2 plies at the rib nose and along the bottom junction with the strake leading edge.
After 3+ hours of scrambling, here’s the left strake leading edge installed!
And a closer shot of the forward end of the strake leading edge that’s attached to the fuselage. I will say that I was hustling so quickly that I just wasn’t able to peel ply these perimeter layups around the front part of the leading edge.
I had also planned on installing the actual R23 rib, but it just got so late that I’ll punt that off until tomorrow.