
I started out today by pulling the peel ply and cleaning up the left strake leading edge Kevlar +1-ply BID layup. The layup looked fine, and you can see some bits of it in the shots of the ribs below.
To mock up the left strake leading edge I first needed to trim the outboard aft fuel wall to height, both on the top and the bottom. Here you can see the top trim line I marked on the outboard aft fuel wall.

After I trimmed the aft fuel wall, I sanded the “T” junction smooth.
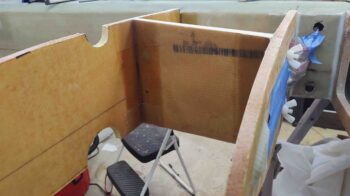
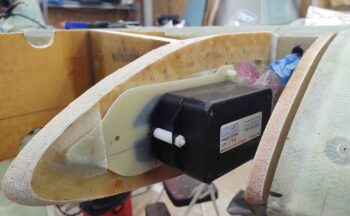
I then spent about 3 hours dialing in the fit of the left strake leading edge with the outboard group of 3 ribs: the R45 rib, the OD rib, and outboard rib. Part of that process included a 30 minute interlude where I remounted the double-stacked magnetometers much further aft on their phenolic mounting plate. This had to be done since I had to unexpectedly shave so much off the forward top edge of the OD rib. In their previous mounted spot the magnetometers simply would not have fit under the strake leading edge interior skin.
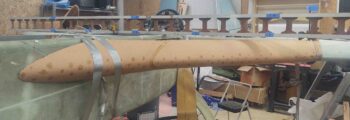
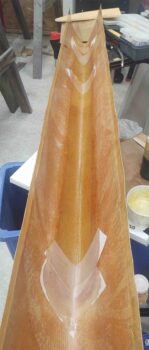
Here we have the left strake leading edge in its dialed-in and ready for install configuration.
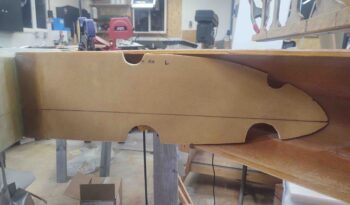
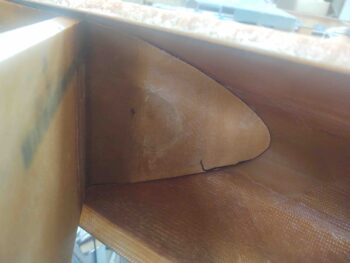
And here’s the R45 rib prepped for the left strake leading edge.
And the finely tuned (and much work required) modified OD rib, also ready for the LE install.
With just a few more preliminary steps to knock out, I plan on installing the left strake leading edge tomorrow.
Tonight my last task for the evening was laying up the 4″ Kevlar strip, with a 1-ply BID top layer, into the inside of the right strake leading edge. I peel plied the rib junctions and then left it alone to cure all night.
As I said above, my plan for tomorrow is to get the left side strake leading edge installed, then get the right side prepped for installing the following day.