
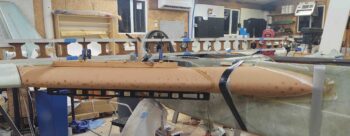
Today I finally finished mocking up the right strake leading edge. Again, doing this with the wing on presents some challenges, and again, just like the left strake leading edge —try as I might— I couldn’t avoid cutting the outboard end about 3/8″ short.
This time however I was not going to take the time to reattach some of the sliced off pieces before I glass the leading edge into place. Since I have to remove the wings soon to both put the fuselage in the grazing position to find the low water mark for the tank drains, and glass the outboard ribs, I figure I’ll just wait until then.
The rest of the install was long but straightforward. This time I used all EZ-poxy to make it easier and more efficient. I also was able to peel ply the 1-ply BID tapes around the leading edge that attaches to the fuselage.
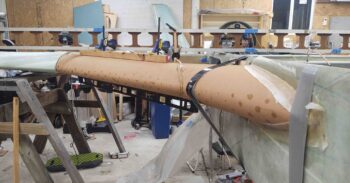
Here’s a shot from the front of the fuselage.
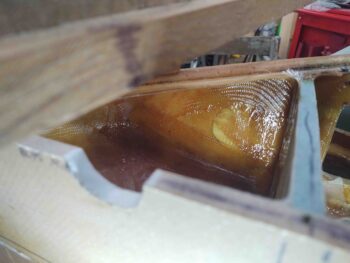
I’m using flox on the perimeter tank ribs and micro on the R45 rib. Even though I went with much drier micro this time, it still flowed out in this one spot . . . right out from under the glass. Yes, it looks sloppy but I think it will work just fine.
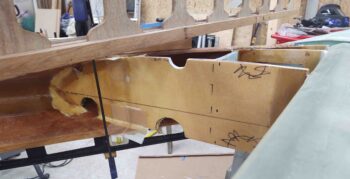
Here’s the modified OD rib, which is the outer fuel tank rib/wall on the forward side of the tank. I laid up a couple plies all the way around, and of course made them very wet.
For some reason this leading edge fits the ribs just a tad differently than the left side. I tried 9 ways til Sunday to figure out exactly what was causing it, but every measurement and configuration seemed pretty darn close between the sides. The right leading edge just seems to naturally rotate forward a hair more than the left side…. although admittedly I had to cajole the left a little more than this side.
The result is the aft bottom flange sits a little farther aft while the top flange sits a hair forward as compared to the left side. The alignment between fuselage and wing looks really good so I pressed forward with the leading edge install.
Then, at the end of the evening I had some left over epoxy and was actually able to glass the inboard side of the outboard rib. I’ll have to glass that same section on the left wing once I take the wing off.
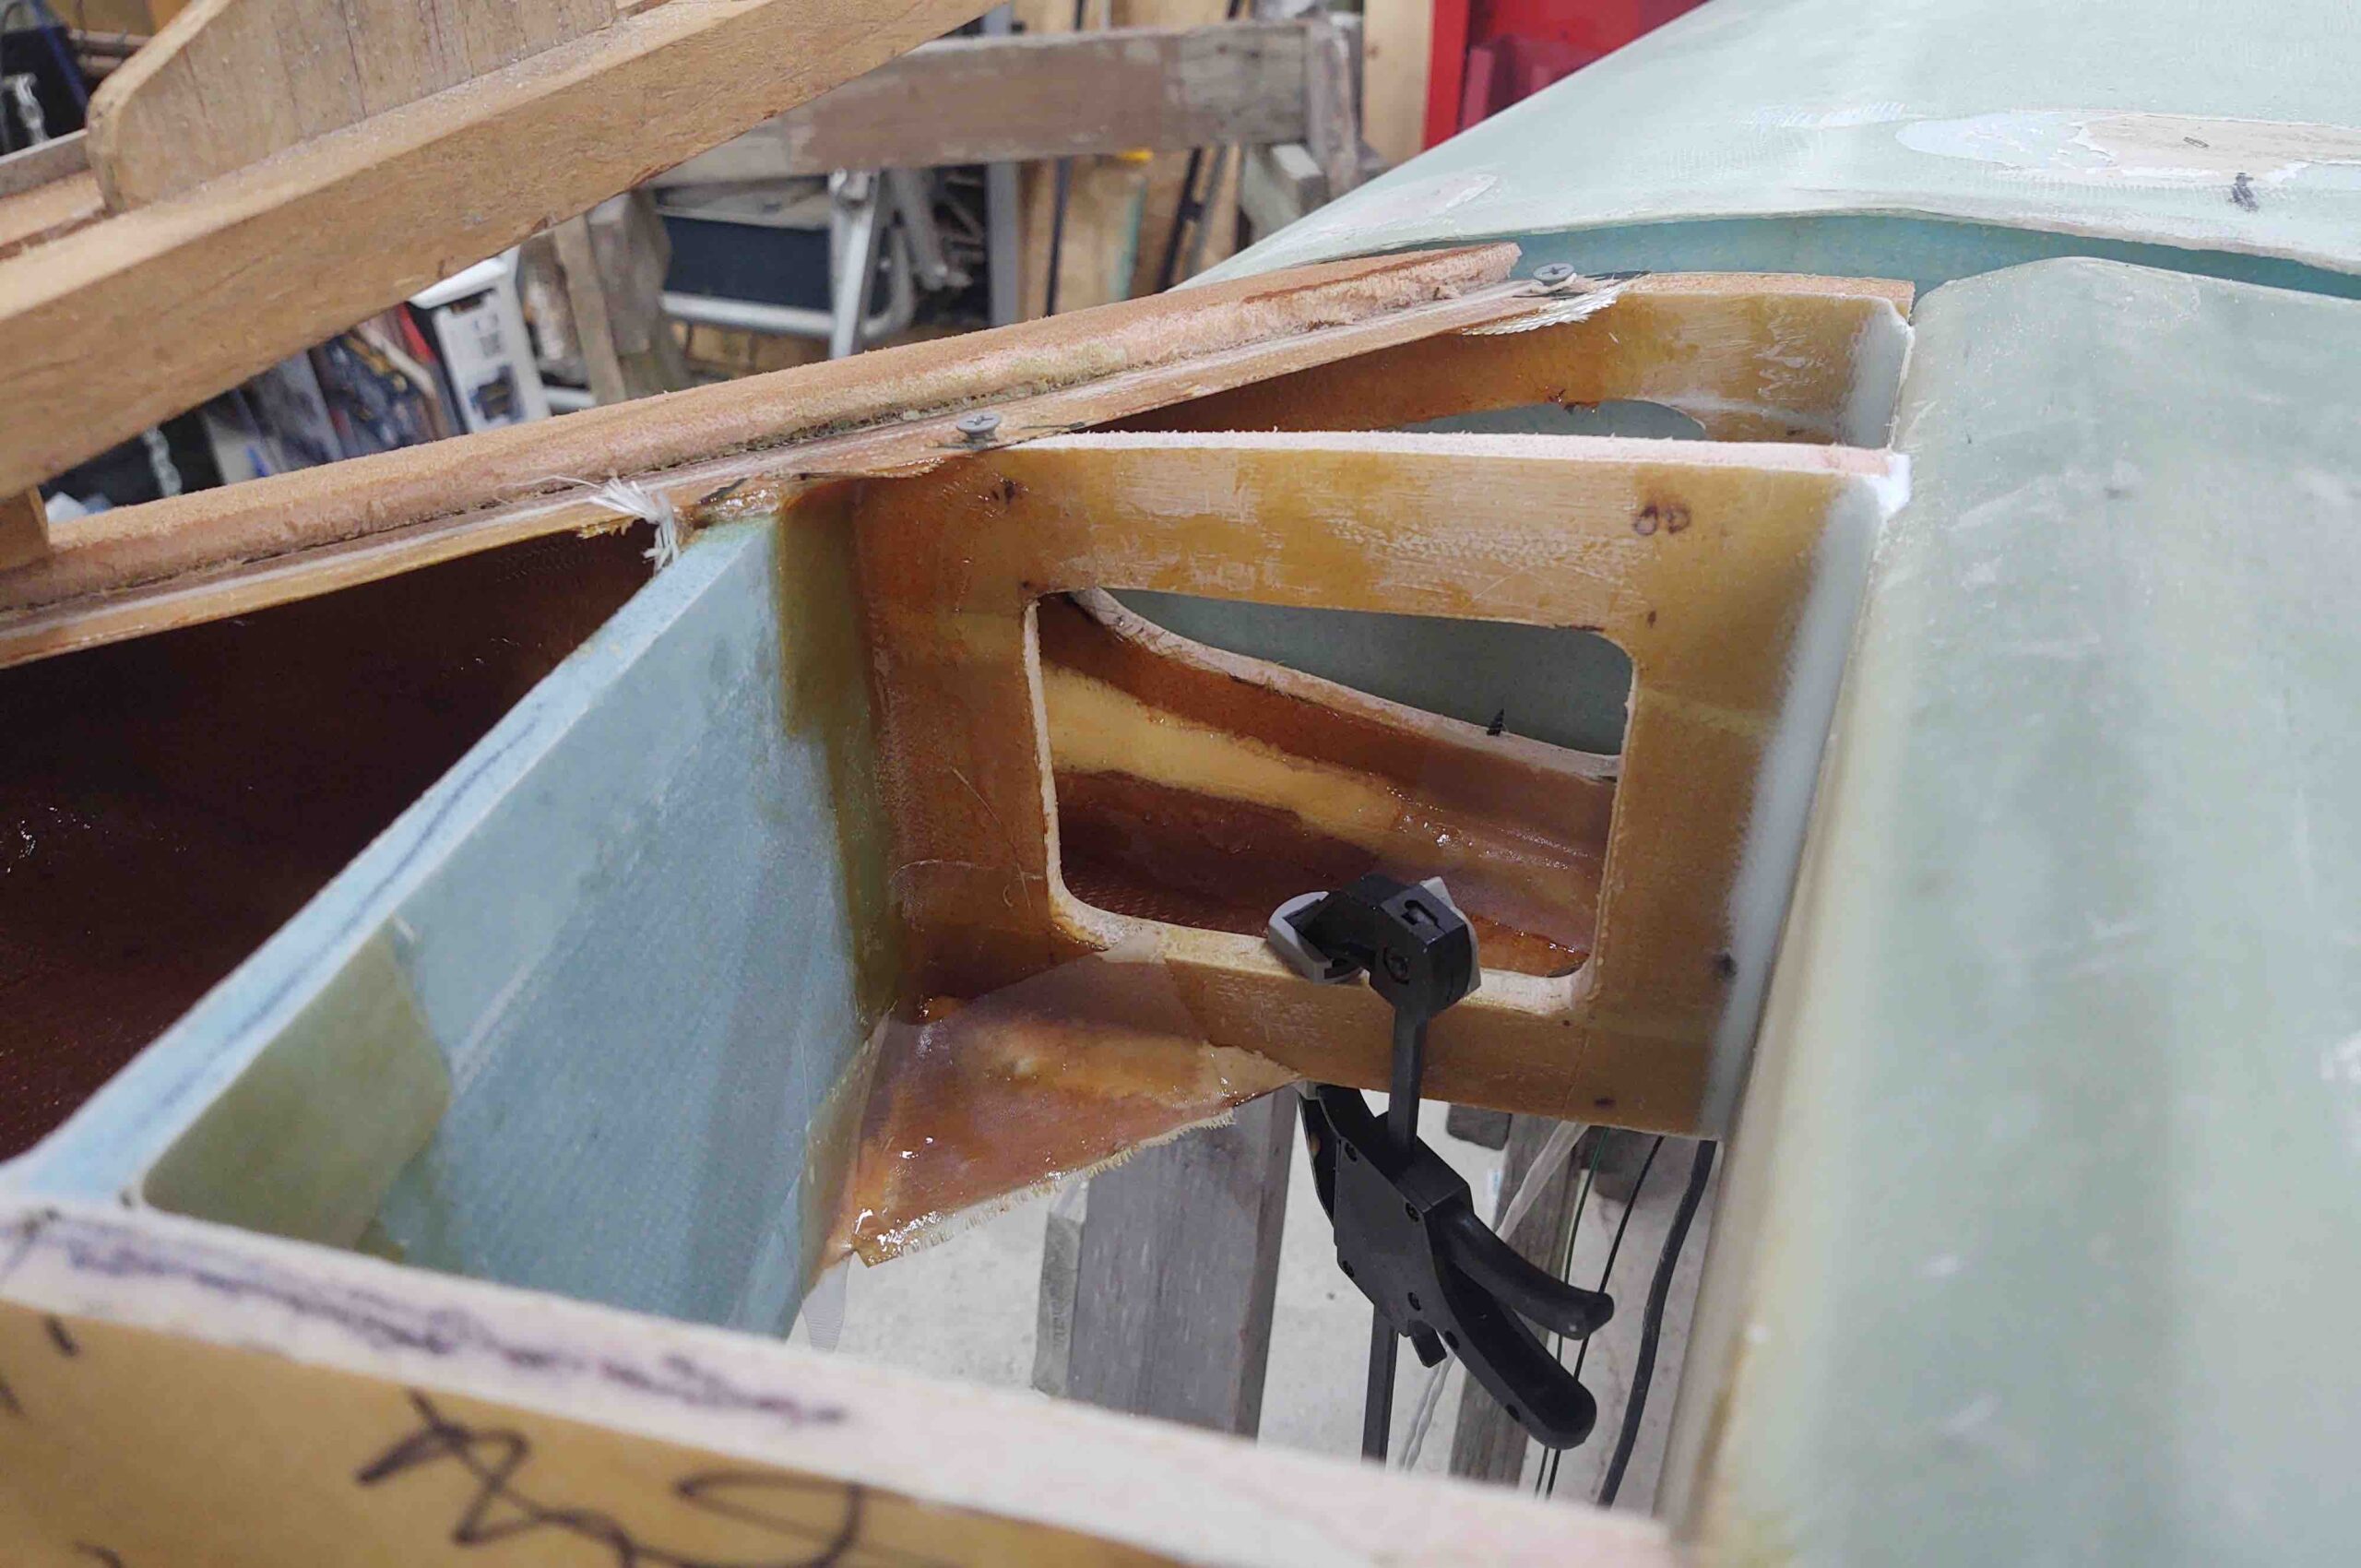
Here we have the interior of the right strake leading edge as seen from inside the cockpit. I mocked up the R23 rib and plan on glassing that into the strake tomorrow.

And with that, I’m calling it a night.