
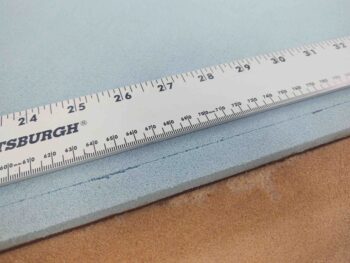
A point of note when it comes to strakes is the oft-mentioned issue of a sag that appears just aft of the leading edge about mid-strake. This would be at a point about equidistant between the R23 and R45 ribs, which when actually measured is around 31″ long between the points. The issue is significant enough that builders like my buddy Mike Beasley have installed an extra rib at that mid-point section to eliminate any sag.
And although this sag issue has been reported by some builders using the Feather Light prefab strake leading edge, I don’t seem to have an issue with my leading edges, which appear to be rather rigid in their own right. But then my strakes are not completed yet either.
I tossed around the idea of installing another rib, but figured I would wait to assess this issue when I weighed down the top skin during the T-hat layups.
During the left strake T-hat layups I assessed the sag issue and still wasn’t finding anything significant. But still, as a lightweight preventative measure, an insurance policy if you will, I decided to glass in a 1″ x 30″ reinforcement layup consisting of 2 plies of E-glass UNI, a ply of carbon fiber UNI, all covered by a slightly wider ply of BID. I pre-pregged this layup and carefully wet it out in stages.

I then laid up my left strake leading edge reinforcement layup on the inside of the leading edge, just forward of its top aft edge. The pressure of squeegeeing out the air bubbles made the carbon fiber splay out a bit, but all in all it went in no hassles. In my armchair engineering thinking this should add just a bit of rigidity here without the increased time and effort of making up a new rib and glassing it in place.

Since I needed all the weights that were weighing down the left strake top skin for the right strake T-hat layups I removed them from the left strake (after about 27 hours cure time) and pre-deployed them over on the right side of the plane.
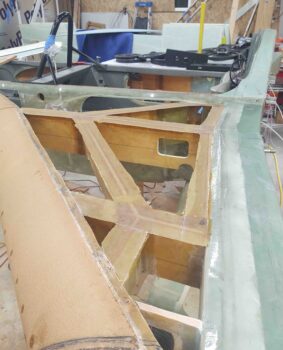
I then fairly easily popped the left strake top skin core off the T-hats and cleaned it up a bit, including pulling all the clear packing tape off of it.

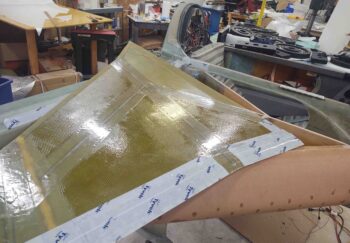
Here’s the initial view after removing the left strake top skin, revealing the brand new and freshly laid up T-hats.
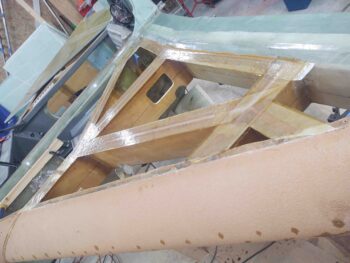
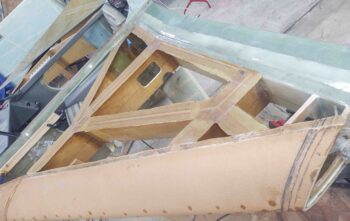
I couldn’t help myself from pulling all the peel ply off to see how the T-hats actually looked. Not bad at all I have to say… I’m really happy with how they turned out.
As I mentioned some of the strake building differences in my last blog –such as the plans method of simply piling flox on the ribs and baffles and setting the top skin in place– I really do prefer to have glass-to-glass junctions where possible.
The two most accessible areas to obtain these glass-to-glass junctions are the inboard baggage areas and the outboard ribs, since I have an access hole on the aft side of the OD rib.
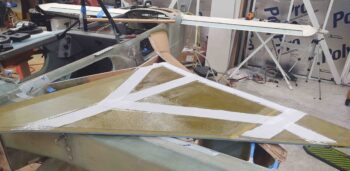
On the inboard baggage area side I plan on trimming the T-hats down to about a 1/4″ overhang and actually layup BID tapes to secure the BAB baffle and R23 rib to the strake top skin underside. I figured it was a little overkill, and added extra work during a very hectic multi-faceted layup, to layup BID tapes on the inboard sides of the BAB baffle and R23 rib. So I simply wiped away the excess flox and created a fillet. I then peel plied the flox-filleted corner and bottom edge of the overhanging T-hat with 1″ wide peel ply.
Here I’m removing that peel ply.
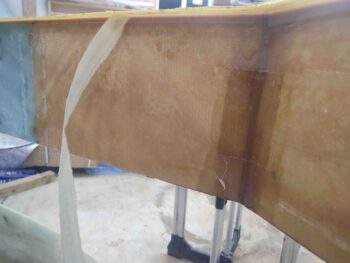
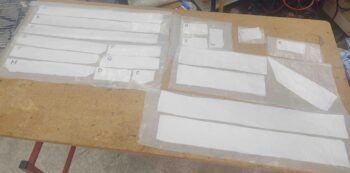
On to the right side strake T-hats. I ran out of the clear packing tape to protect the underside of the top right skin core, so I had to start using house wrap tape… which actually sticks a little more than the packing tape.
Another shot of the right strake top skin underside all taped up.
As with the left side, I also scored a line about 0.6″ aft of the front edge on the top of the right strake skin core to allow flexing where the skin just starts to curve downward at the strake leading edge.
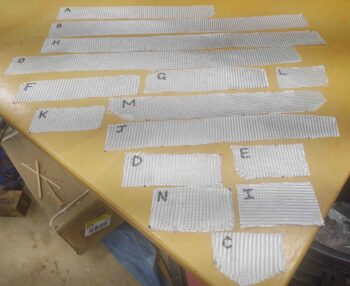
I then measured and cut all the peel ply.
And then the 2 plies of BID.
Finally, I measured and cut out all the BID tapes that will physically connect the bottom overhanging edge of the T-hats to the vertical top edge of their respective rib or baffle.
I then pre-pregged all the BID tapes. The longer, wider 3″ strips of BID that are added to this pic from above are the aft edge 90º corner layups that create a “shelf” at the top edge of the CS spar for both strength in added floxing area and also increased containment of fuel with another barrier in the top corner seams.
Again, as with the left side I wetted out all the peel ply first, then added and wetted out the 2 plies of BID on top of the peel ply.
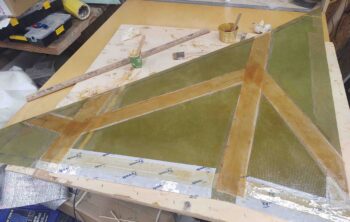
I then whipped up a bunch of flox and applied it to the top of the ribs and baffles.
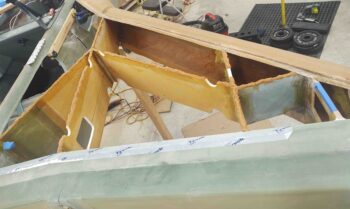
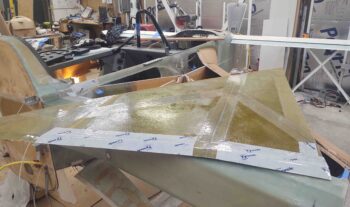
Placed the top right skin core in place atop the floxed ribs and baffles, weighed it down and voila! . . . T-hats!
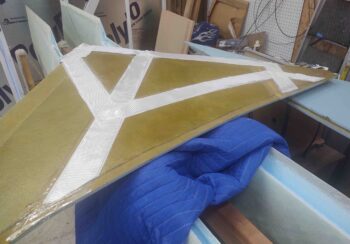
Well, clearly there were another few hours of laying up BID tapes in the corners… but who’s counting. I do have to say I’m glad that these grueling T-hat layups are over with!

One more shot of the nearly finished T-hats on the left side, with the freshly laid up T-hats curing over on the left… ok, not the actual layups but the weighed down top right skin core.
Time to start planning and working the install of the bottom strake skins!