
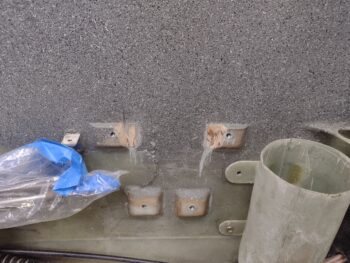
I started off today by reinstalling the pilot throttle quadrant to do a final assessment on the throttle cable situ and determine just how much of the sidewall nubs needed to be removed. I marked the nub cut lines . . .

And then took my trusty Fein saw to the nubs for a much needed nubectomy.
Although not pictured, I then remounted the throttle quadrant to check the cable clearance at each end of the throttle handle/lever pivoting. The clearance was fine, but I discovered another issue: the throttle at WOT was fine, but when I came back to idle it was popping back forward about an inch.
I realized that with the law of unintended consequences, that my protective anti-abrasive heat shrink was changing the cable characteristics in that my 90º curved-aft cable routing was no longer working as before. Since the added heat shrink is the only change I made, I’m fairly certain that it is the antagonist here causing the throttle to move forward off the aft stop.
After messing around with the configuration a bit, I found that running the throttle handle cable straight down between the lower quadrant mounting nubs, and pinned in place by the actual lower quadrant, that I was getting good movement, with good clearance, and no subsequent adverse movement of the throttle no matter where I set it.
I finally done figured out this mystery… I may not be the brightest, or the fastest, but I am persistent! <wink>
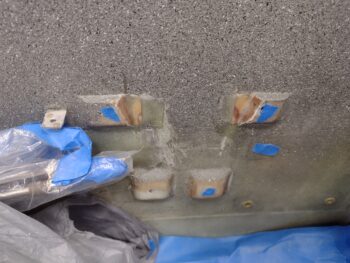
I then laid up a ply of BID on each freshly trimmed nub. Of course I peel plied the layups as well.
A number of hours later I pulled the peel ply and cleaned up the layups.
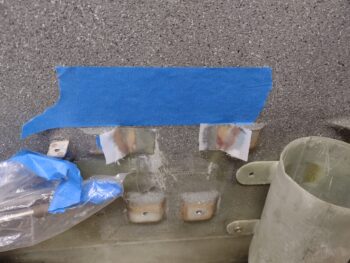
I need to do a bit more securing of the cables in the back seat, and I know that pressure on these cables can change the settings a bit, so I decided to go ahead and touch up the paint on the nubs at this point since the backseat work still needs to be completed. The way my throttle quadrant sits, not only will the nubs be exposed and visible, but that channel will as well. There’s no time like the present and might as well get this over with… so I masked off a bunch of stuff and put plastic sheeting in to protect the panel forward.
I shot a couple rounds of paint and left it to dry overnight. Tomorrow I’ll hit it with a couple coats of matte clear.

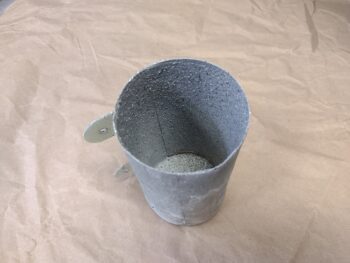
Since I had the paint out, and with the gray granite/rock paint there is a 15 minute wait time between coats, I went ahead and hit the inside of the cup holder with a coat of primer, then the first coat of interior gray rock paint. After the second coat on the nubs, I then shot a final coat inside the cup holder.
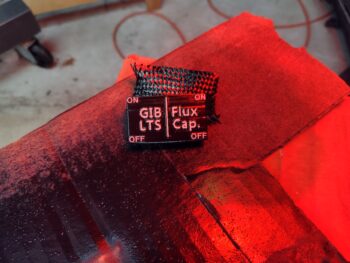
Speaking of painting, earlier in the day I took about a half hour and painted the raised lettering on the cover of my under-longeron 2-switch box. After it cured for a couple of hours I then added the “ON” and “OFF” labels (from my label maker) in each corner before hitting the cover with a few coats of clear coat. Here it is initially under the heat lamp to speed up the curing.
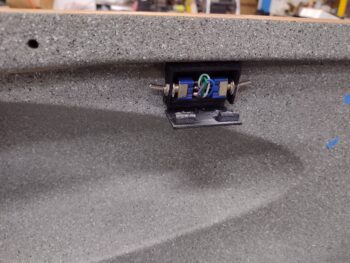
And here it is installed. I designed the cover so that it could swing down without removing it fully, to expose the switches and wires inside the box —in case I ever want to swap out the switches for different uses or type.
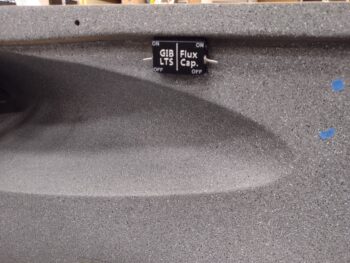
I then closed up the cover and installed the screw on each side to hold it in the closed position. Definitely a roll your own appearance on the box, but certainly good enough for what I need it for… Oh yeah, gotta have a little fun too! Since the front switch is yet another spare switch I labeled it appropriately (I had enough room for 2 wire pairs through the NylaFlow conduit so I added an extra pair for any future need of another switched circuit).
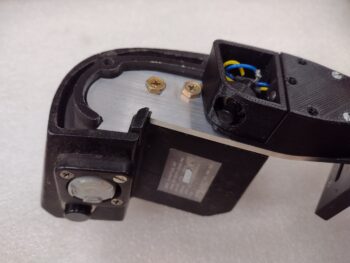
Speaking of switches and wiring, I also installed the spare PTT momentary push button switch in its housing atop the throttle handle cable guide block. I soldered the pair of wires to the switch and did a continuity check on the circuit (as I did on the switches/wires above). Switch functional and pressing forward!
BTW, I noticed in my last video that the gray castle switch housing was loose, so I cracked open the throttle handle (a few days ago), added some lock nuts and a 3rd (slotted) screw. That switch is now secure and ready for ops.
Yep, a lot of sideline, ancillary work going on here that has not a lot to do with the engine or the exhaust pipes. As I noted yesterday, I’m working my way back to the engine compartment as I knock out a few items off the sidewall task list. I’ll be working a few more ancillary items as I wait for the clear coat to dry, then I’ll install the throttle quadrant, get the throttle and mixture cable configuration set to final, and then get to work on the GIB throttle quadrant & cable install.