
On working canopy details in earnest. I did do quite a bit of planning, measuring and note taking on the canopy latch system tonight… no real actionable intel though with pics.
Today I did a refi closing on my house, in Jacksonville, so I was out until early afternoon.
I then was on the phone a bit talking to vendors about various LEZ topics (MGS hardener, Oxygen systems, etc.)
I got to work in the shop late afternoon. First order of business was to check out how the freshly painted PIC headset jack cover looked in place. Not too objectionable in my book!
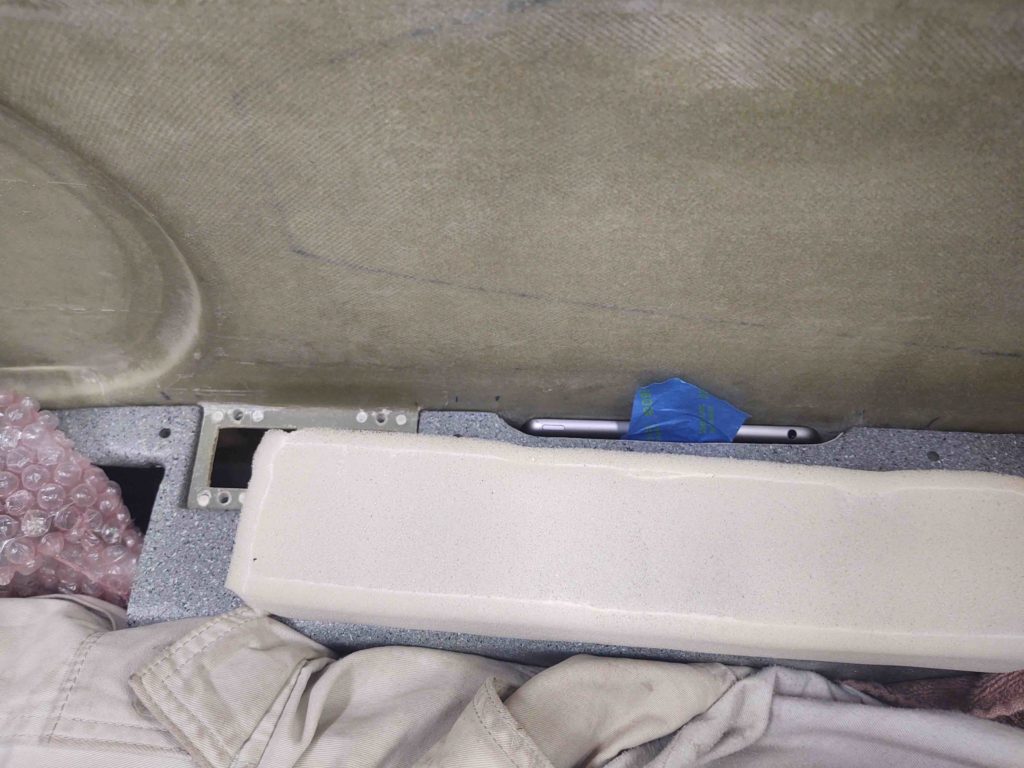
So, the following is on my task list… and curiousity drove me to check out the placement of the RAM ball mount –for my iPad– install somewhere on the center panel strut. I had a decently long discussion with Marco on his configuration, so I used the info he gave me to get a head start.
First, I need to know where I’m going to mount the ball mount because it plays into panel design before I plasma cut it for real.
Also note that in this configuration I can see the fuel selector valve and a good bit of the nose gear window. It may look like the iPad is resting on my legs, but it is well off of them. Also note the visibility I have of all my main power avionics on the panel… none of them blocked.
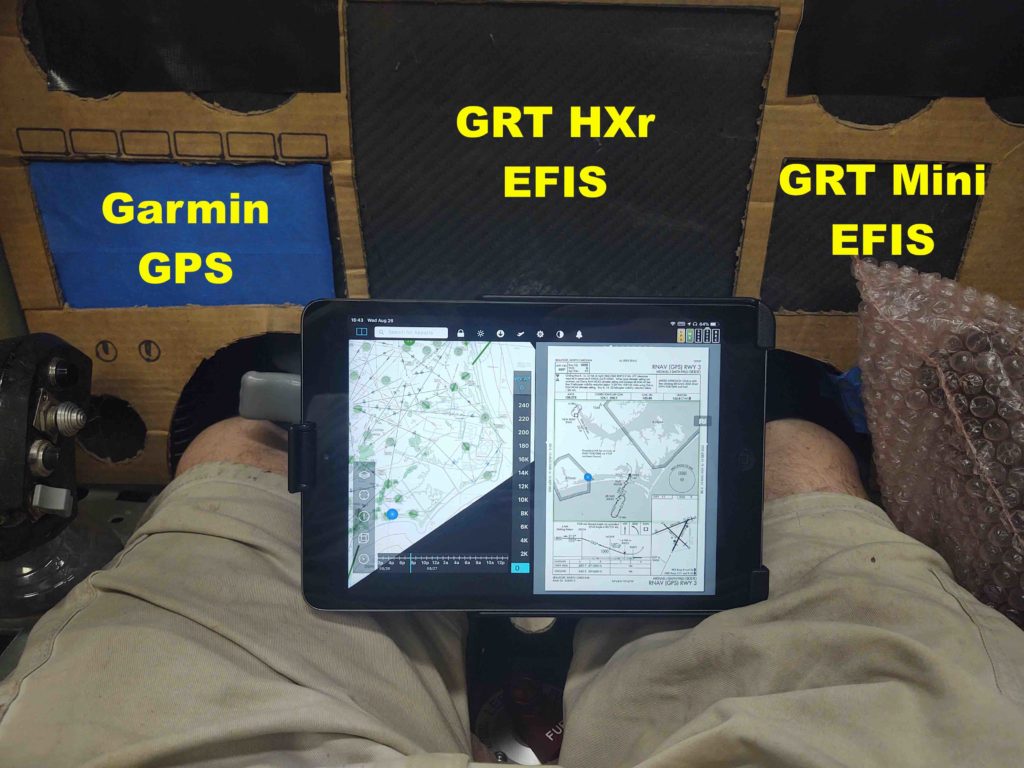
Part of the discussion that I had with Marco was the possibility that I may have to move some switches. Specifically my 2 big light switches. However, with this configuration I simply move my head forward a bit and I can see right over the iPad to both see and manipulate those light switches.
When I get a chance, I’ll update my instrument panel CAD file to reflect these changes.
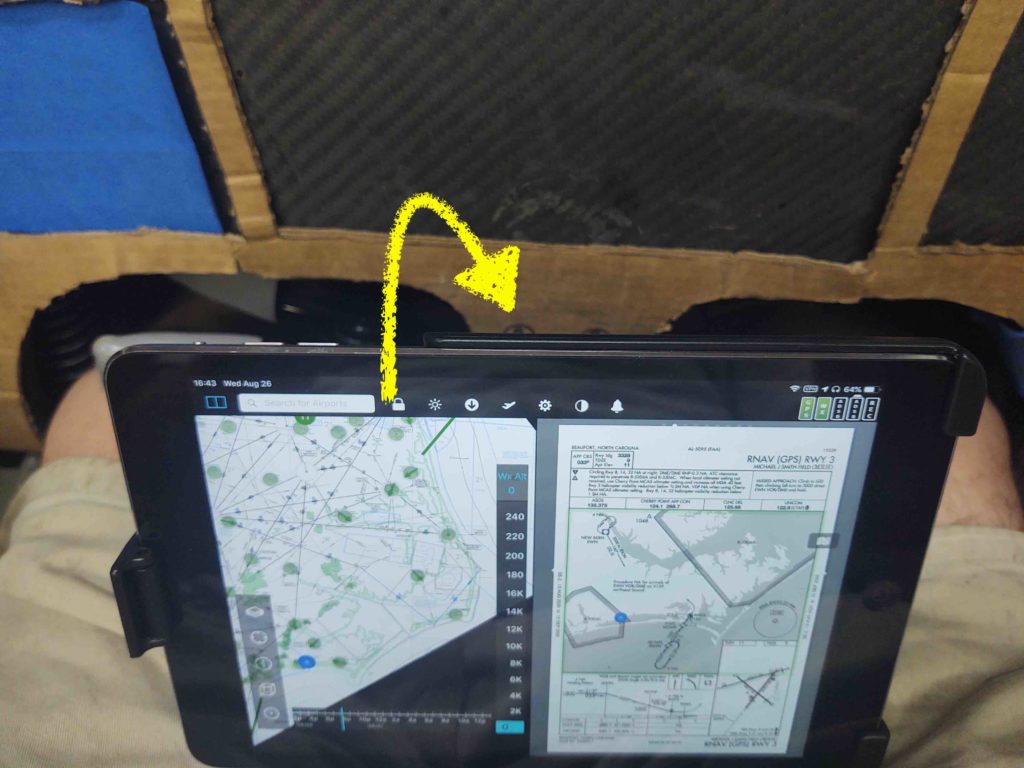
A curious point of note, at least for me, is that the iPad Mini actually fits completely inside my right armrest map/document pocket… pretty nifty!
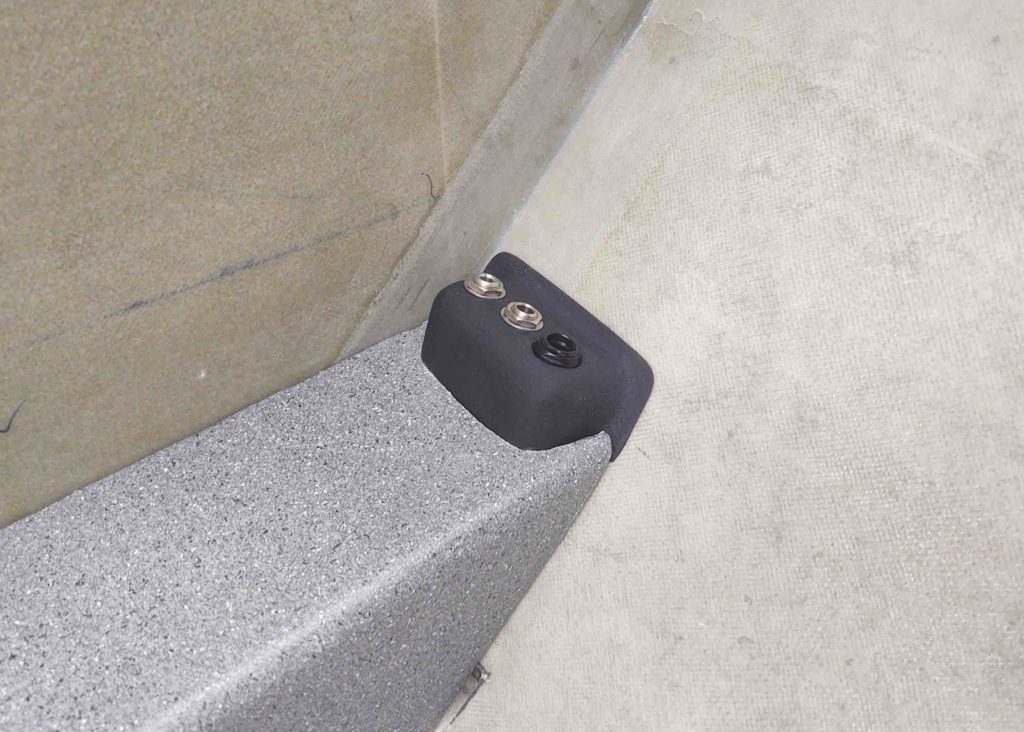
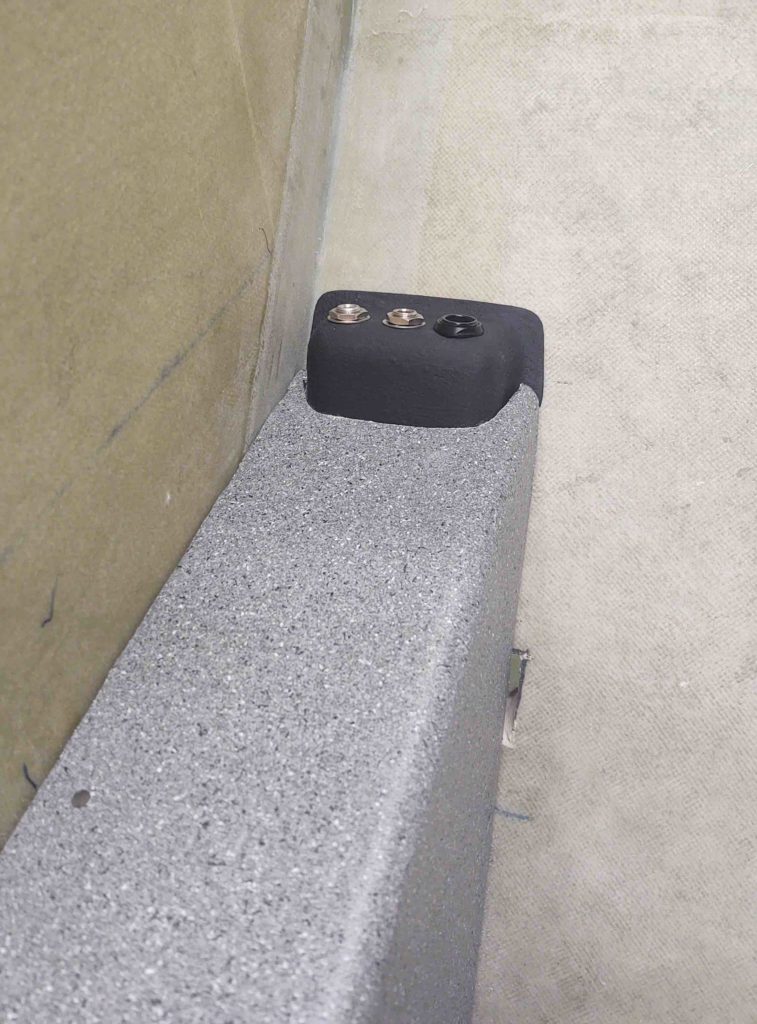
I then checked, trimmed and cleaned up the layups on the fuel probe electronic module mounts. They looked great.
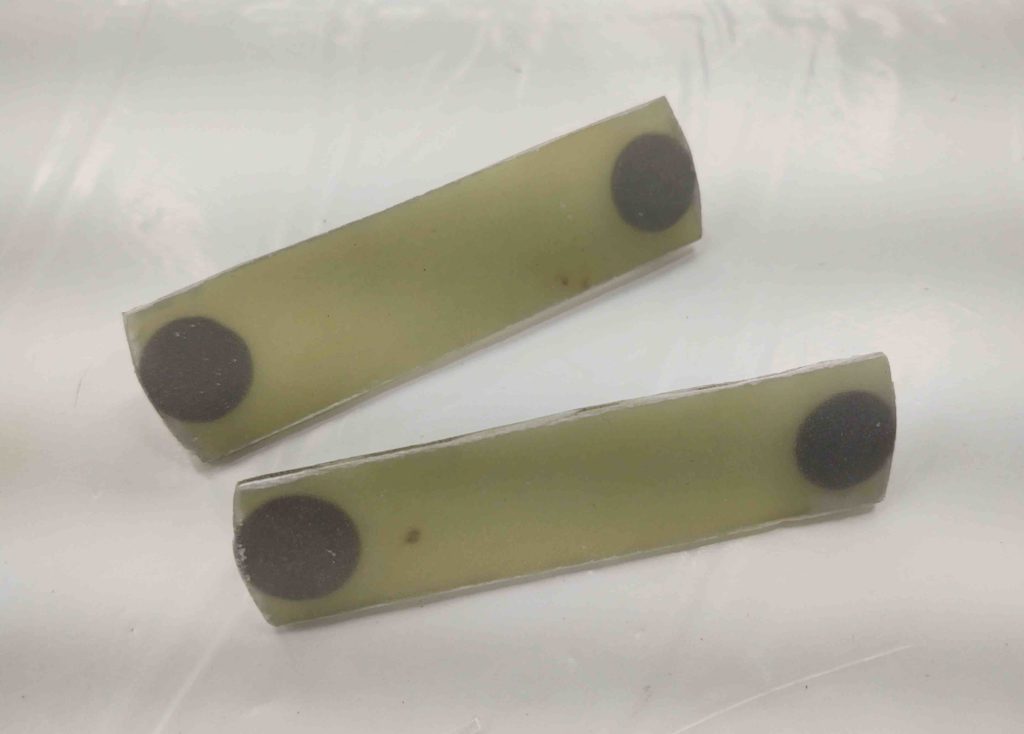
I quickly test fitted them one last time to ensure all was good.
I then flocro’d and glassed them in place on the top of the gear inside the Hell Hole. I used 2 plies of BID to secure them to the gear leg and then left them to cure.
Another item on my list was to remove the aileron bearing assemblies from the wing roots and soak them in PB Blaster for a few days.
They suffered from a bit of corrosion while in storage. You can see some rust in the pic below.
Here they are getting a bath in PB Blaster for a few days. I’ll clean up and assess after that.
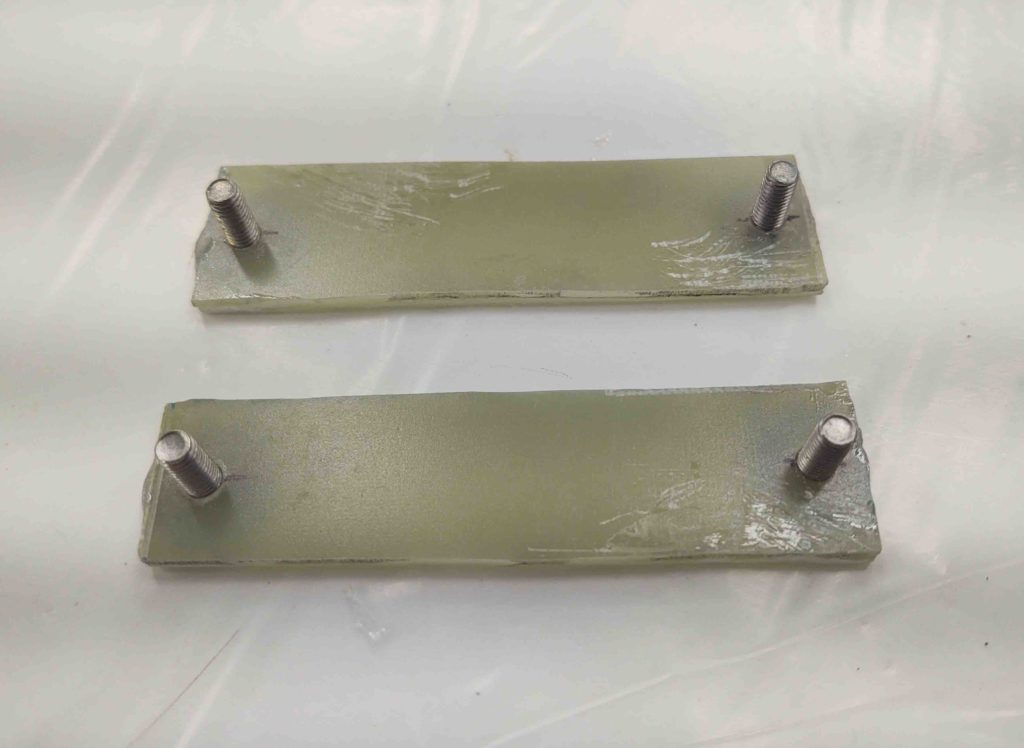
Again we have the fuel probe electronic module mounts nearly 100% cured. So I pulled the peel ply off the front edge . . .
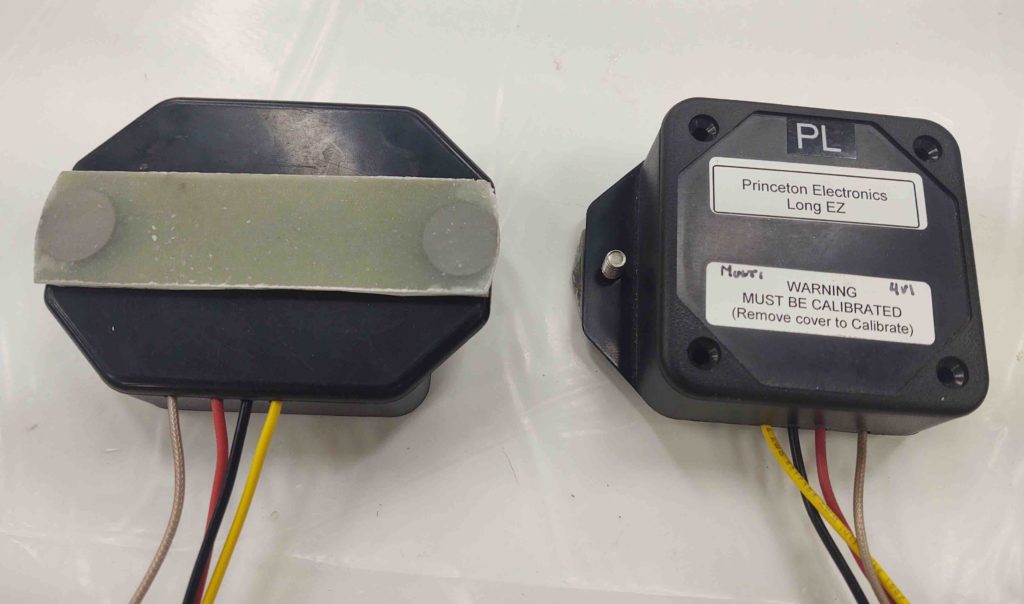
And attached the fuel probe electronic modules on the mounts. I left the cover off the left fuel probe electronics module to show the visibility this configuration provides during calibration.

Pressing forward.