
… tube?
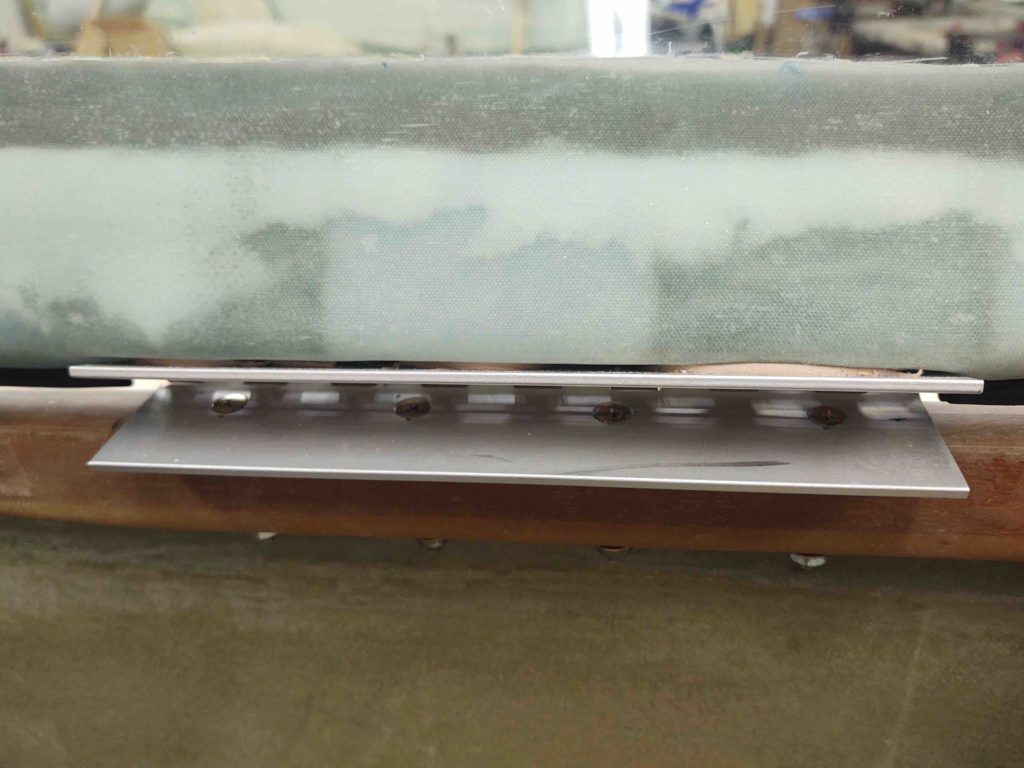
Locating and installing the relief tube exit out of the left wheel pant was just one of many of a myriad of tasks I got done today.
As a reminder, in case I haven’t been perfectly clear! I’m working tasks that would be much more difficult later on in the build. Specifically those that would be a royal pain when the strakes are installed.

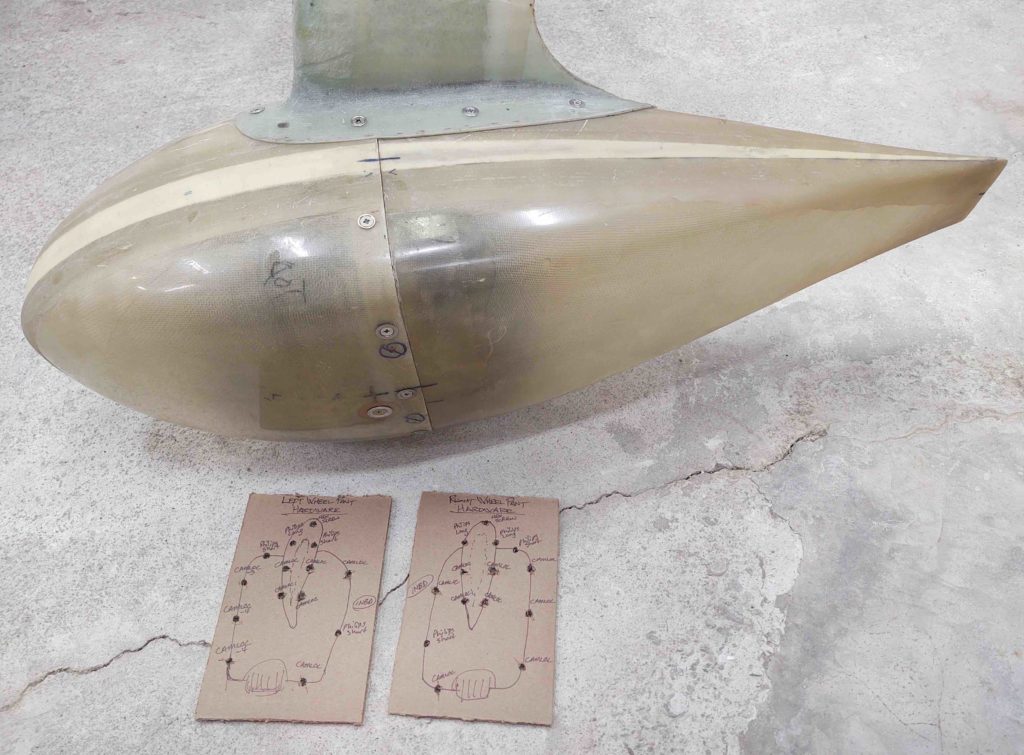
Case in point: the wheel pants. Speaking of which, I installed the last “required” CAMLOC on the lower outboard side of the left wheel pant. Again, I’m most likely going to install one more CAMLOC on each pant on the inboard bottom side… got a tad bit of separation going on there, especially on the right pant.
Also note my hardware cards for the CAMLOC and screw storage when the wheel pants are disassembled… I stole this great idea from Marco!
Here’s a pic I took of the front hinge for my canopy notes, but figured I would share it. See the gap caused by the bondo? That needs to go…
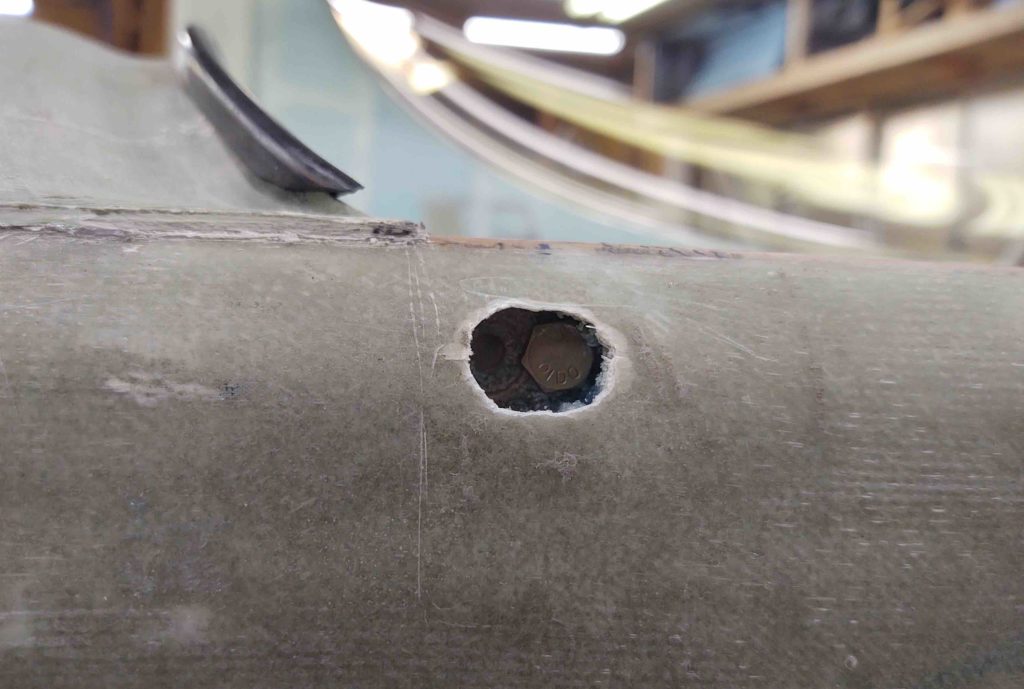
Also on the canopy… the other day I used some left over flox to fill in the current front canopy latch hook bolt hole.
Well, today I moved the hole by checking it on the upper latch and then drilling a new hole about 0.2″ aft of the original one.
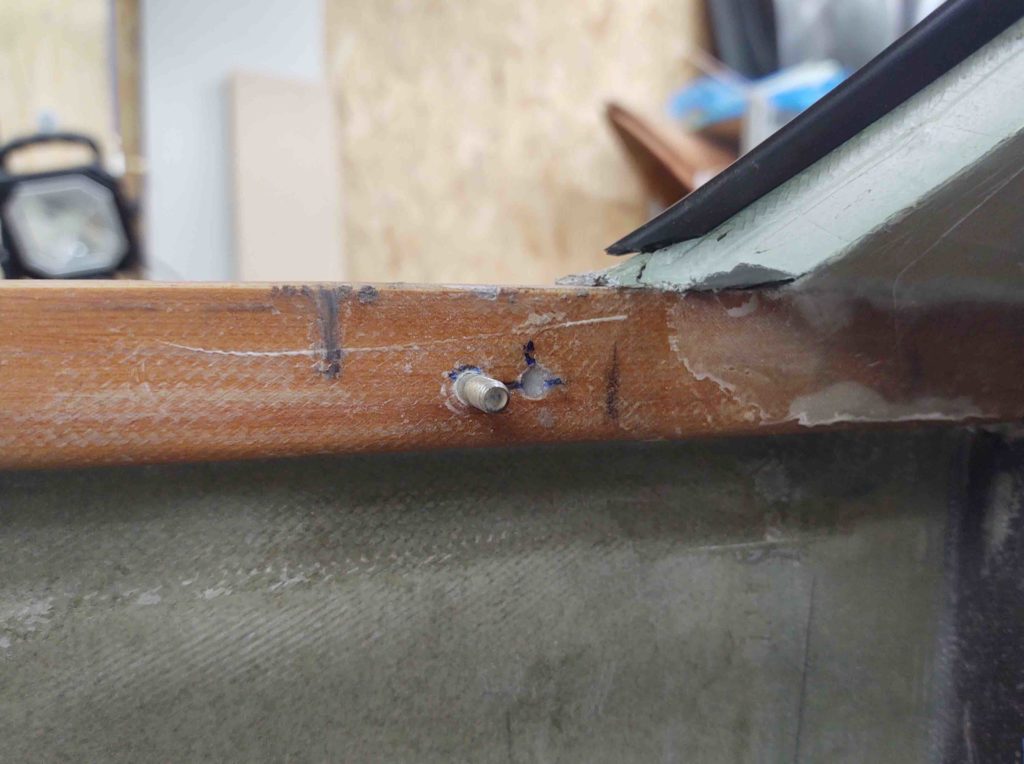
Of course I had to widen the exterior hole in the glass and foam to get the new bolt installed.
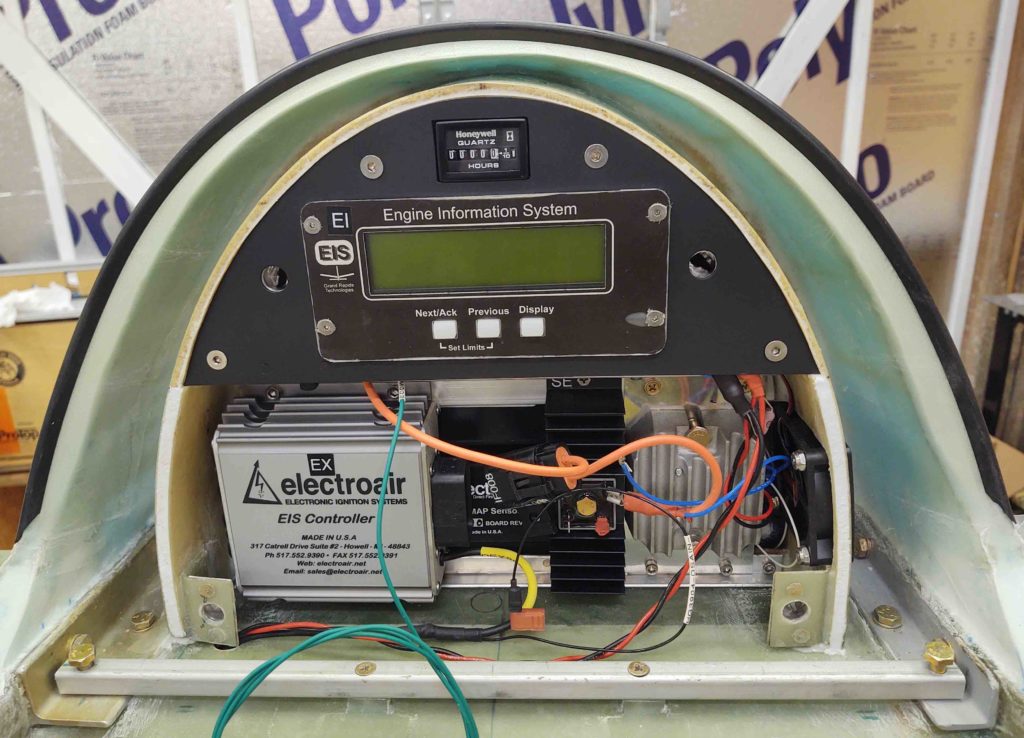
Since I’m working all things that would be a royal PITA when the strakes are installed, that would of course include the D-deck/Turtledeck/GIB headrest.
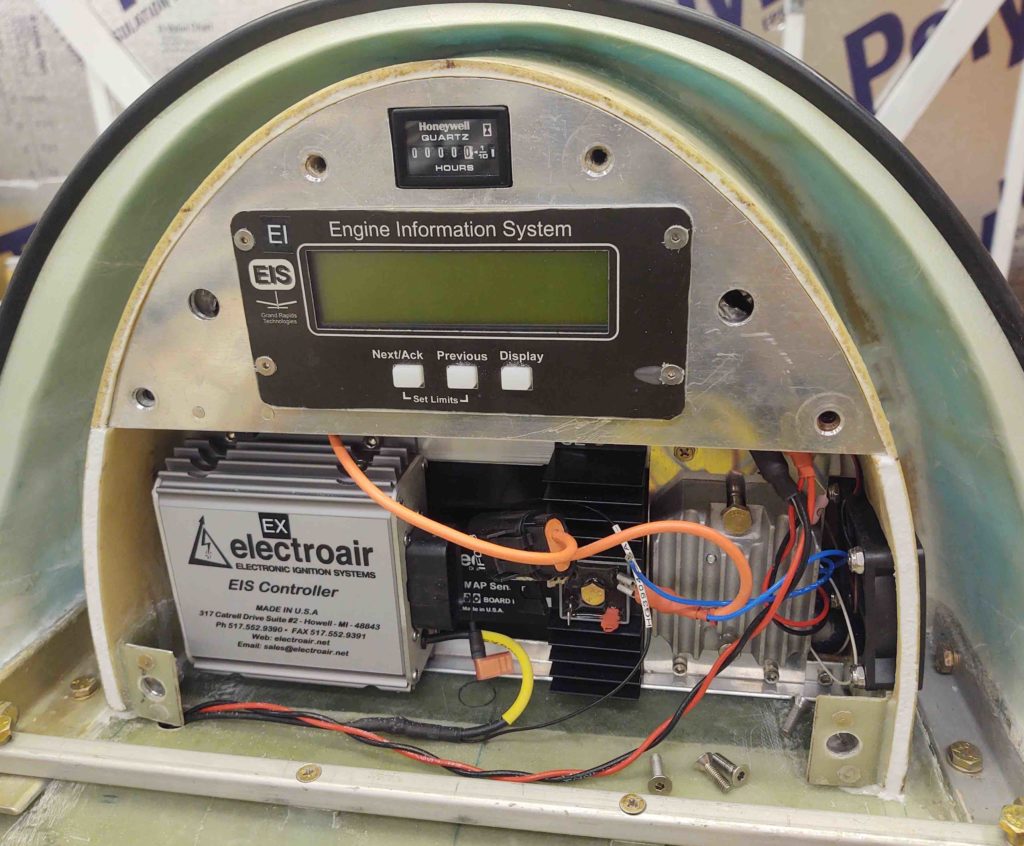
I have 2 slide switches and one D-Sub connector to install, to allow me somewhat easy access to them. One of the slide switches and the D-Sub connector are for the P-Mag EI.
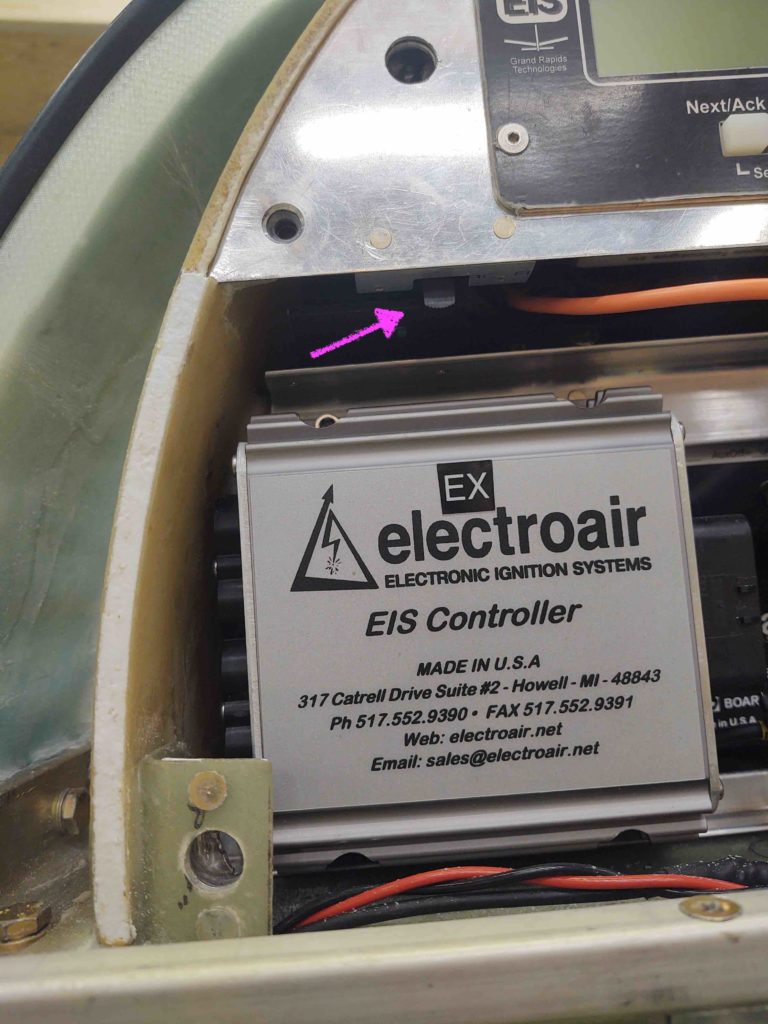
The other slide switch I’ve installed here (actually just the switch bracket at this point), which controls the on/off for the Electroair electronic ignition manifold pressure (MAP) signal. Having this switch can be very useful for troubleshooting potential EIS issues, so I installed it onto the upper D-deck faceplate.
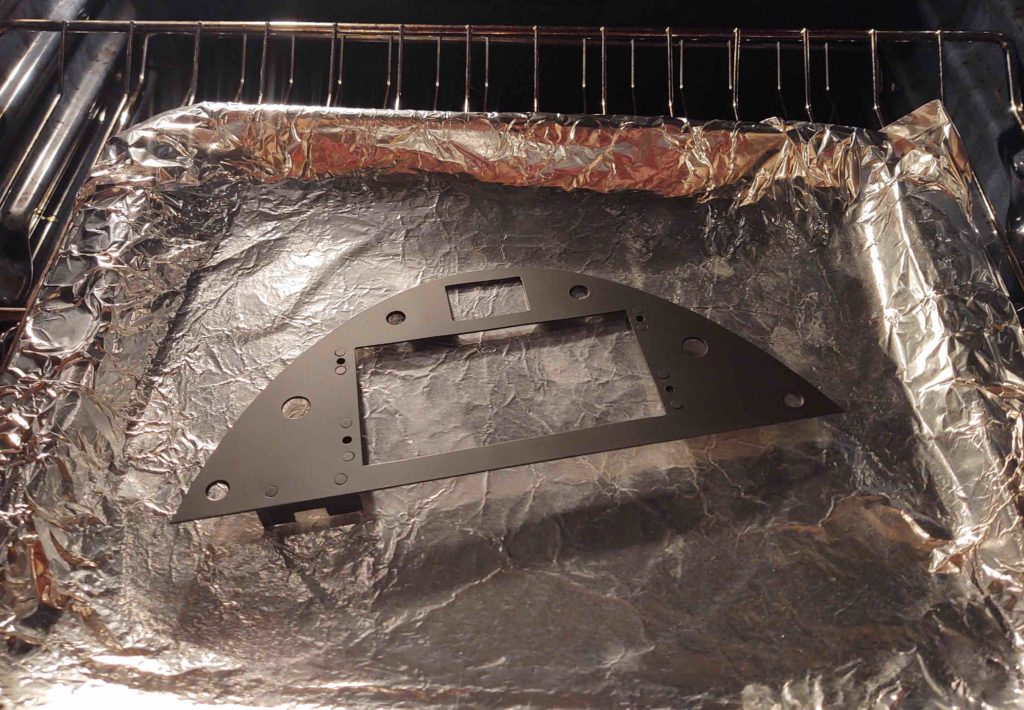
Here’s a final shote of the upper D-deck faceplate before it goes in for paint . . .
Which just happened. I followed Nate Mullins’ paint protocol here and baked this sucker at 175º F for about an hour.
I then installed the actual Electroair electronic ignition manifold pressure (MAP) signal switch [sw090] onto its bracket.
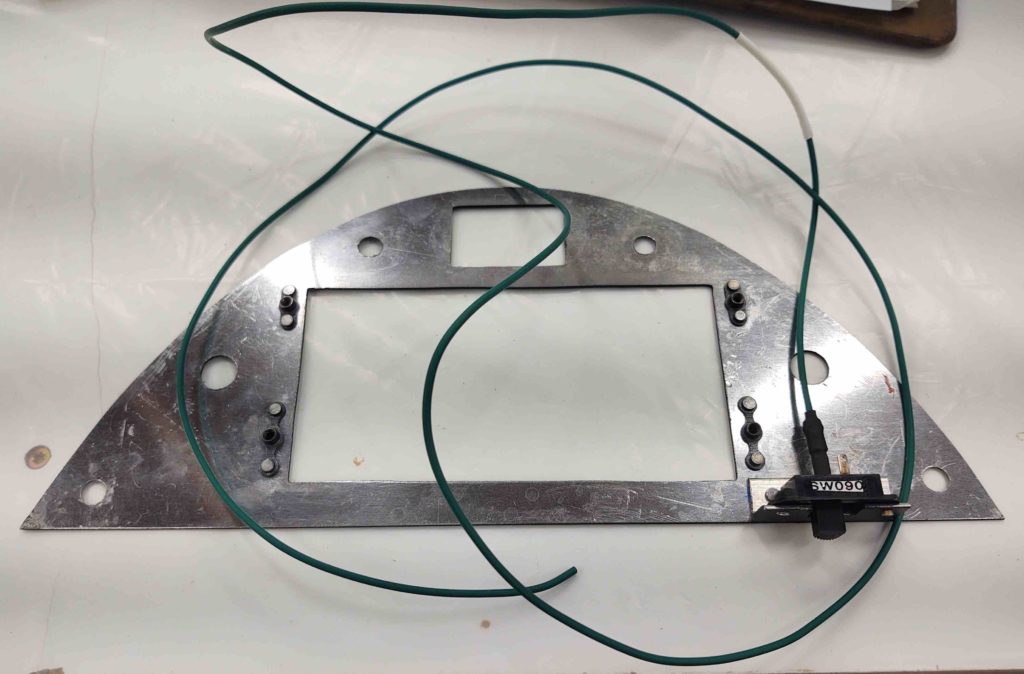
And here’s the new look, with functioning switch in place.
Also note that with some left over micro I dug out the foam on the lower front edges of the GIB headrest housing and filled it in… looks much better IMO than bare foam.
If you’re curious about Nate’s paint choice for panels, assemblies, etc., here it is. SEM Trim Black… which is a flat/matte black.
Also, if you’re curious about what I used to clean the canopy, here it is as well.
Next!
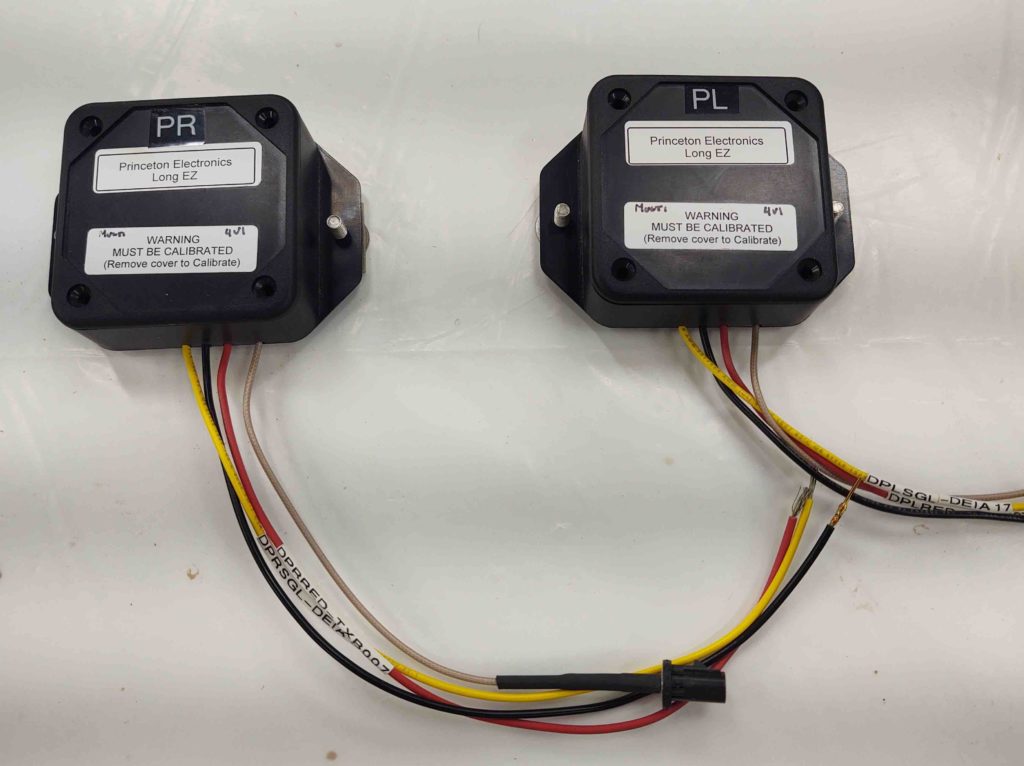
I’ve been trying to stuff these fuel tank probe electronics modules into the D-deck –at least mentally– for years! Well, tonight I finally gave up. After one last final assessment, I threw in the towel and decided that they will be going into the Hell Hole.
Note in the pic below they are actually set up on the mounts they’ll be attached to in the Hell Hole… technically just off to each side of the center line of the main gear.
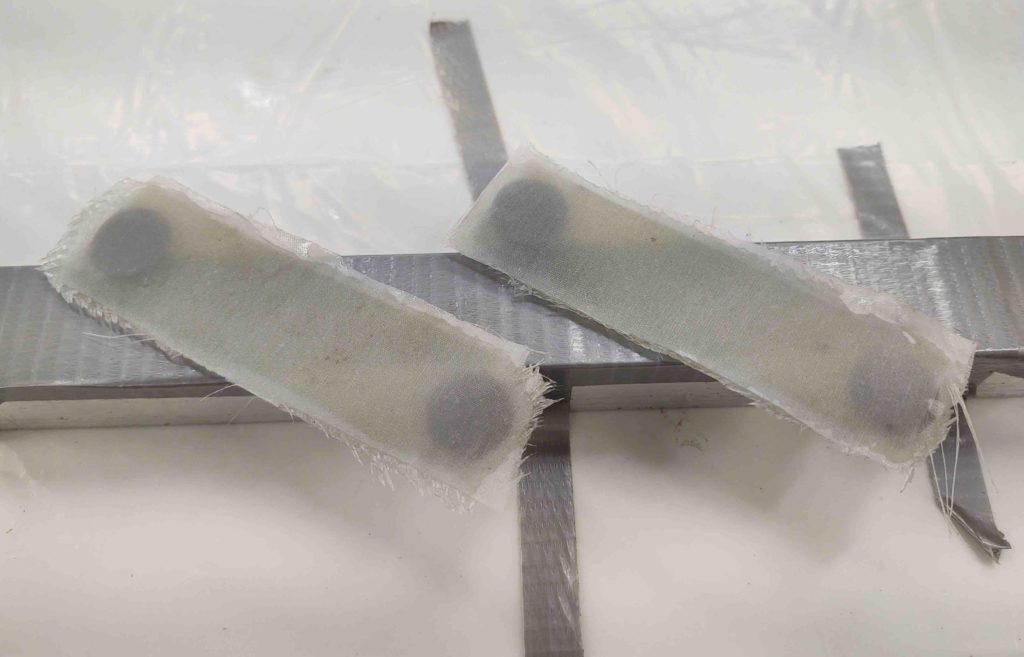
I cut a couple of strips of 1/16″ thick G10 approximately 1″ x 3.6″ wide. I then drilled holes for the mounting click bonds. I’m using click bonds in lieu of nutplates here because these mounting brackets have to sit “flat” on the surface of the gear leg… and when they get floxed into place I didn’t want any of it gumming up any internal holes of the nutplates.
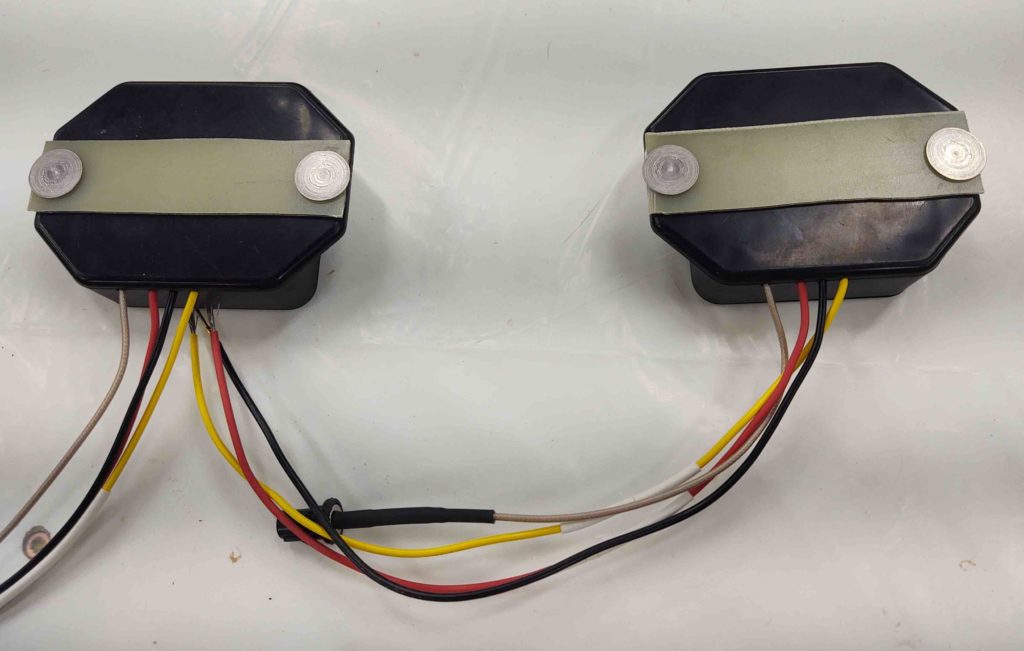
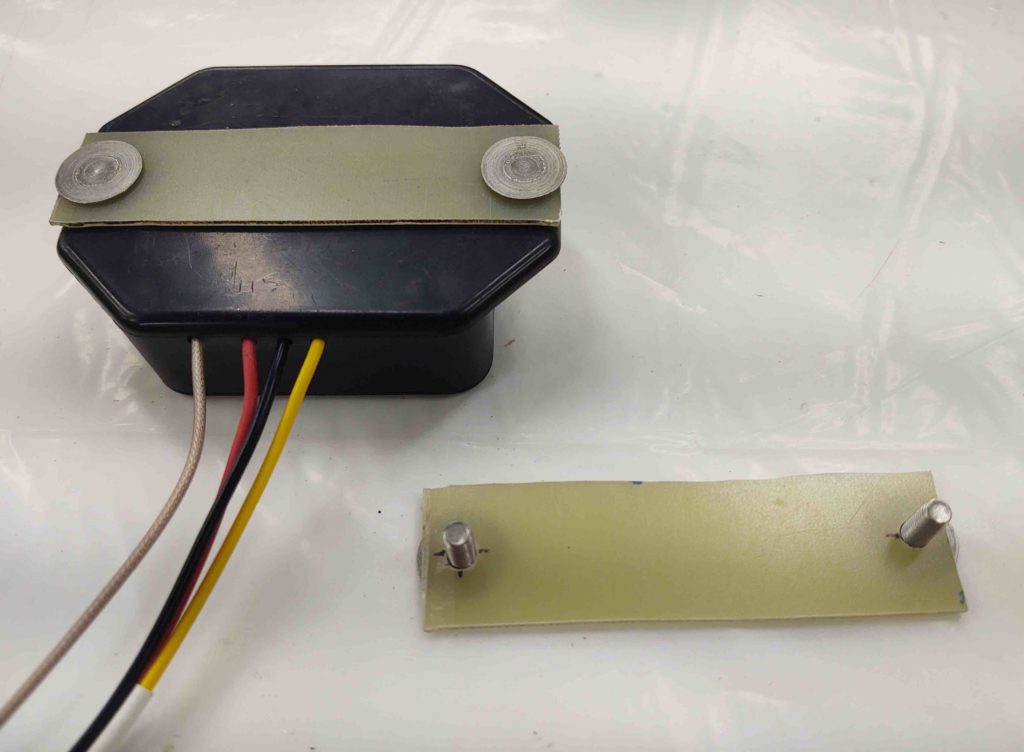
Here’s a shot of the fuel probe electronic’s module G10/clickbond mount both on and off the module.
Yes, a little unconventional, but I then floxed the click bonds to the G10 plates and glassed over the backside of the click bonds with 4 plies of BID.
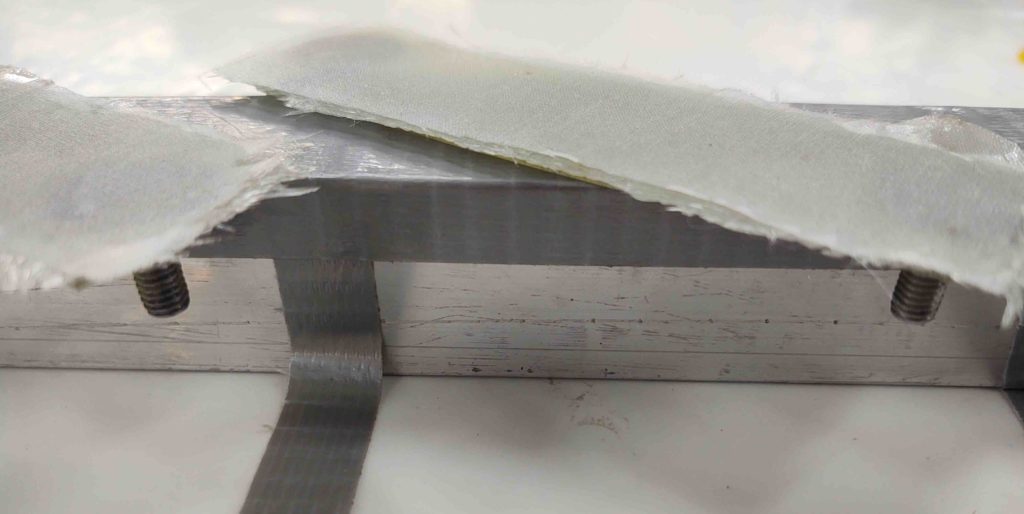
Here you can see the click bonds peaking out on the bottom side of the fuel probe electronics’ modules mount assemblies.
I then peel plied them and left them to cure overnight.
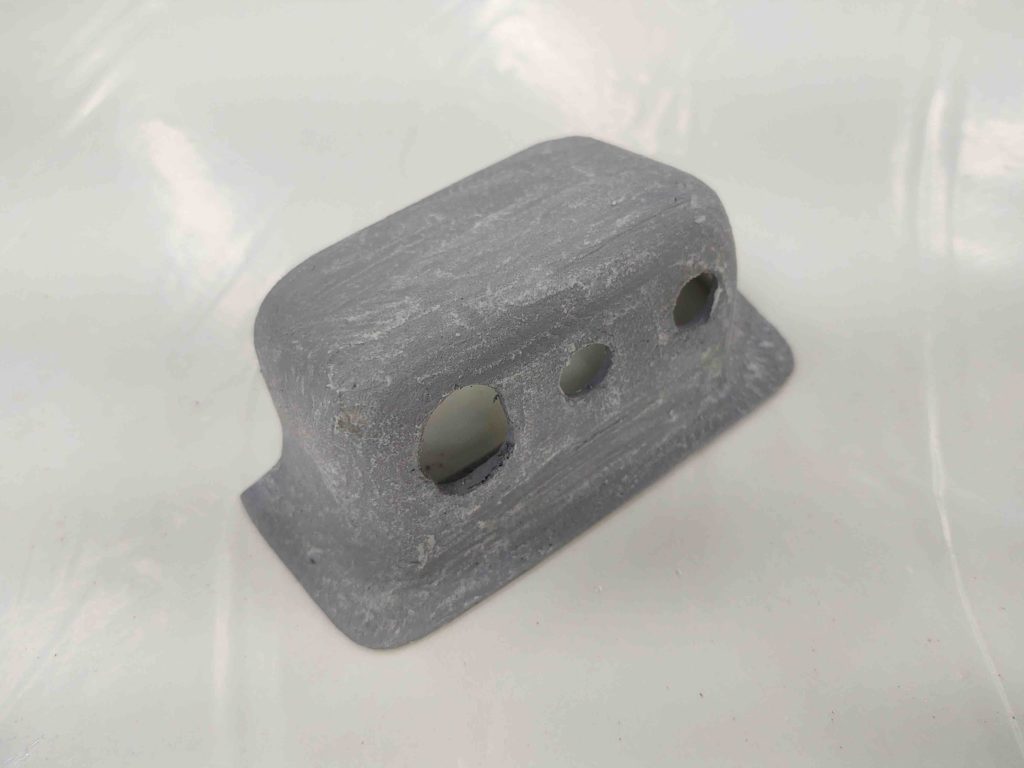
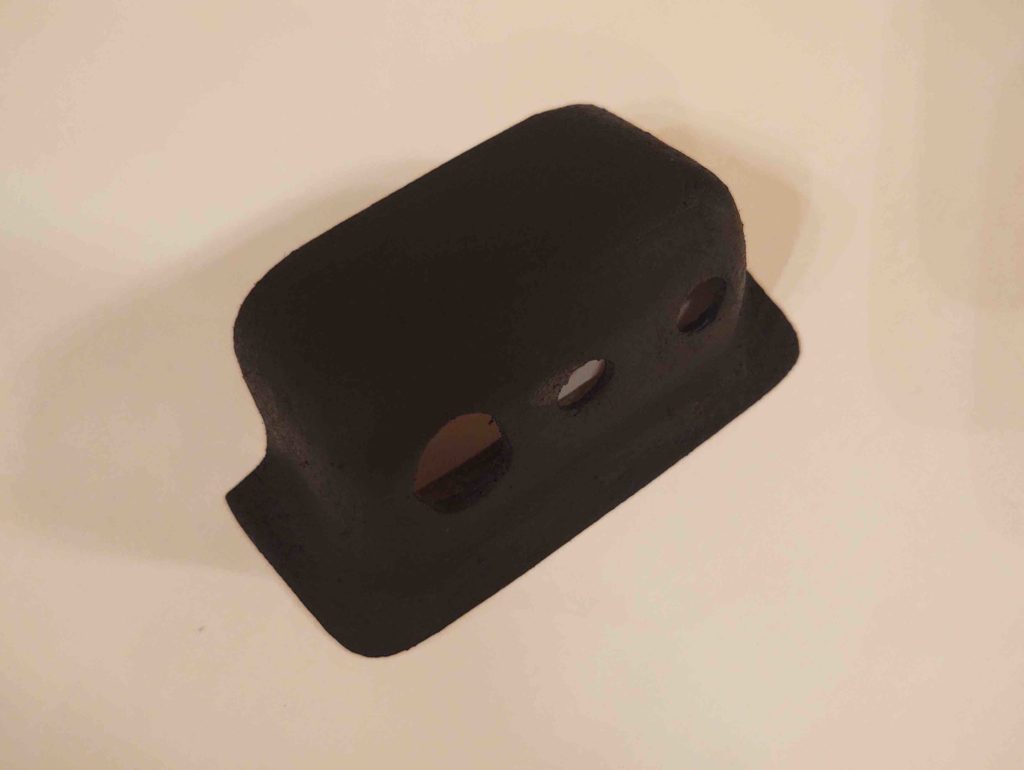
One final item of note tonight: the PIC headset jack cover.
Well, I wasn’t too concerned about this small module stuffed in the corner having a pristine finish, so I simply hit it with a couple of coats of gray primer.
Nope… too ugly. The weave wasn’t too bad, but there was some holes and scars that were a bit glaring. So I gave it well over 24 hours and then hit with some micro (yes, a bit backwards in the process I know).
Then, just as with the D-deck upper face plate, I painted this guy black and baked it. Admittedly, I was curious to see how this composite piece would handle the heat.
Well, after about 45 min I noted that it had some off-gassing bubbles going on.
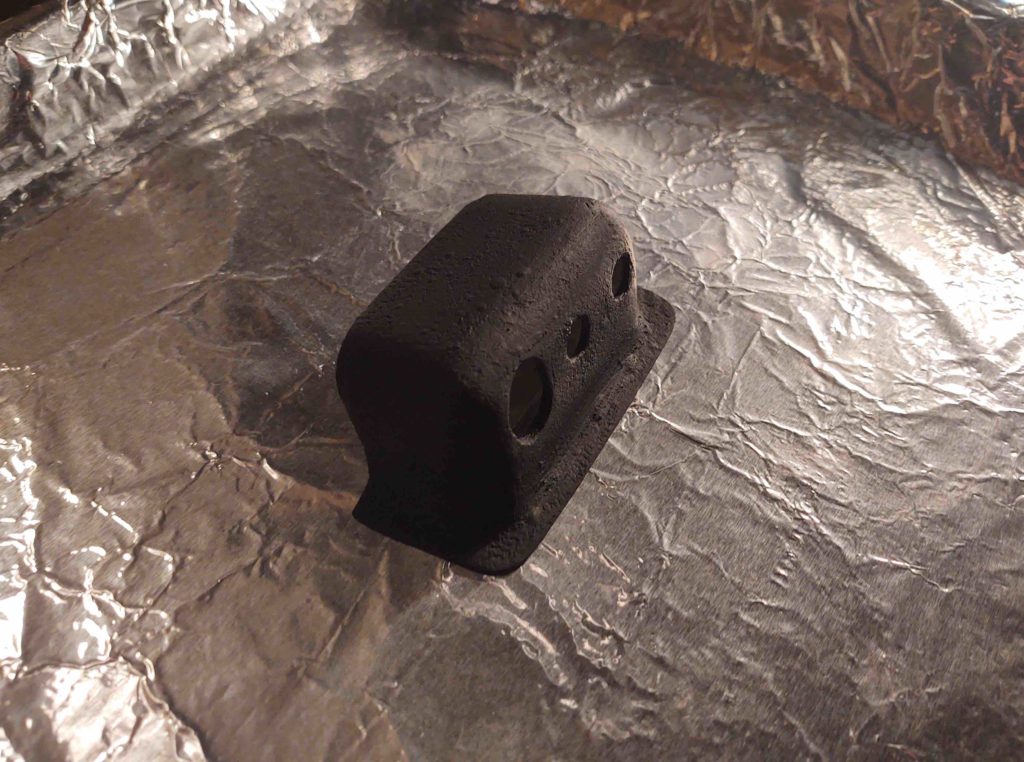
But interestingly enough, once removed from the heat for not even 2 minutes, the bubbles went away . . . looks fine!
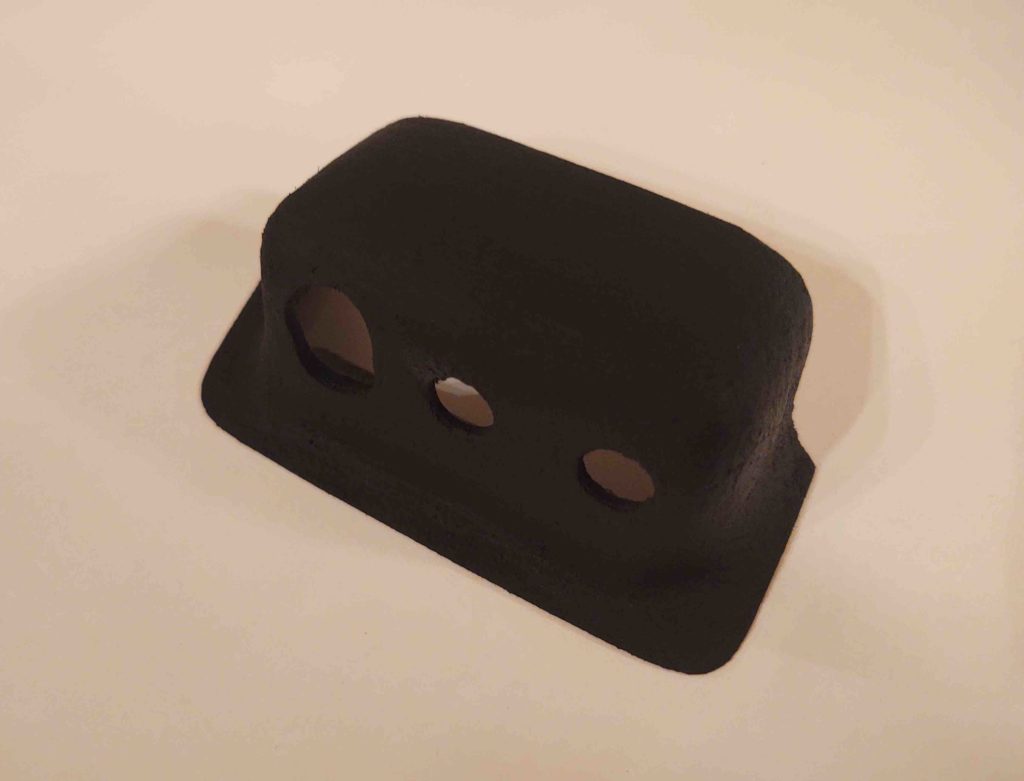
Here’s another shot.
Yep, this dawg will hunt!
More adventures tomorrow!
BTW, tasks will soon start converging on fine tweaking the canopy and getting Chapter 18 closed out and off the books.