
Today started out as engine flip and desiccant baking day. I didn’t post any pics because I have so many times before, but I figure it’s a noteworthy task regarding the build. I also added another quart of oil before flipping the engine upside down. All told, I baked 3 different batches of desiccant today.
As I’m knocking out some of these seemingly disparate tasks, I’m actually resolving some of the riddles of the plane before I head into territory that is more of route “follow-the-book” work. Relief tube routing & exiting out of the wheel pant is not in the plans, nor is my version of the PIC headset jack module. In short, things I’ve been thinking about for literally years, and now have a solution for, are what I’m checking off the proverbial list as I get back into the build.
Moving on . . .
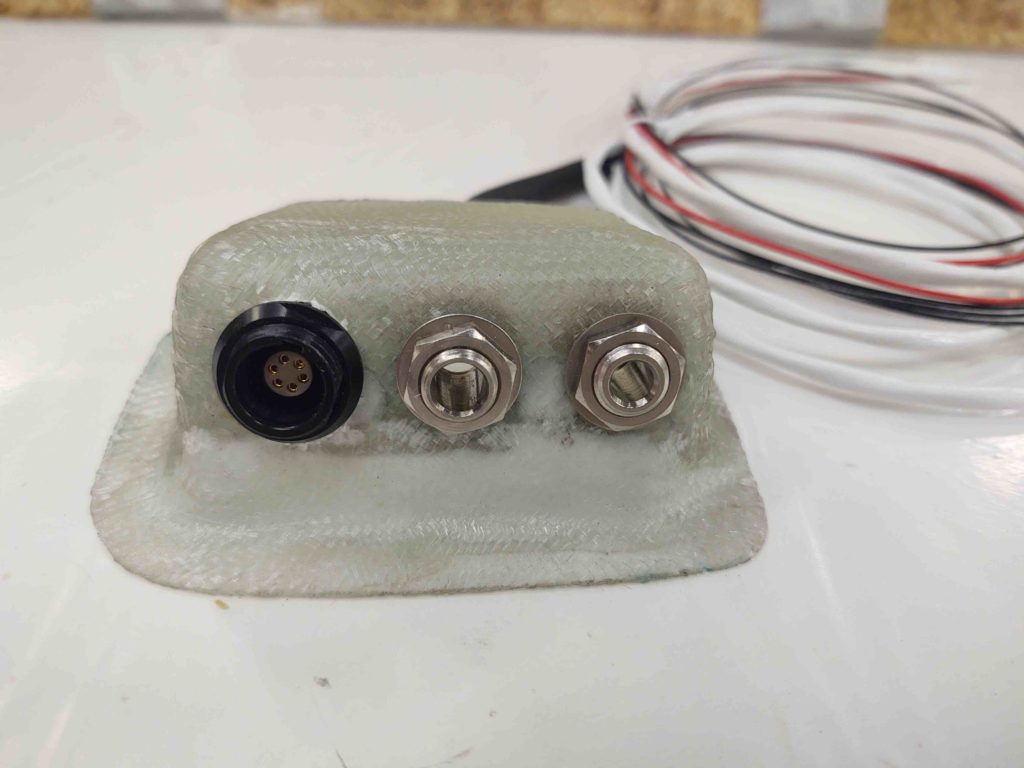
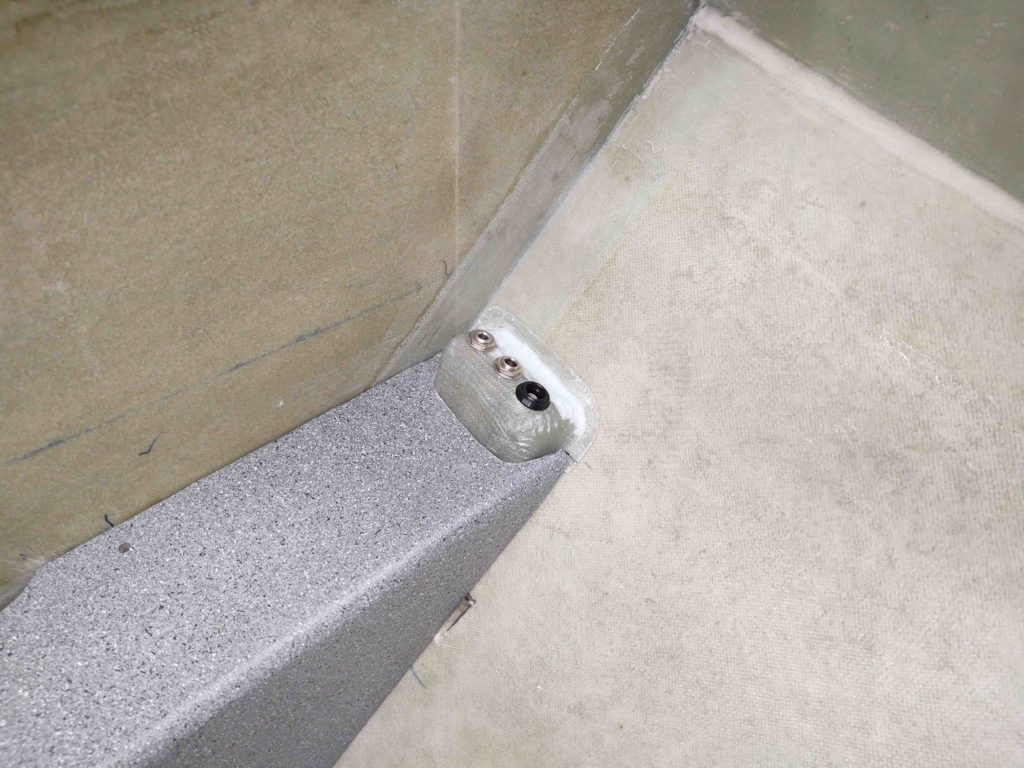
I then drilled the holes for the traditional headset jack plugs and the Bose LEMO jack. Admittedly, since the LEMO jack has flats on the side I needed an oval hole… and I got a bit overzealous in my making the hole a bit oblong. So I’ll be filling in the slightly oversized hole with a bit of RTV, etc. My bad for rushing . . .
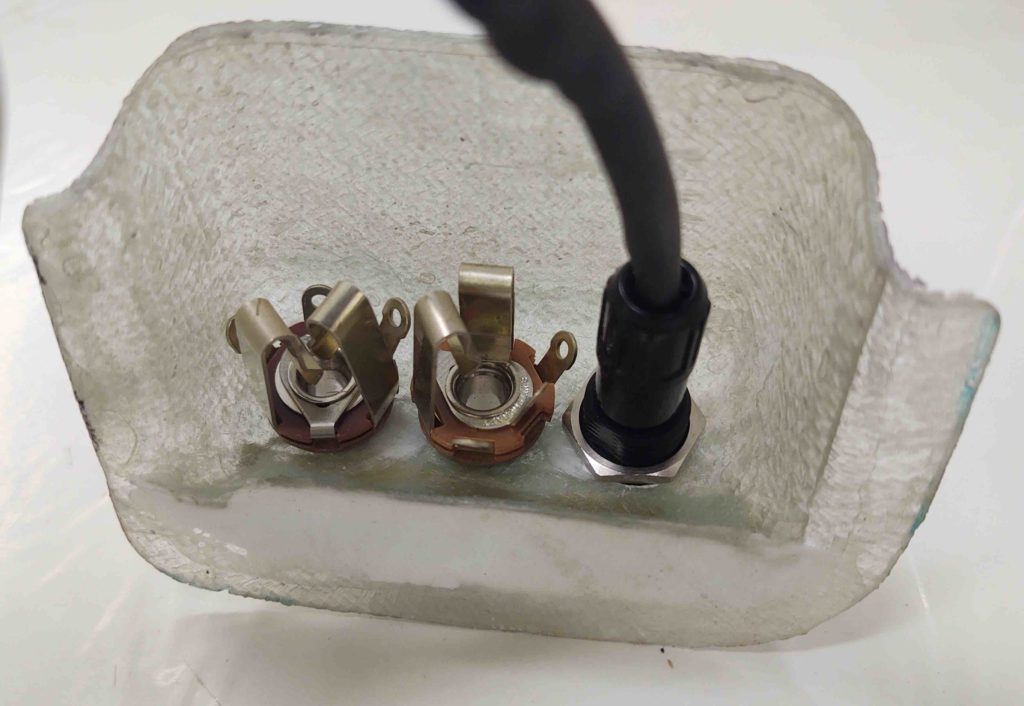
Here’s an inside look at the jacks.
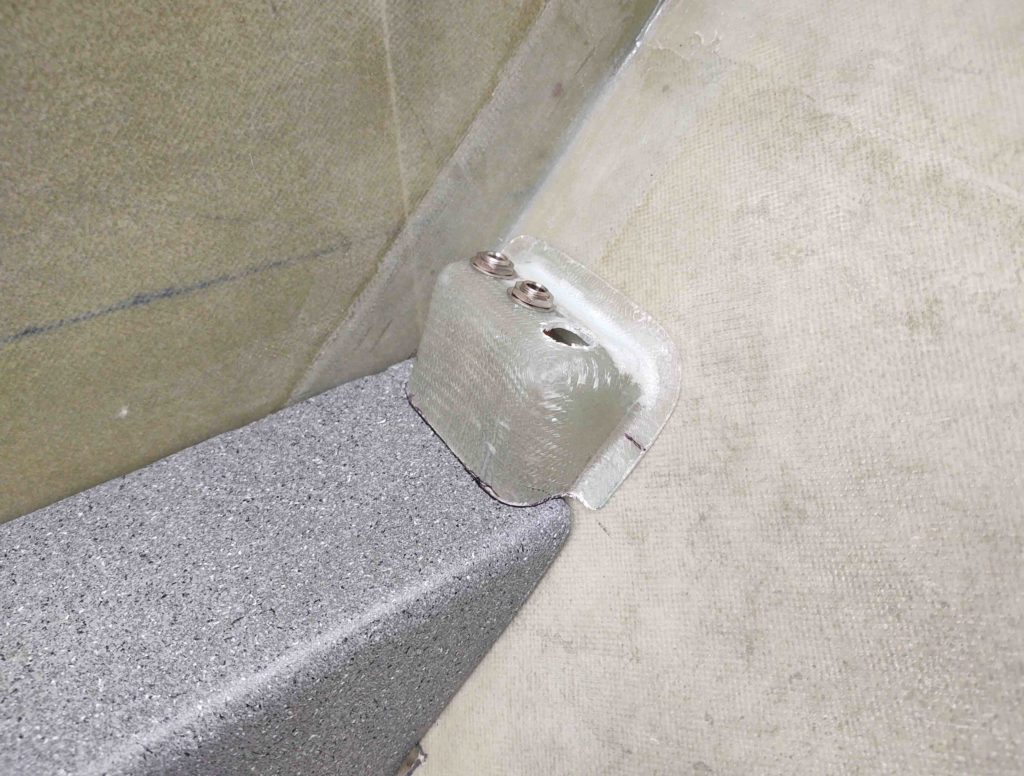
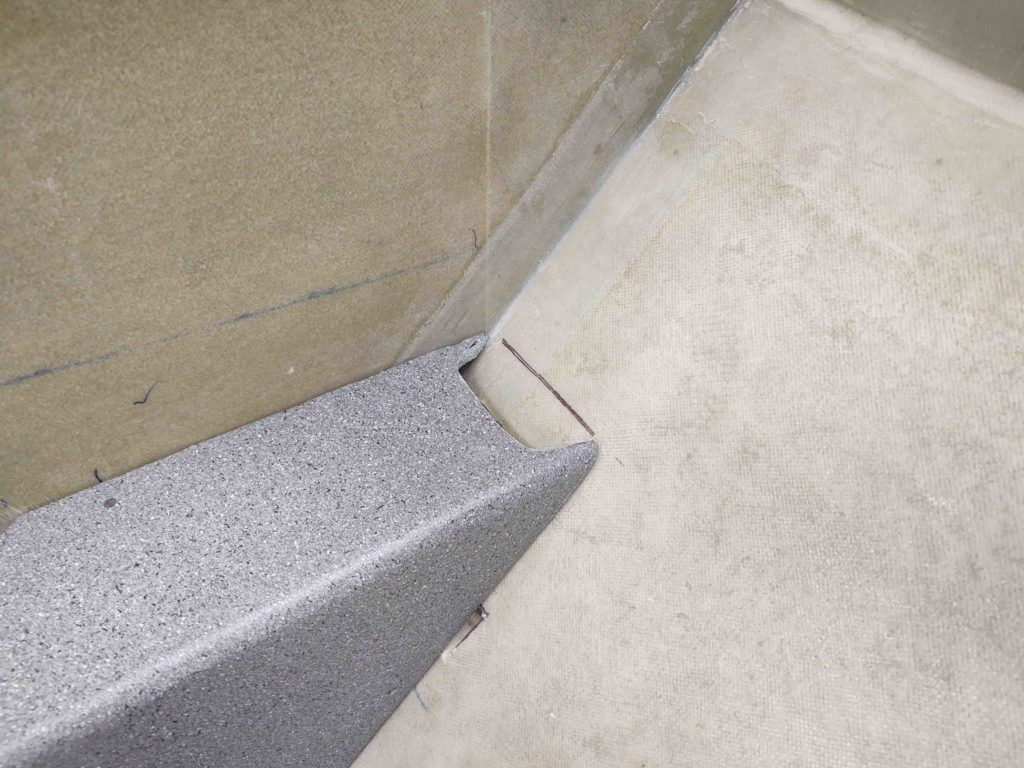
And the initial placement on the right armrest. My goal was to actually trim more off of this housing, which I did eventually with another 0.6″ off the open/bottom end.
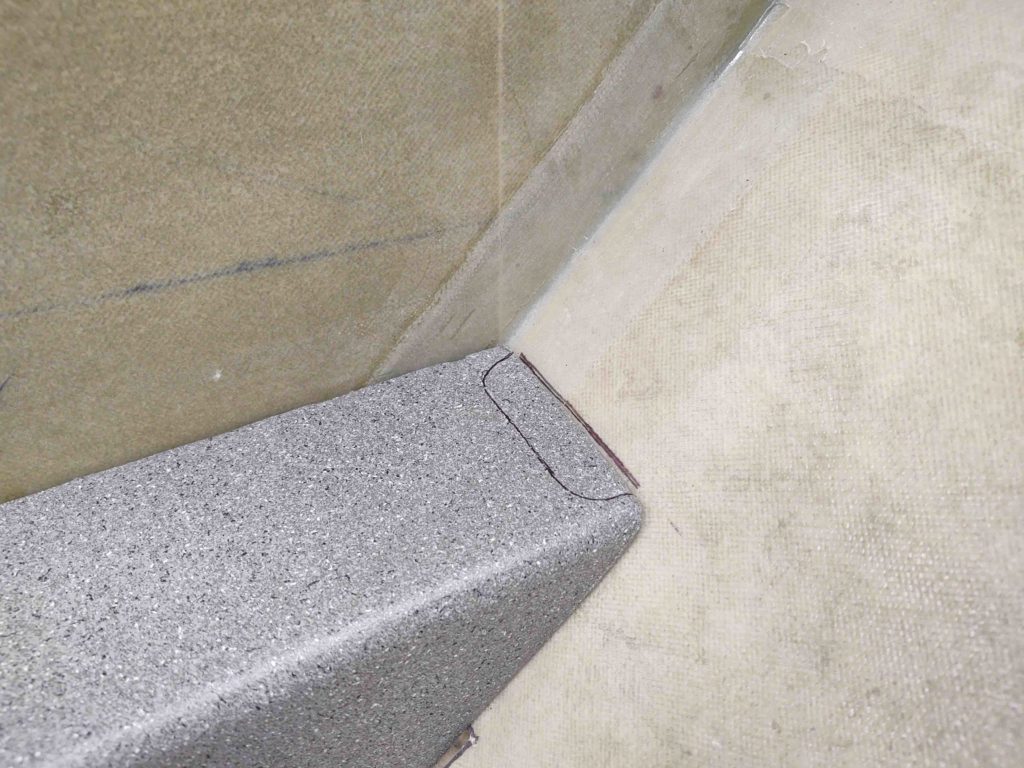
Again, this its the initial cut line. I went through a half dozen iterations before ending up with my final configuration.
. . . which is this one.
Driving the headset jack cover further down into the aft armrest not only gives me a lower profile overall on the headset jack cover assembly, but with the angle of the cover it also allows me to remove the armrest with enough clearance around the headset jack cover to leave it in place.
Again, it also allowed me to remove a bit more material on the cover, albeit lightweight, for a skoach of weight savings.
About midday the UPS guy delivered a box from Aircraft Spruce. In that order was the lightweight stainless steel CAMLOC receptacle for the last “official” CAMLOC needing installed… which I did so here.
I say official since I’m heavily leaning on adding a CAMLOC on the wider inboard section of the wheel pant bottom side to keep it secure and vibration free. The left wheel pant is better aligned than the right, and since the right really needs it I figure I’ll go symmetrical with my pant attach hardware.
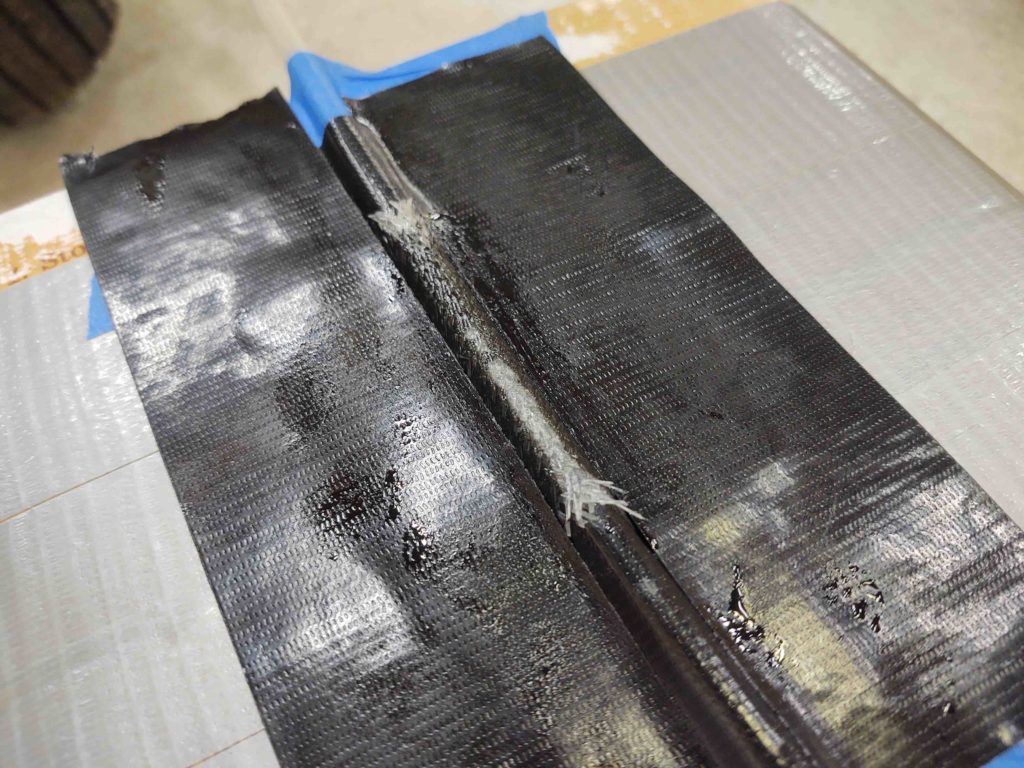
While the aft wheel pant was off I took the opportunity with some spare BID and West epoxy to layup what will be 2-3 relief tube interior retaining tabs for the left aft wheel pant half.

Here’s a closer view.
I’m going to use the tabs to route the relief tube so that it mounts quickly in a semi-circular configuration to exit the wheel pant 90º to bottom edge, a little aft of the wheel opening.
My friend had an unexpected last minute work engagement so I ended up babysitting for a few hours, which really knocked me off my schedule today. My own daughter just gave birth to yet another granddaughter, so I spent a good couple hours with her and my son on the phone.
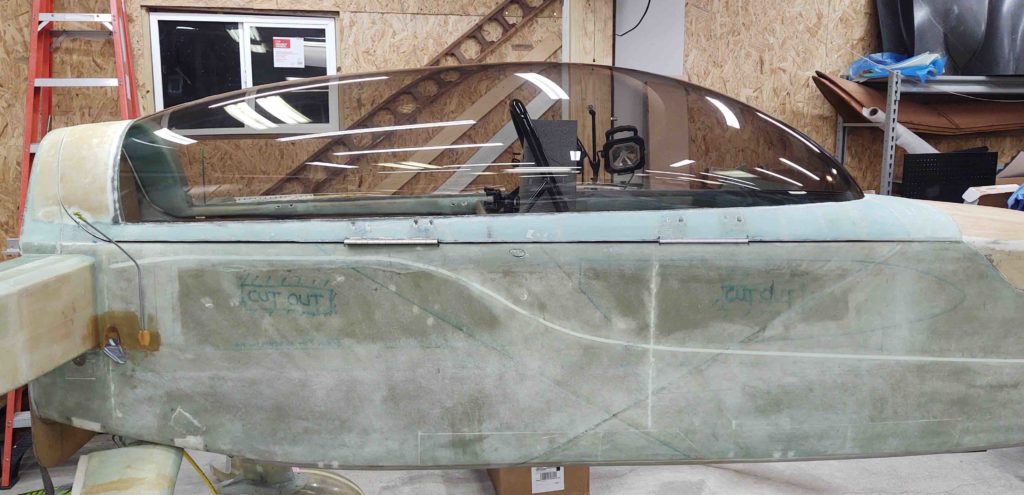
While talking on the phone I decided to finish getting the last remaining duct tape gunk off of the fuselage still left from transporting, which I did.
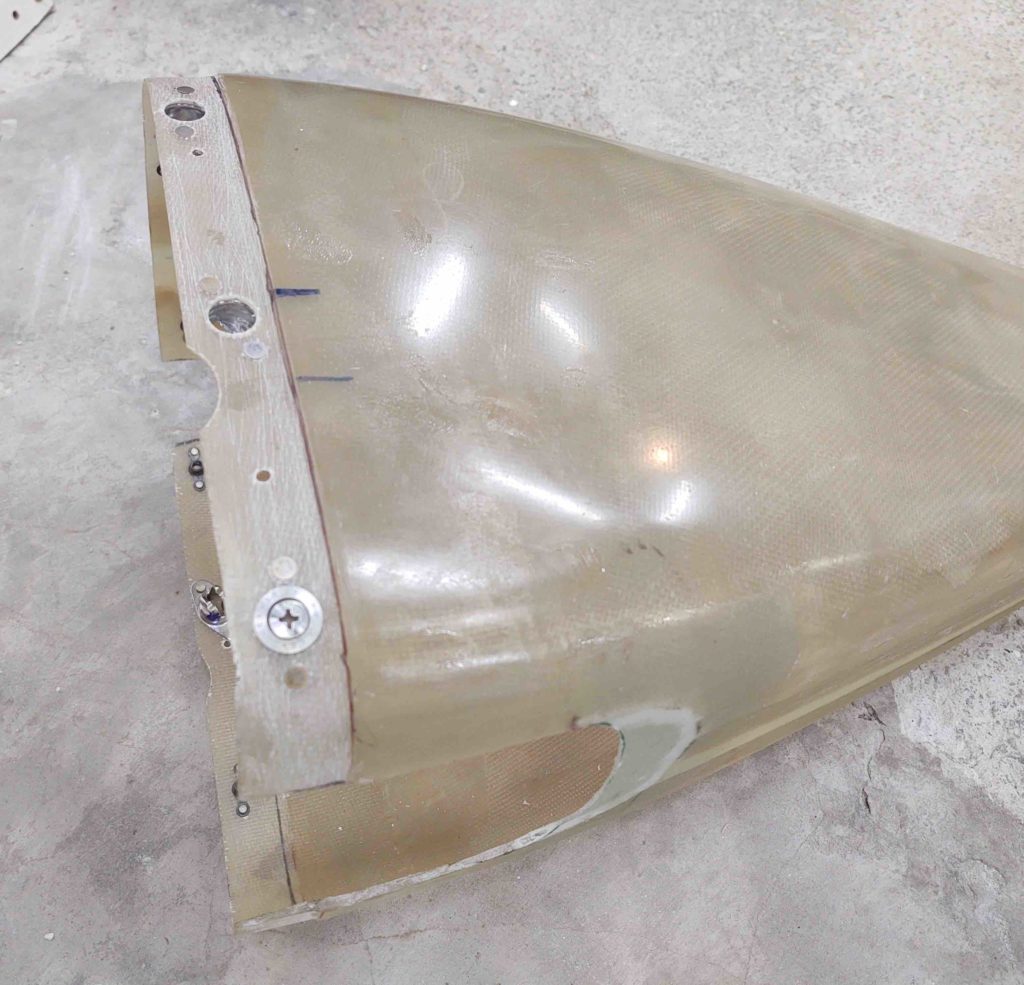
As I was assessing the canopy, I realized it was just absolutely filthy. Since I’ll be finishing up the canopy build here soon, I decided it was a good time to clean it. Again, which I did. For over 2 hours.
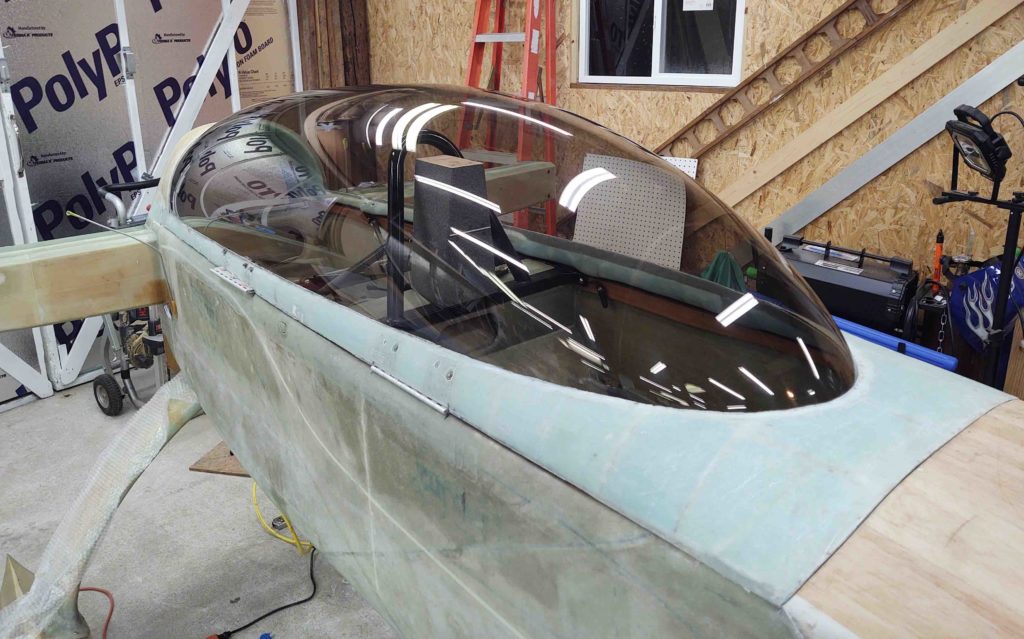
I have to say I was quite surprised at the number of fine scratches it had all around, and especially the crap around the edges still remaining from the canopy build.
There were even a good number of spots where apparently a bit of epoxy had weaseled its way in under all the tape that I had put on the inside of the canopy during the frame construction… leaving a number of various lines of epoxy on the interior canopy surface.
I have to say a lot of these blemishes were much more difficult to see with the thick protective plastic in place. Needless to say, it took A LOT of elbow grease to work out the blemishes and dead epoxy spots.
The canopy clearly is functional, and looks great from 3 feet away or further. But closer inspection leads me to think there is still a considerable amount of cleanup work to do on it.
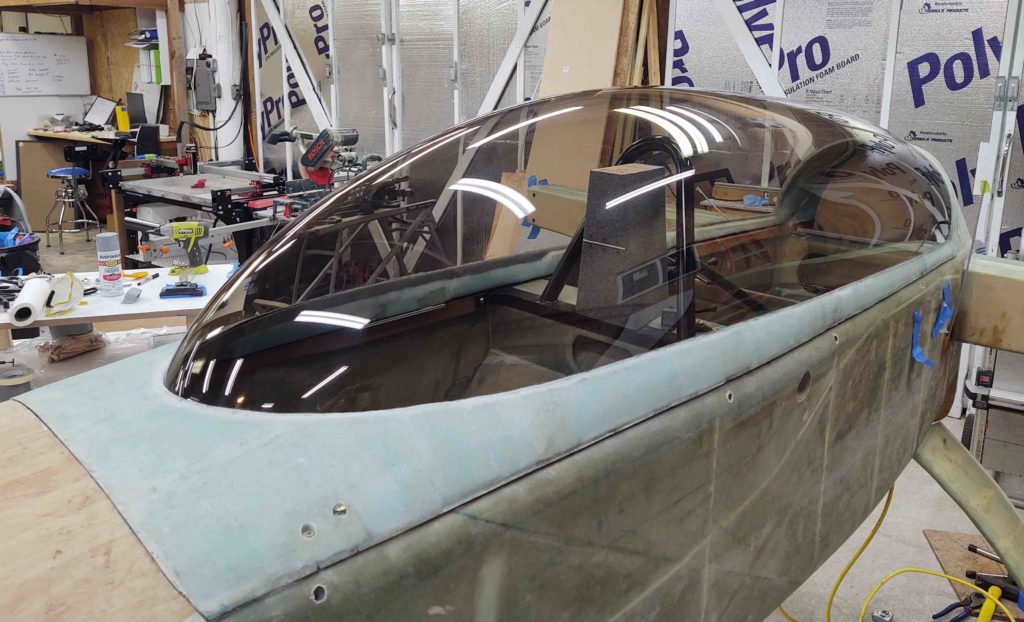
I then spent well over an hour cleaning up the intersection between canopy and frame.
I also took that time cleaning the canopy to ascertain and refine next steps for the canopy, including how I’ll add glass to fill in the slight gap on each side.
For example, on the left side (non-hinge) I can simply add a slight lip to overlap the longeron a bit. Since my hinges stick out a good bit, I can actually do that for a good portion on the right side, just not as pronounced as on the left.