
Today I started out doing some more searches for some parts and organizing even more LEZ parts and consumables…. almost 2 hours total. The good news is that I found every part I was looking for today. The bad news is the stuff I was originally looking for is still MIA.
I then got to work on the PIC headset jack cover. Here it is after I removed the blue tape.
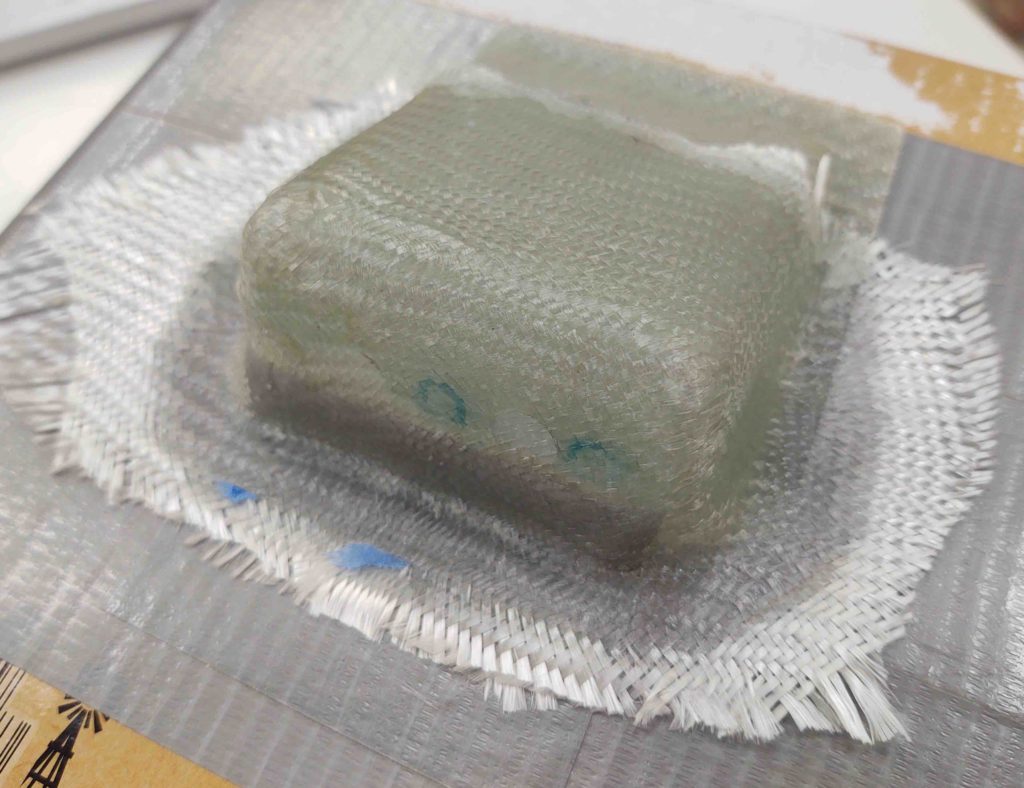
And again after I trimmed up the glass edges… not too shabby.
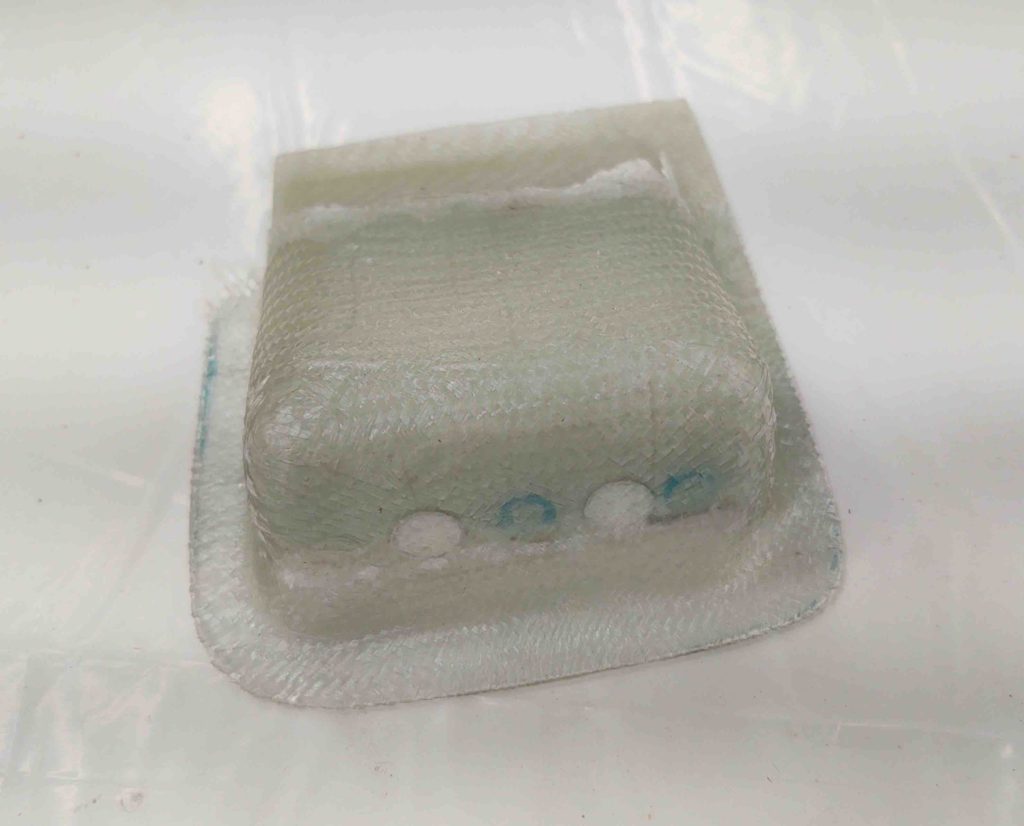
I cleaned out the thin sliver of shaping foam and the duct tape, sanded up the inside and small gap along the front and then attacked it again with micro and a ply of glass on the inside. Just enough to cover the front face with the existing hole indentions (to be clear, which I filled with micro).
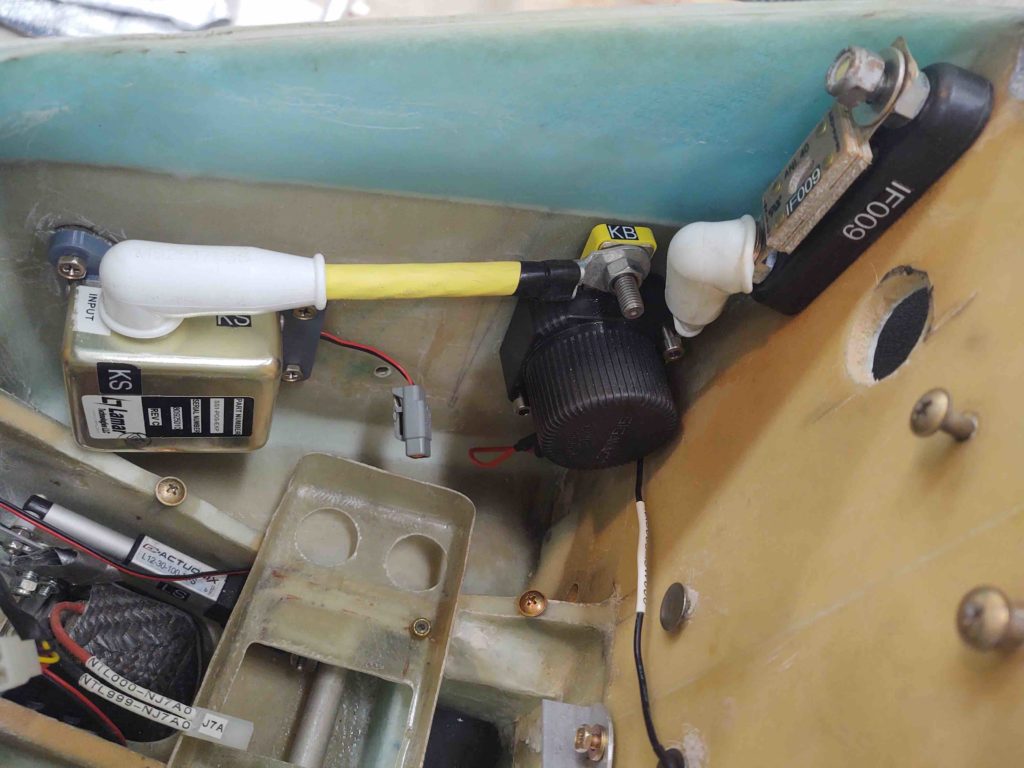
As the PIC headset jack cover cured, I went ahead and made up a power cable {yellow} for the feed between the battery contactor (on right) and the starter contactor (on left). I also reused the old 8 AWG wire feed to connect the battery contactor to the IF009 ANL40 current limiter (actually, I also lopped off about 1/4″ off the bolt studs on the IF009 to allow me to better get the white boot in place).
A few hours later I measured the angle between the front right armrest and the pilot’s seatback. I then transcribed that angle onto the mostly cured PIC headset jack cover.
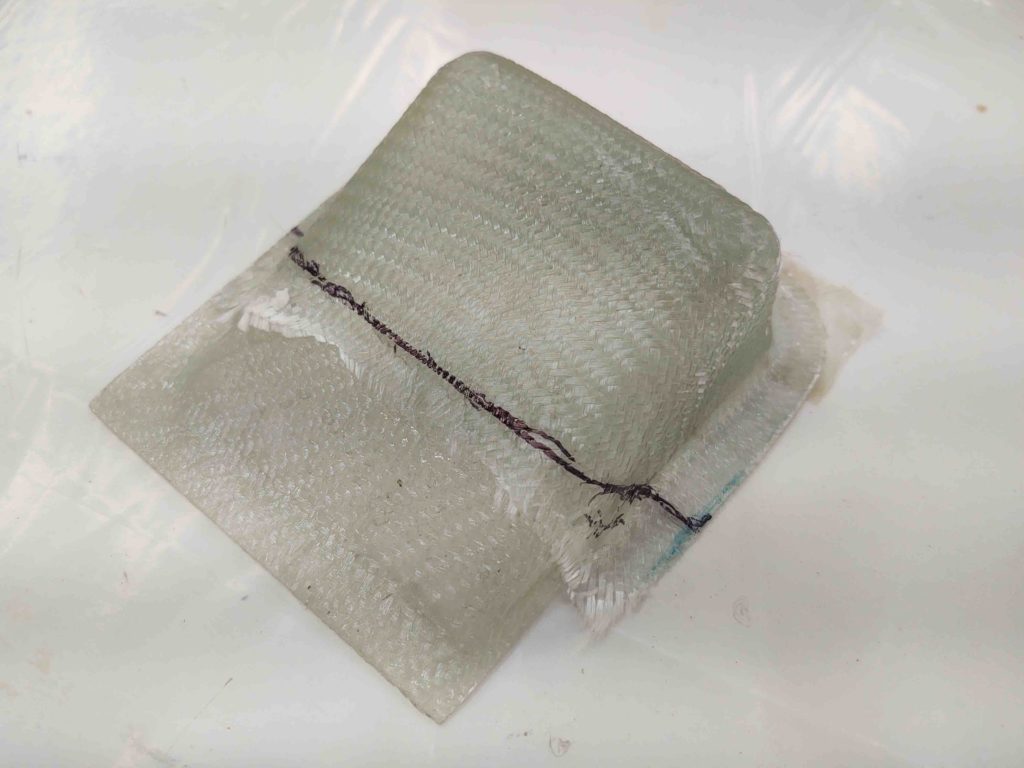
I then cut off about a third of the PIC headset jack cover.
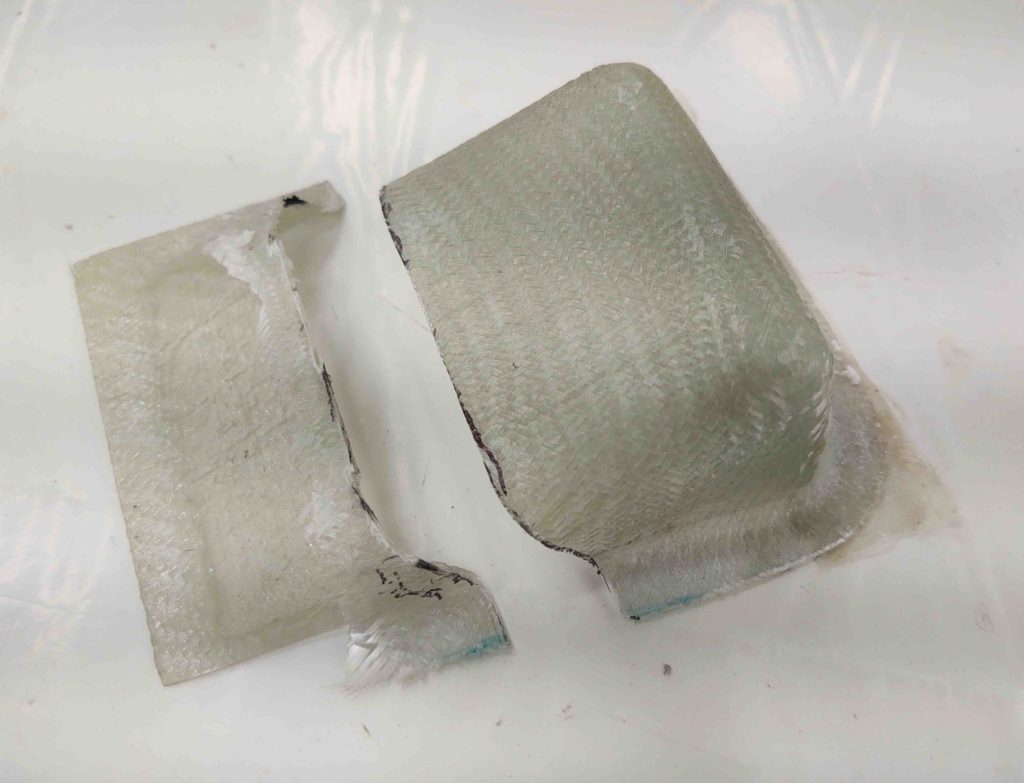
Although the peel ply is still covering the micro on the bottom, here’s what it looked like at this point.
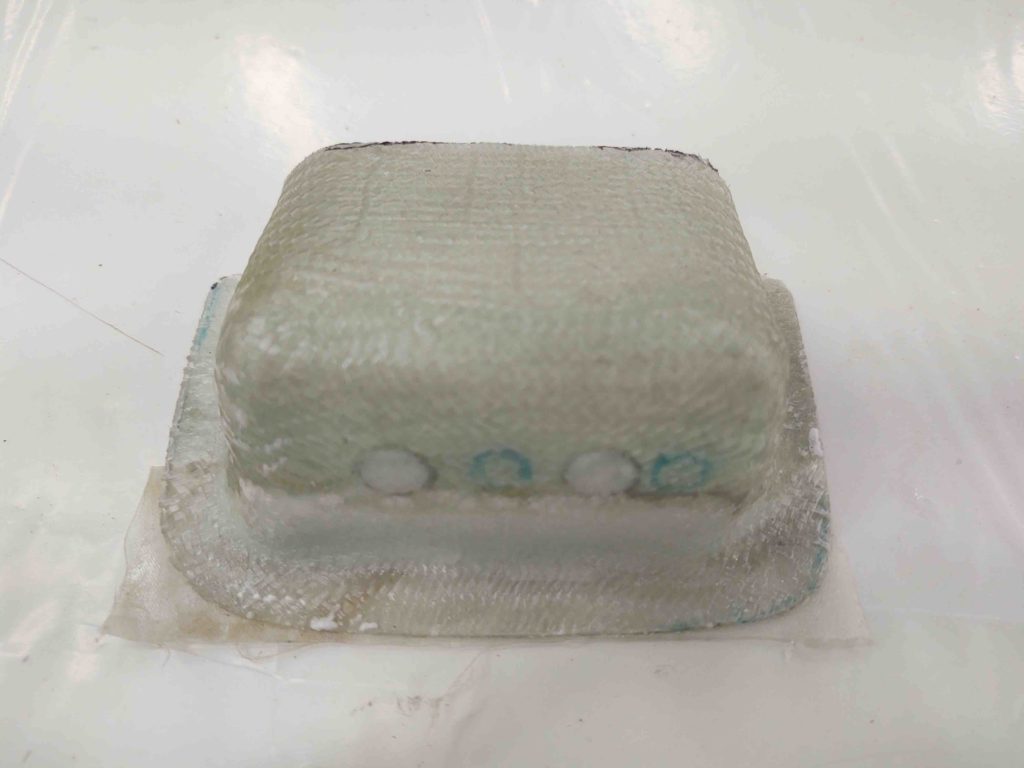
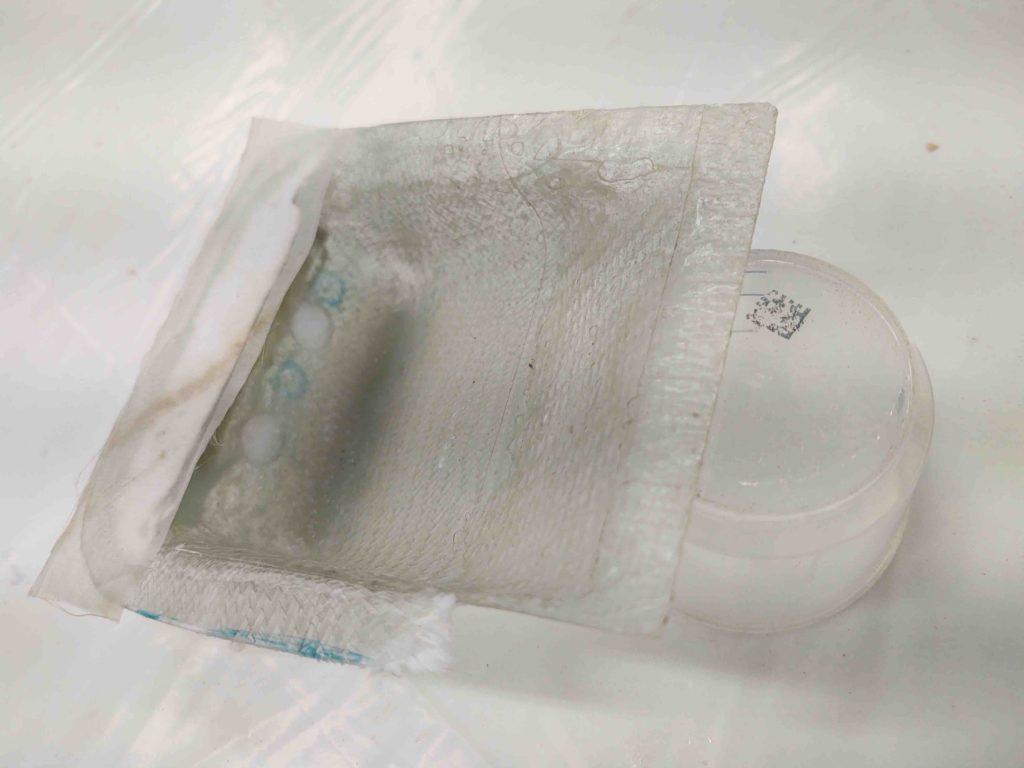
And a shot of the very nearly cured interior 1-ply BID layup.

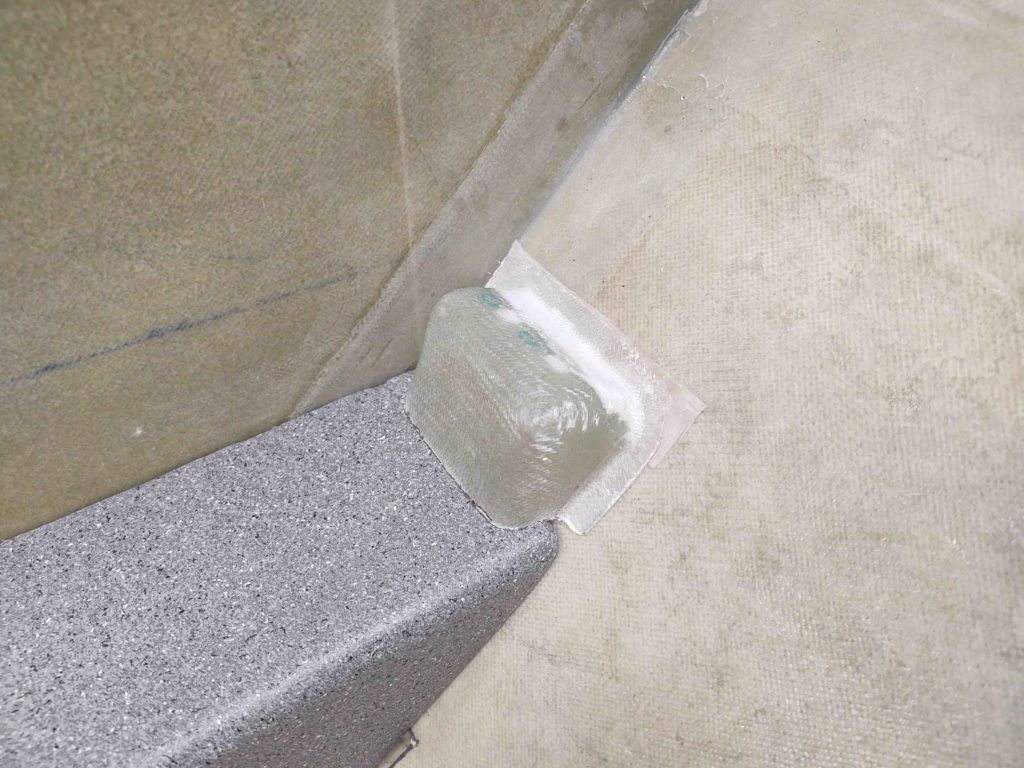
Here we have what she looks like in place.
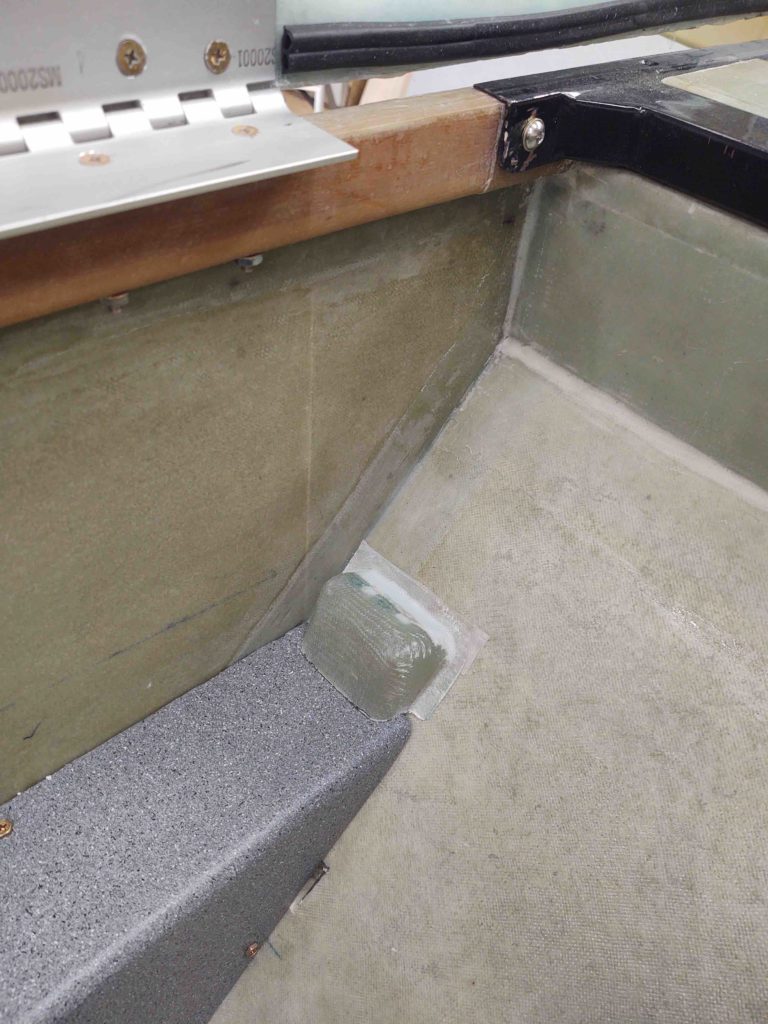
And an even closer shot. Now, the final look will have it actually sitting just a bit lower as I’ll most likely notch the back edge of the armrest to fit around the bottom edge of the PIC headset jack cover. Besides giving the PIC headset jack cover a bit lower profile, it will provide a path for the headset jack wires.
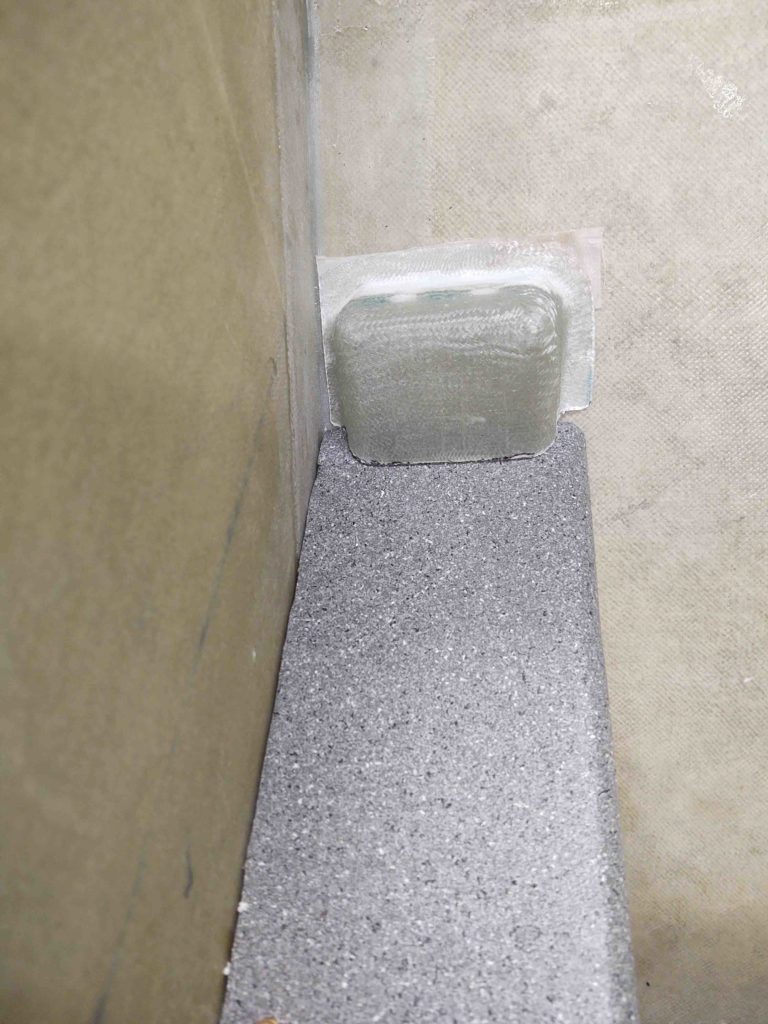
Yet another shot.
I then got to work on the last component to get mounted onto the Triparagon top shelf: the Trig TT22 transponder.
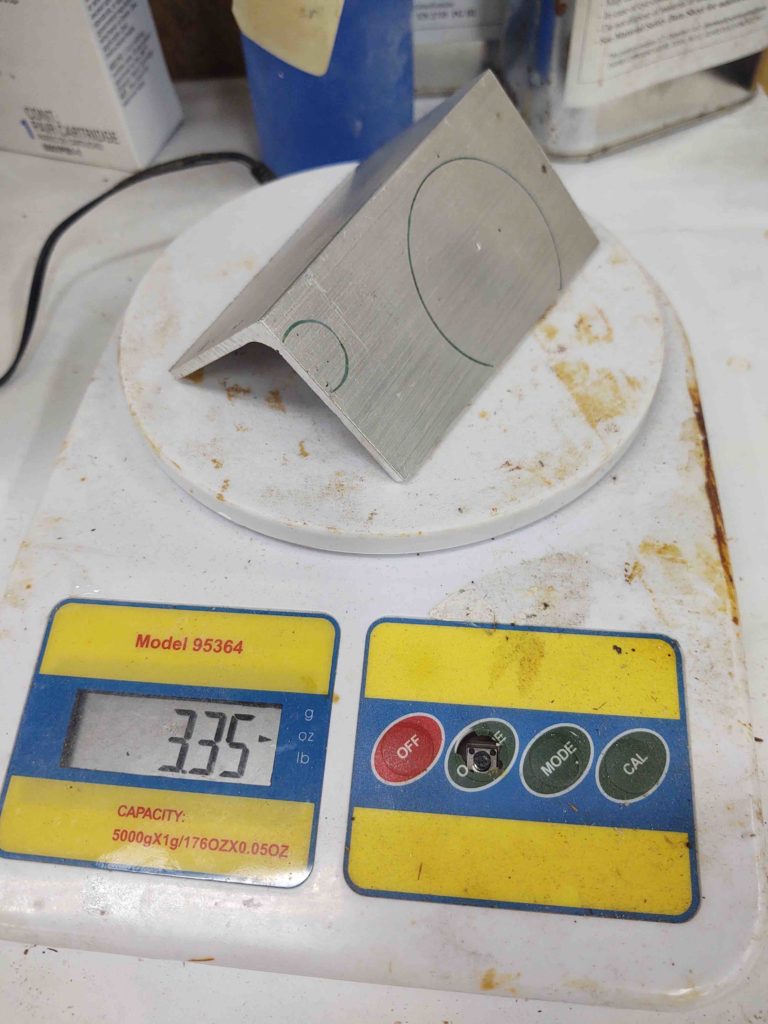
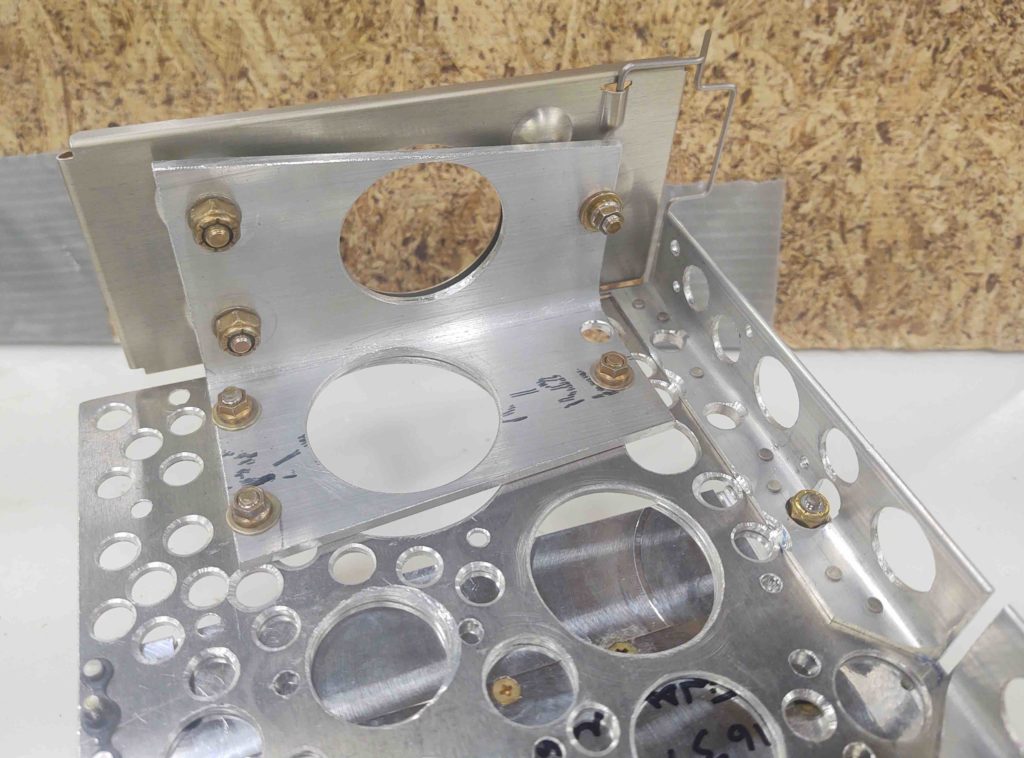
Here’s the bracket I cut late last year for mounting the Trig TT22 on the right side of the Triparagon top shelf. Again, due to clearance issues I can’t install it on the top of the shelf where I had originally designed it to go.
Here’s the initial bracket weight.
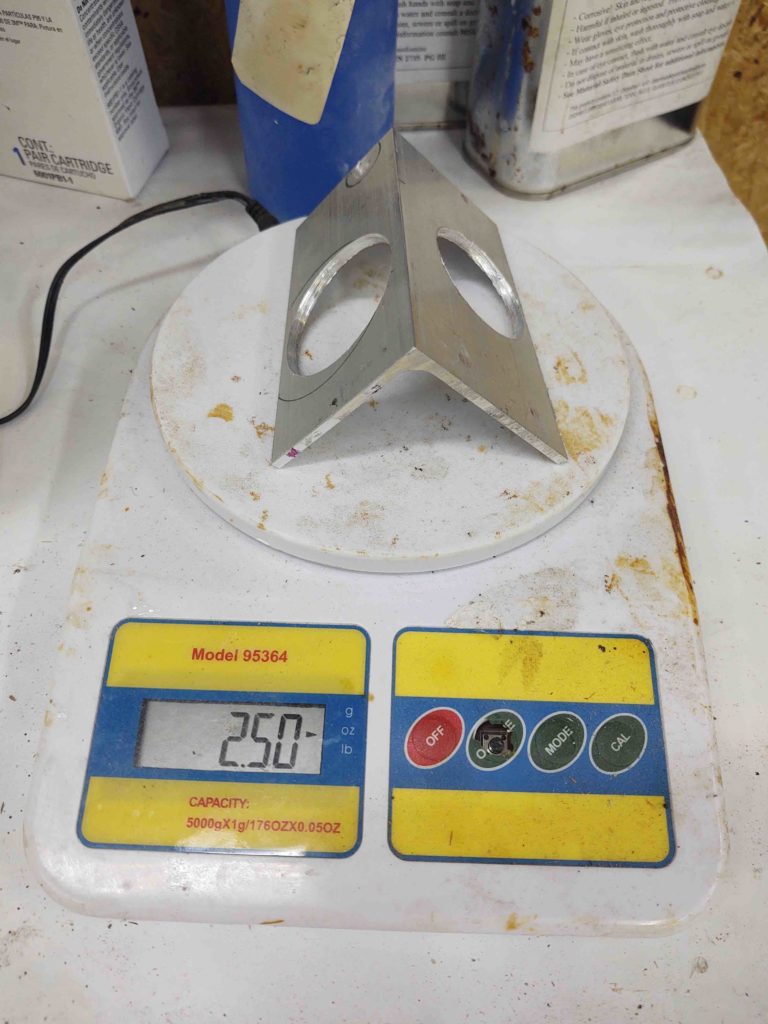
And after I drilled some lightening holes. I would say with all holes drilled it was fairly close to an ounce lighter in its mounted configuration.
Here’s the bracket complete and mounted to the Triparagon top shelf. Note the actual Trig TT22 bracket on the side, and the actual bracket bolt hole pattern used on the top shelf… in case the opportunity allows for moving it back up top.
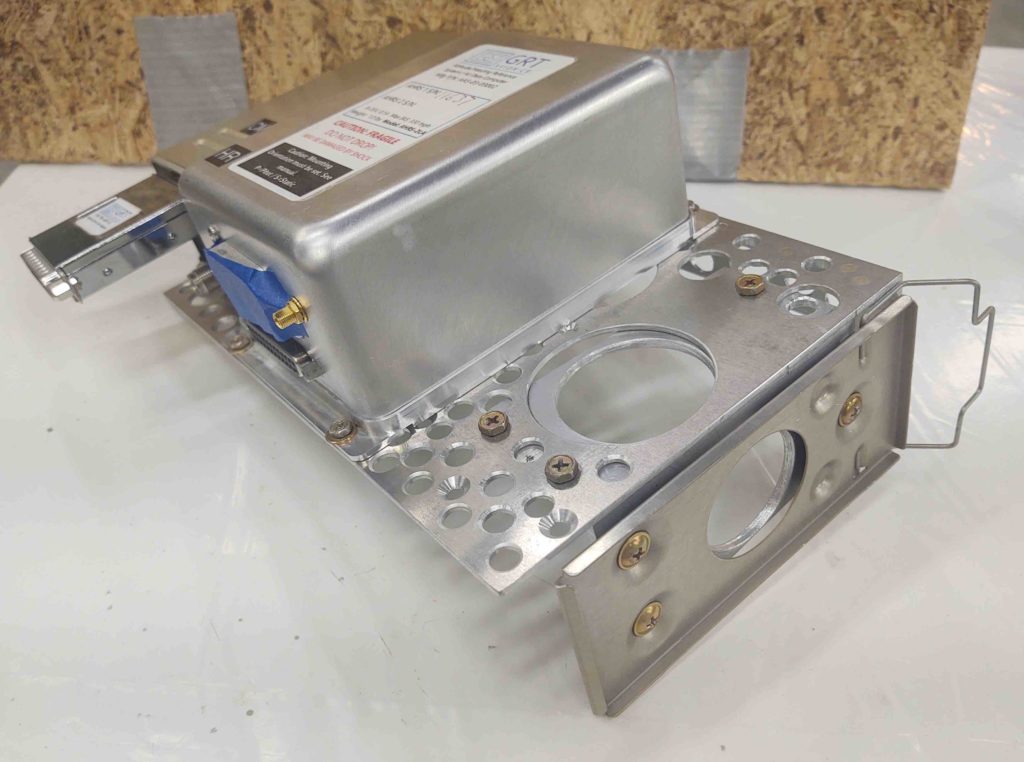
Here we have the underside, showing all the nuts and bolts, in their natural habitat.
Finally a shot with the actual Trig TT22 unit installed.
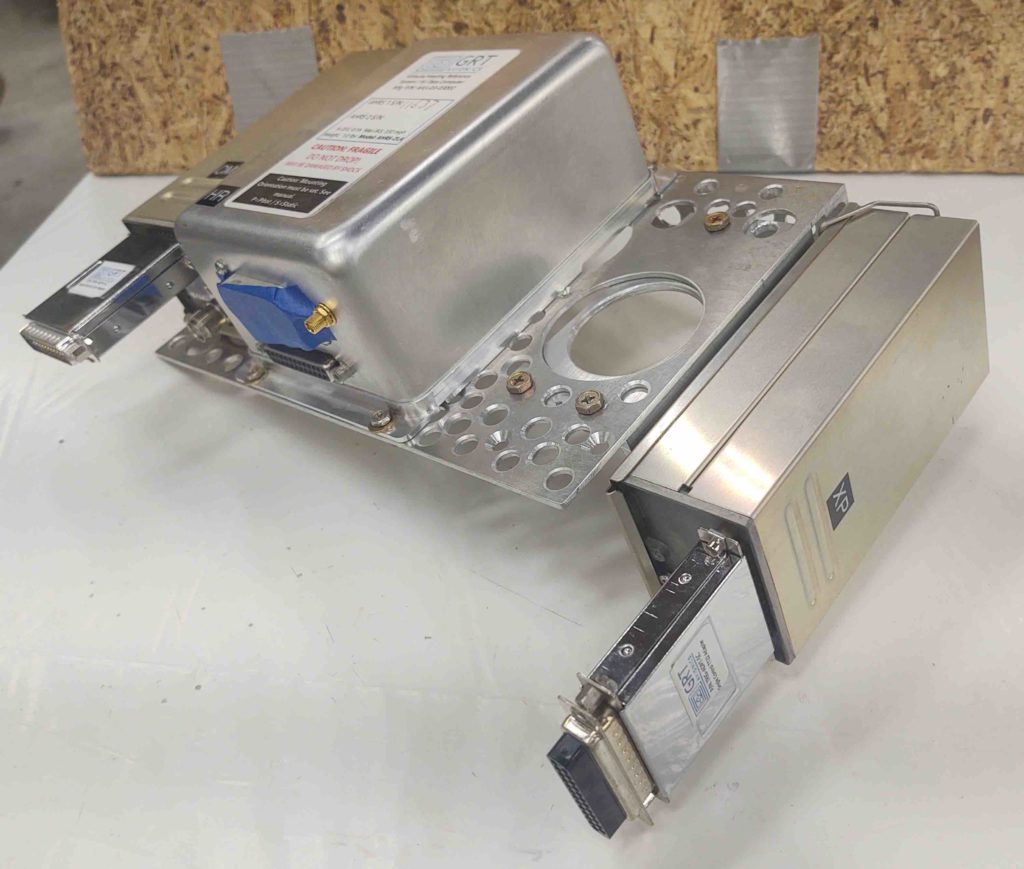
Another angle.
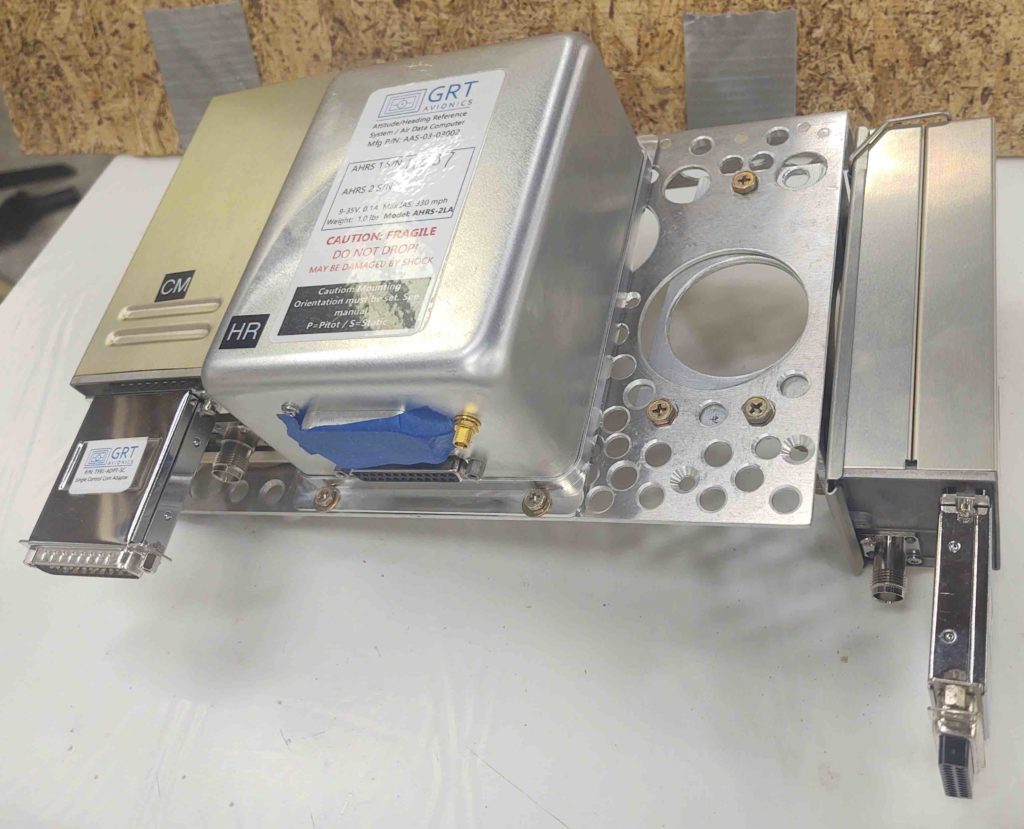
A final shot…
As I’ve noted previously, if any noise should arise in the headset or comms I’ll be prepared to move the transponder out to the end of the right strake. That being said, I have a number of canard buddies who are flying Trig TT22s mounting behind the panel with the antenna in the nose, with zero noise issues. So I figured I would try that route first.