
Well, I’ll be darned if another task didn’t blow up into a huge project. I had planned on using this morning to finalize the electrical stuff I did yesterday: print out the diagrams and connector pinout sheets and verify a few connections.
I did just that and then, although electrical in nature, got back to working on the GIB area by working on the circuit for the GIB cabin lighting.
My GIB area cabin lighting essentially consists of 2 zones:
- The upper zone lit by a red/white LED map light.
- The lower zone lit by red/white LEDs mounted in the sump low fuel sensor covers.
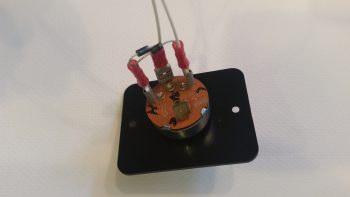
I decided to start on the switch side which consists of a mini-toggle that allows for selecting all GIB area lights to be lit either RED or WHITE. This then connects to a rotary switch that allows the GIB to determine which lights are on or off with the following positions:
OFF – FLOOR – MAP – BOTH
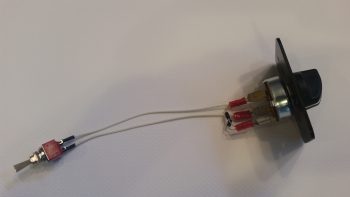
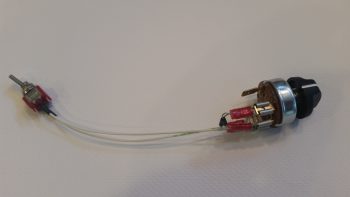 So I got both switches configured & initially wired up, and all was fine until I had to tie in the LED map light.
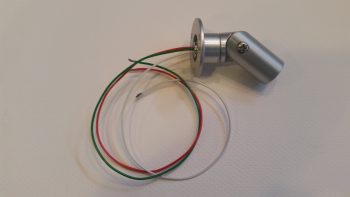
As you can see the map light has 3 wires: white, red, and green. I mistakenly assumed that the separate, selectable red and white set of LED lights were powered by the red wire for the red lights and the white wire for the white lights, with the green wire (maybe I’ve spent too much time installing house light fixtures!) being the ground wire.
Which is exactly how I had it drawn up for years!
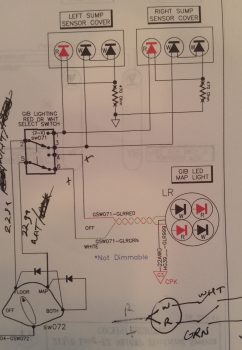
But, alas, the manufacturers of these map lights pulled a switcharoo and pretty much made the install specific to powering the lights through an ON-OFF-ON switch with each light being controlled by closing that color (red or white) circuit to ground with the switch. You can see an initial swag I took at this in the lower right corner in the pic above… albeit I lopped off the ground symbols when I cropped the pic.
I played around with it for a while, getting a bit pissy having to “waste” time on a small luxury item as this GIB map light. Moreover, all day my Chi was apparently way off center because I was letting a ton of that critical electrical smoke that must be contained out of as sundry items such as relays, diodes, wires . . . you name it! I clearly had the reverse midas touch so when I was done creating smoke by incidental shorting of wires, etc. I decided to dare not touch the plane nor attempt any glassing later in the evening!
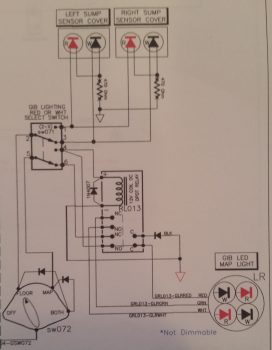
Although I did –after much effort, angst, creative use of expletives, persistence and hard thinking (which was like pushing a brick wall!)– finally tested out a good circuit for the GIB LED lights, which took a few hours and involved incorporating a spare small DPDT relay I had on hand (don’t ask how long it took me to find it!). BUILDERS HINT: Install the diode in the circuit the correct way!! Ask me how I know . . .
The challenge was that I already had the entire circuit designed and mostly constructed, so I was adding on to the tail end of it and couldn’t really pick my power & ground wires from scratch (without adding more long wire runs or even more complexity). I eventually got it, and thus I present to you the new GIB LED lighting circuit:
Yes, hopefully tomorrow I can actually get back to the REAL GIB area tasks!