My social calendar has actually been a bit fuller this weekend, putting me a bit farther behind on my build goals vs. what I wanted to accomplish. Being out with my buddy last night, sleeping in a bit, getting a package with some components in it, doing more research, going down some rabbit holes, doing some more research, ordering more parts, all put a sizable dent in my day.
That all being said, I love when pieces of my various puzzles fall into place, and literally within days of me acquiring my D-Deck cooling and exhaust fans, and my pondering a solution for triggering them on an “as needed” vs continually on basis [which could A) prematurely wear out the fans and B) perhaps make the operating temp too cool for one or more components] . . . Well, if you read this month’s Kitplanes Magazine you may have noted an article written in the back by Jim Weir, of plastic airplane antenna kit fame, discussing thermal fan controllers to manipulate the on/off of component cooling fans based on TEMPERATURE.
Perfect! As I was assessing my options of either building Jim’s version or buying one OTS, I ran across a nifty little unit on coolerguys.com that I could merely plug my two fans into and hook up power and ground and Voila! … solution integrated and complete. My fans would then be controlled via temp, turning on when the internal GIB headrest temps reach ~88° F and turning off at 80° F (about a 10° higher set point than what Jim proposes in his article, but for plug-n-play convenience in such a small footprint, I’ll eat the extra 10°). I found the unit on Amazon along with some other aircraft stuff I needed, pulled the trigger on the order and then spent 10 minutes updating my electrical diagram. Thus, in the course of about 45 minutes I was able to put my fan control ops question to bed.
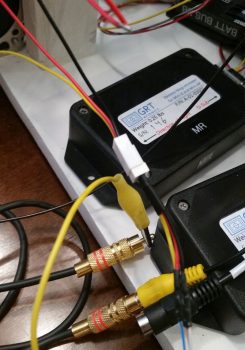
I then figured I should test out the fuel site gage video camera cable I made last night. I grabbed the other end of the wire connector I purchased for the 5V camera (#3) and wired it into panel and power. Then connected the yellow video lead up with a patch cord to check the video signal. [The connector on the camera #3 side of this long cable allowed me to test the fuel site gage video camera at the opposite end, but since the wires are not accessible on the other end I won’t be able to test video camera #3, the topside-looking-aft video camera, until I cut this long cable in half . . . which I’ll do once I finalize my determination of required cable lengths].
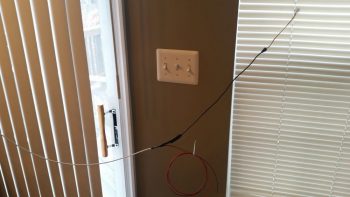
Since I had plenty of cable, I ran it out a bit and set the camera up to look at something nicer than just indoors…. I figured my deck would offer a better view.
After double checking all the connections I fired up the panel and quickly set the left inset to show video. Hmmm, a blue screen & NO video. I rechecked my connections, checked the wiring colors since the solid red, yellow, black video camera leads get translated over to the white/orange, white/blue and white/green cable wires. Ok, tried it again…. blue screen/no video!
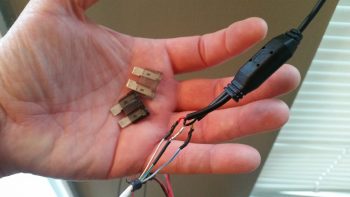
I then tested the cable out (again) by doing continuity tests for each wire… good. Hmmm, then I checked the leads again, and then checked the fuse…. ahhh, the fuse had popped. In my mind this had clearly been an earlier event (duh!) so I did what any moron would do, I shoved another good fuse into the slot just to be met with a small pop! Well, there was my answer: I had a short … And 2 dead fuses.
After spending 5 minutes deconstructing (“destroying”) my beautiful heat shrink, I pulled the wires apart and Shazam, it did the trick.
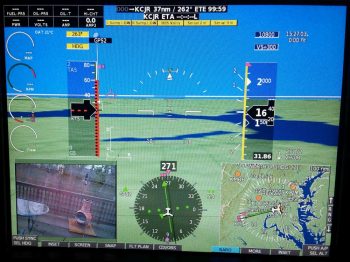
As you can see in the inset below there is a nice video feed of the chiminea on my back deck. Definitely good enough video quality for viewing the fuel site gage.
I’ll wait until I cut the long cable (remember, there are video cameras connected at both ends) before carefully adding more heat shrink to the wires, after ensuring there will be no more shorts of course.
I then went to yet another dinner out with some friends so that was the end of the build for this evening.


