
Today I started off having to do a fair number of errands and personal stuff.
Then I planned on knocking out a few quick tasks before moving on to the strakes.
When I got into the shop mid-afternoon the first thing I did was check out the heat/air duct install. The install was good so I grabbed a pic and then moved on.
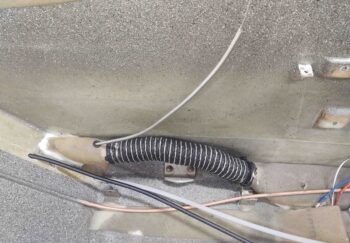
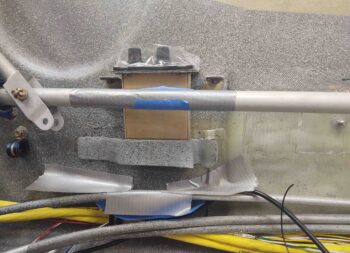
Then, to ensure the relief tube doesn’t get sliced up by the sharper edge of the rear seat bulkhead, I first taped it to the oil heat line right beneath it with 2 plies of the thick Gorilla duct tape and then zip tied it as well. Note that the zip tie itself is compressed in the narrow slot in the seat back as a sort of protective lock to keep the lines secure and chafe free.

To get some stuff off my work bench I then quickly measured and attached some flexible plastic cable covering/conduit over the wire bundle just inside the back seat CS spar oval access hole. I started on the lower segment beneath the Adel clamp.
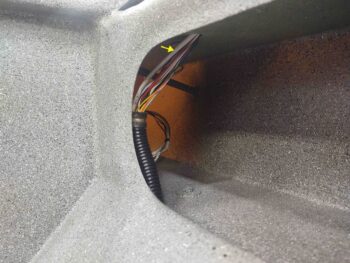
When I got to the upper segment I was surprised to pull out the un-terminated and loose 6-wire cable #1 (yellow arrow), that comes in from the panel, from out of the CS spar . . . oops!
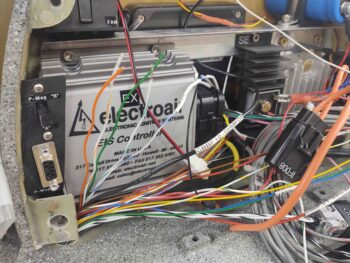
First, I ran the 6-wire cable up into the D-Deck.
I then stripped off the outer sheath and separated out the 6 wires. I had planned on splicing in all the appropriate wires, but needed to label the wires first. I went back into the house and attempted to print out these 6 labels when I found that I only had enough material for 2 labels… so I was only able to splice in and label two of these wires.
No worries. Running the 6-wire cable into the D-Deck and getting 2 of 6 wires connected up is a lot farther along than when I started out the day [although in my own mind I had already completed this!] I’ll order more label cartridges and finish the last 4 wires when I get a chance, even if that means post-strake build.
While I was working these wires, I took a break to pick up my little buddy and watch her for a few hours for my friend. This of course changed my plan for the rest of the evening.
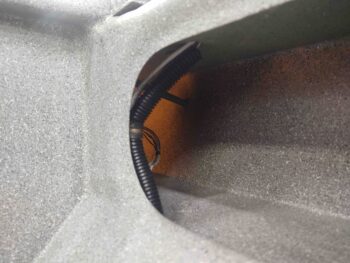
After I worked the wires above, I then quickly put the piece of flexible plastic cable covering/conduit over the top side of the wire bundle. I’ll permanently secure these plastic cable covering segments later when I confirm there’s no more wires to be run.
My last act of the evening was to flox the upper wiring bundle “bridge” to the right fuselage sidewall… around the Dynon intercom [I had trimmed and sanded the bridge earlier in the day, and then primed, painted and clear coated it throughout the day].
Ok, so at the risk of sounding like the boy who cried wolf, I do sincerely plan on getting back to work on the strakes tomorrow . . . (we’ll see, ha!).