
I started off today accepting delivered packages from both Amazon and SteinAir. My Amazon order contained this little gem right here:
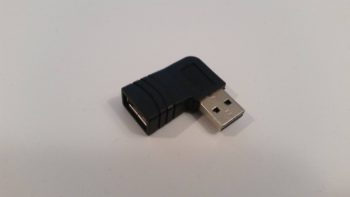
This 90° right angle USB adapter is perfect for allowing me to hook up my panel mounted USB jack to the HXr. Since the HXr’s back panel is farther forward than the panel mounted USB jack and cable, then the USB plug at the end of the cable needed to do a 180° to get to/fit into the back of the HXr. The cable’s USB plug could literally touch the USB jack on the HXr, but the geometry was such that it couldn’t go in since there just wasn’t enough length on the cable. This 90° USB adapter solves the problem by essentially turning the HXr’s rear-facing (again, technically forward in the real world) USB jack into a side-facing USB jack.
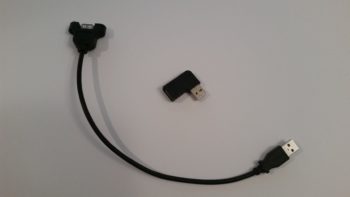
I secured the new 90° right angle USB adapter to the panel-mounted USB jack and cable with a piece of heat shrink.
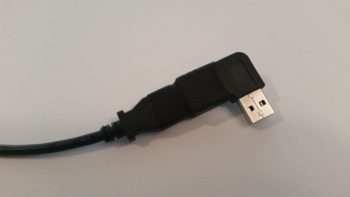
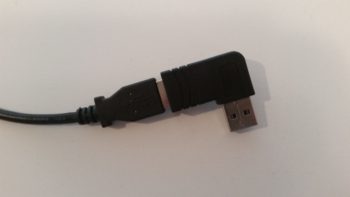
I then mounted it into the back of the HXr. I’m very happy that I now have a direct cable run and, moreover, that I don’t have to mess around with an extra foot of unneeded USB cable.
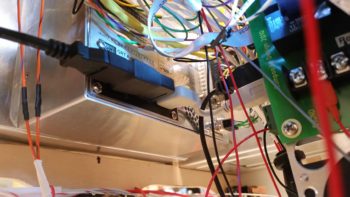
This view shows nearly the entire run of the panel-mounted USB jack and cable to the HXr, utilizing the new 90° USB adapter. Again, I’m really happy with the minimal cable length required for this connection, yet still enough slack that it’s stress free.
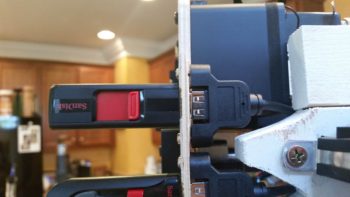
I mounted the USB jack onto the aft side of the panel, and then plugged in the HXr’s thumb drive.
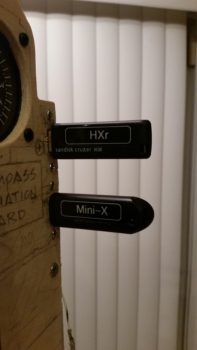
Since I’ll be updating the EFIS’s and adding some files to their respective thumb drives, I didn’t want to get them mixed up and wanted them easily identifiable. So I took a few minutes to print off a snazzy label for each one.
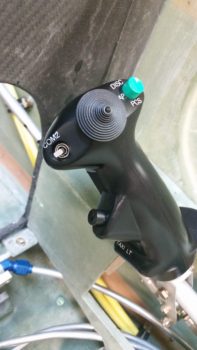
Having just had separate discussions with both Dave B. and Marco on instrument panel and throttle/stick labeling, I decided since I had labeler in hand to make up a few test labels for the stick.
Not bad, but I see some modifications to these labels in the future . . . I got plans!
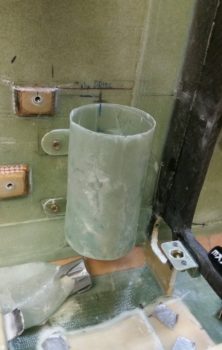
I then got back to the build by drilling & prepping the 4 holes in the left fuselage sidewall for 4 RivNut hardpoints that will secure the cupholder to the sidewall.

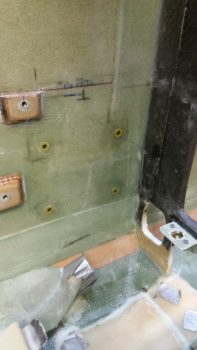
I floxed the 4 RivNuts into the sidewall to create these 4 mounting hardpoints to allow for a removable cup holder.
A few hours later here are the 4 floxed-in and cured RivNut hardpoints for the cupholder.
I then rounded the cupholder’s mounting wings into a pleasing shape… although a friendly fire incident occurred when my Fein saw kicked back hard and took a small bite out of the lower mounting wing. Minor fix, but annoying nonetheless.
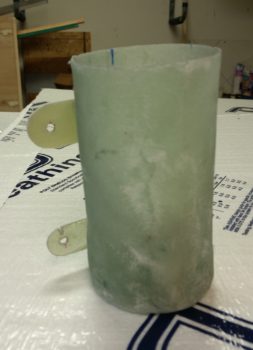
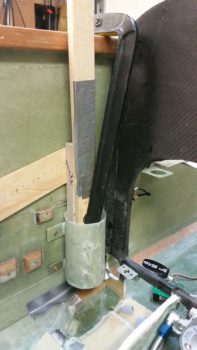
I then test mounted the cupholder.
I then got to work cutting the cupholder access hole into the top of the left armrest.

Since the cupholder is a bit bigger in diameter than the armrest is wide, I needed a slot down the face of the armrest for the cupholder to peek out.

Here’s the left armrest in place over the cupholder after a few iterations of sanding and cutting away glass. It was almost midnight and my time for using the Fein saw was well past, so I called it good for the evening for any more work on the armrest.

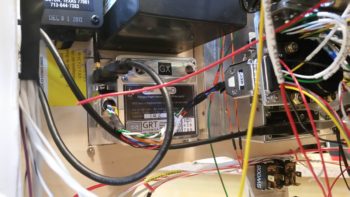
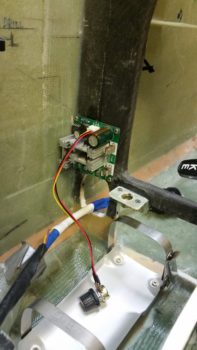
I then moved onto something a bit more quiet. Earlier in the day I decided on the mounting location for my PWM (pulse width modulator) board for controlling the oil heat pump. I drilled the 4 x 4-40 mounting holes into the front face of the lower instrument panel, left side under the armrest.
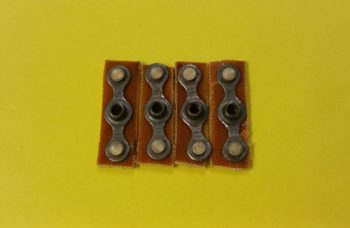
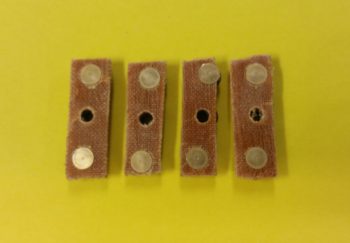
Now it was time to flox in the 4-40 nutplate assemblies to mount the PWM board, using the 4-40 nutplates that I ordered from Stein. Of course I had to make them first . . .
I then floxed in the 4 x 4-40 nutplate assemblies on the lower front side of the left instrument panel, with the PWM board mounted –with standoffs– on the aft side so as to ensure I got the correct screw alignment into the nutplate assemblies as they cured in place.
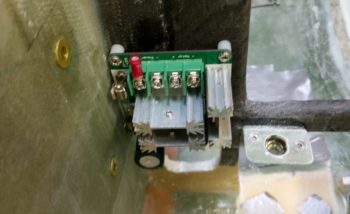
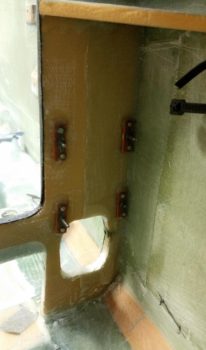
Here are the four 4-40 nutplate assemblies floxed in place on the lower left instrument panel for mounting the PWM board.
With that, I called it a night. Tomorrow I’ll continue to press forward with my left armrest build endeavors with the goal –again– being the install of the 3 cable levers for the heat/air ducts that will allow me to install the heating/air ductwork in the GIB area left sidewall.