
Today, again, was an unseasonably warm day . . . but I suspect that won’t last long. Yesterday was as well but I wasn’t mentally prepared to get something ‘on-the-block’ and painted. Today I was.
I figure my current tasks are such that I can do them in the garage as long as I have heating of some sort. Painting is a different animal however, and unless I want the entire shop filled with paint fumes for a good day or two, I like to get painting done outdoors.
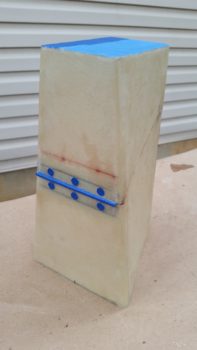
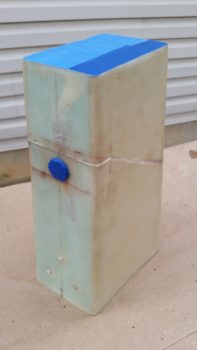
So I started off today prepping my pilot seat headrest for paint. I considered removing the hardware but that would be too much of a pain, so I simply covered it all with blue tape. I then gave it the once over and did some light sanding and hit it with a flat razor blade in some spots to get the surface smooth. Then I gave it a good wash down with Simple Green, rinsed it well and then dried it off.
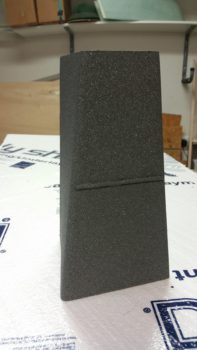
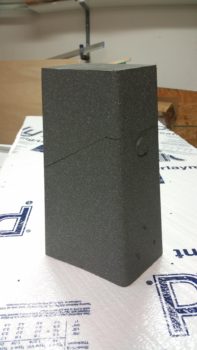
I took the headrest outside, hit it with 2 light coats of primer as you can see in the before & after pics below.
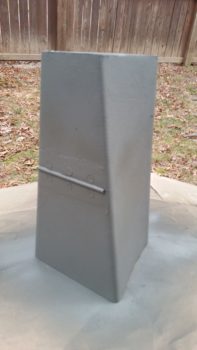
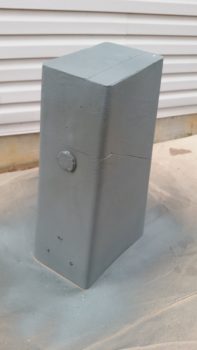
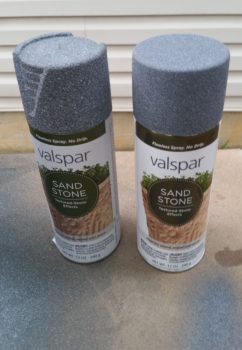
I suspected that I was going to run out of the darker Valspar Sand Stone top paint –which I did after 1.5 passes– so I picked up another can the other day while I was out. But an odd thing occurred that I’m not sure if I’ve seen before. The cans had different lids both in shape and color, yet the cans themselves were identical, with the same name, model number, etc. Yet still, the paint was DIFFERENT, and did in fact match the color and texture on the lids which you can see are clearly different. I tried shooting a test patch with the new paint, and sure enough it was different… how odd. Good thing I noticed and didn’t dive right in and continue painting the headrest with a slightly different color!
A little later I brought the headrest inside. Interesting how dark it looks under shop lights vs. out in the daylight.
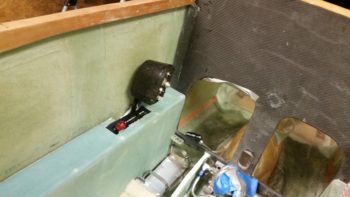
I then spent quite a while determining the exact mounting location –specifically distance from the fuselage sidewall– of my throttle quadrant. With this throttle handle, I have to be careful in how I route the throttle handle cable to prevent chaffing or rubbing. I’ll be constructing a new, specifically designed throttle handle lever that will route the cable through the lever to ensure strain is minimized and keeps the cable from rubbing on the corner of the throttle quadrant plate.
After marking off the area for the throttle quadrant on the top of the left armrest, I then cut the area out using my trusty jig saw.
Below you can see the throttle quadrant mounted on the sidewall with the left armrest in place. You may note also that I made a bit of a blunder in my up/down placement of the throttle handle IF I wanted the top of the throttle quadrant plate even with the top surface of the left armrest, which I did.
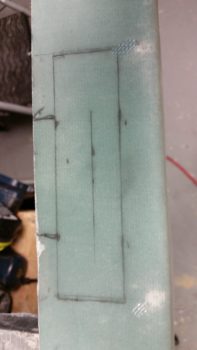
Ions ago I had drawn a line across the fuselage sidewall where the armrest would be located. Unfortunately, this line was for the TOP of the armrest sidewall, but NOT the top of the armrest. Essentially, I had drawn the intersection line of the armrest sidewall and the armrest top. I kept this in mind when I mounted the throttle quadrant mounting hardpoints so the throttle quadrant base top was supposed to match the armrest top, but somewhere in the process I induced a slight mismatch. Currently the throttle quadrant base sits about halfway down in the top of the armrest. No big/uncorrectable deal, just another issue to work through.
This shot shows a bit more of the armrest fitted into the fuselage.

Today was kind of a lighter build day since I ended having my weekly outing with a buddy of mine. We ended up seeing the new Thor movie so I didn’t get as much done as I had planned. But tomorrow I should get a full day in on getting the left side pilot armrest components installed.