
Today I started out by doing a fair amount of research on my ELT placement, which was why I didn’t want to glass in the outboard thigh support tabs last night. I’ve planned out my ELT location under the left side of the thigh support, but of course that can change if it doesn’t go in as planned. I’m installing an ACK E-04 ELT, so I called them today and confirmed the mounting parameters. I also learned that ACS sells a retrofit kit for this ELT, which is also a “starter” kit with just about everything but the actual ELT module. I went ahead and ordered the retrofit kit so that I could get my hands on the mounting bracket to install that as early on as possible.
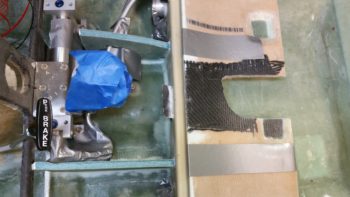
With my ELT info in hand, I then prepregged out another 2 setups of 4 plies of BID + a ply of CF. I then glassed in the outboard thigh support tabs, placed the cover back on and weighed it down.
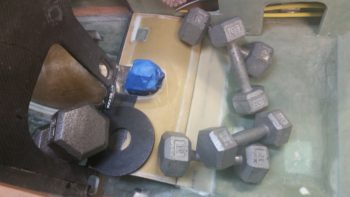
Here’s the results a few hours later.
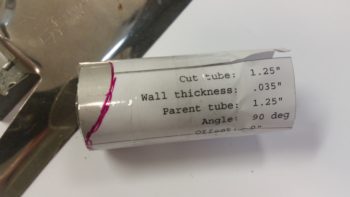
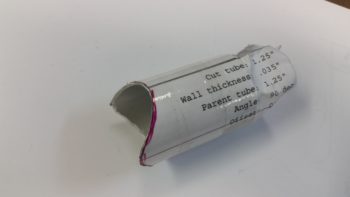
While the outboard thigh support tab layups were curing, I grabbed my 1.25″ thin walled (0.035″) 6061 tubing and cut it in order to make a “T” duct for my heating system. This “T” duct piece will sit upside down just in front of the left side instrument panel. The air will flow straight to get to my left foot, and up to get to my upper body (via a vent).
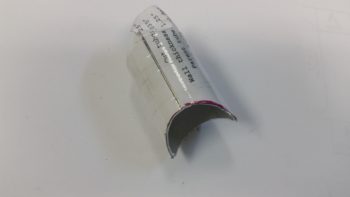
I then entered my data on the online metal calculator, printed off a template, and then taped it to the shorter piece of tubing.
I then used my Dremel Tool to shape the end of the tube.
I then used the shaped tube to mark the longer tube.
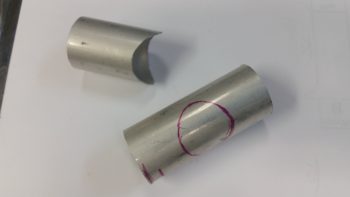
I then Dremelled a hole in the longer tube.
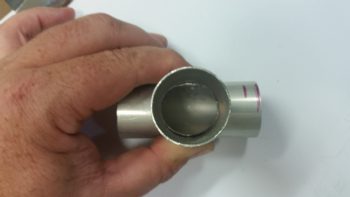
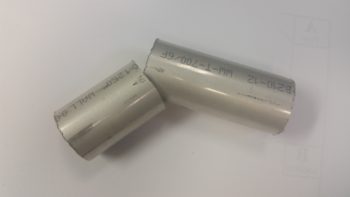
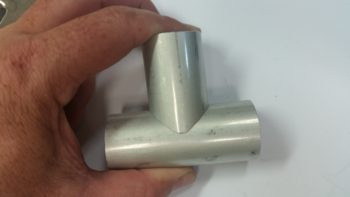
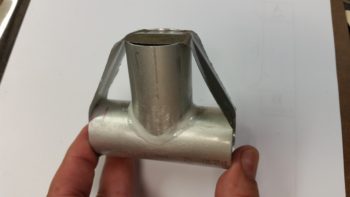
My “T” duct fitting is ready to be joined.
With some excess micro, I joined the two pieces of tubing together. I didn’t glass or rivet it, because these are such light pieces I think micro will do fine to hold them together. Plus, this is also not a critical flight component so I’m more concerned with weight than I am if it happens to break at some point in the future (again, which I highly doubt it will).
I then prepped the tops of both the left & right pilot thigh support ribs. The task here will be to pile up dry micro and then press it down to the correct height using the thigh support top as a form. I dug out the foam edges and then vacuumed them, plus all the foam bits scattered all about.
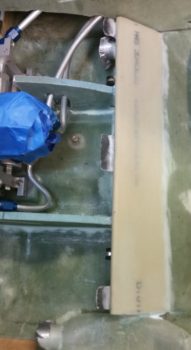
Here’s the whole shebang ready for some micro!
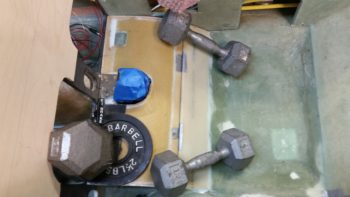
I whipped up a bunch of dry micro –after micro-slurrying the foam edges– and piled it on the top of each thigh support rib. I then placed the top back on (see a trend here?!) and weighed it down.
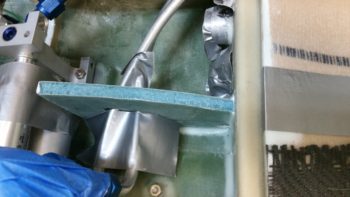
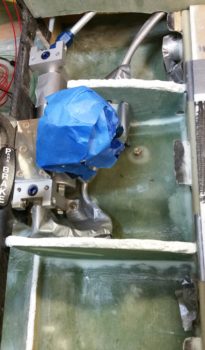
A couple of hours later I pulled the pilot seat thigh support top/floor off and was quite surprised at what I found. The micro was barely touched! That means A) my ribs are WAY too short! and B) my thigh support top/floor plate is way sturdier than I ever imagined!
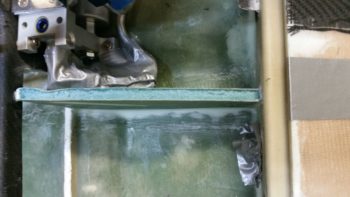
So I cleaned up the sides of the micro piles, made them even with the rib sides, and knocked off some rough spots.
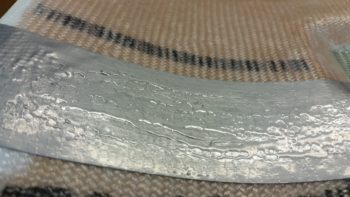
I also noted that the epoxy that I had applied to the protective duct tape on the lid wasn’t even touched… I’m still surprised at how low & off these ribs are!
I was wondering a bit on just how to glass the rib sides over the new micro, but now that I have a sense of just how high the ribs need to be (there were a scant few spots of micro that were flattened), I’ll prep the micro first, then glass the sides, then add more micro… tomorrow! From there, I’ll call it a day on the ribs because I think they’ll be in actual contact and nice and strong.
Another task I did tonight was to cut out an instrument panel blank from a piece of 1/4″ plywood. I’ll use this as my initial test base for panel instrument placement and wiring.
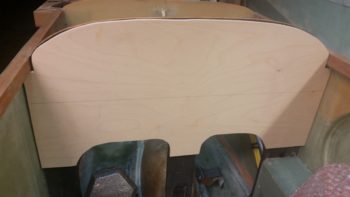
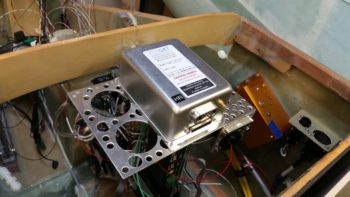
I also spent a good 45 min working on the placement of my panel components. Here you can see where I placed the instruments on the back side of the panel. Also note that I quickly mounted the Triparagon back into place to verify how the instrument panel instruments align with it.

With the Triparagon mounted, I did a quick test fit on the GRT HXr EFIS GADAHRS. It looks like it will fit in its planned spot nicely.
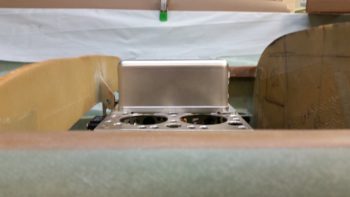
I then double checked the elevation of the GADARHS unit… also good.
Tomorrow will be more of the same!