
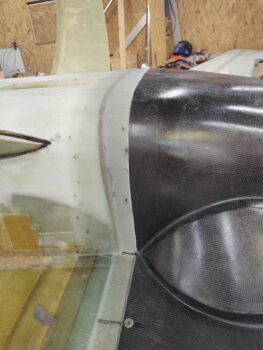
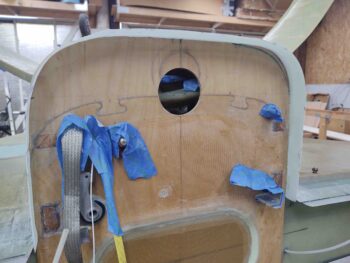
Well, I have to admit for all my whining and crying in my last post, that once I pulled the peel ply and removed the cardboard forms and tape I was pleasantly surprised with how well the stock plans aft fuselage/firewall flange aligned with the front edge of the bottom cowling. Not perfect, but again, way better than I expected.
I guess my oft cited phrase, “It’s better to be lucky than good!” held true in this case.
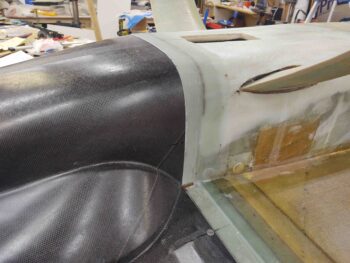
With nearly all the tape and forms removed, I grabbed this shot from inside the bottom cowling before I removed it.
And these shots once I cleaned up the edges of the stock plans 1.6″ cowl-mounting flange that encompasses the bottom perimeter of the firewall.
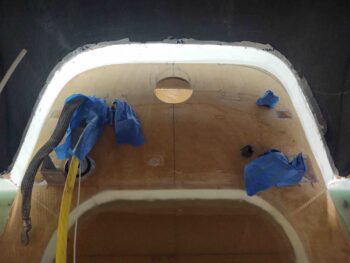
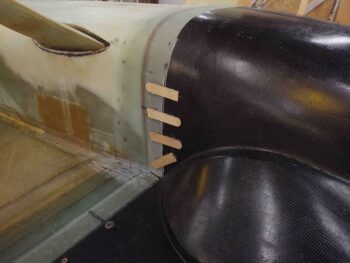
I had planned on glassing the added vertical mounting flanges on both sides together, but then decided to dial in the straighter and more aligned right side first (left side when inverted), then after installing a CAMLOC and locking it down, move to the left side.
The left side bottom cowling has just a slight bow in the vertical sidewall that will be easily removed when pinned in place by a CAMLOC fastener, but will need some extra attention while the added vertical lip is glassed. Note that in the pics above the left vertical flange (on right in pics) is not bowed, and I did not mimic the natural shape of the cowling vertical sidewall. I would estimate that the max apex of the bow is 0.150″.
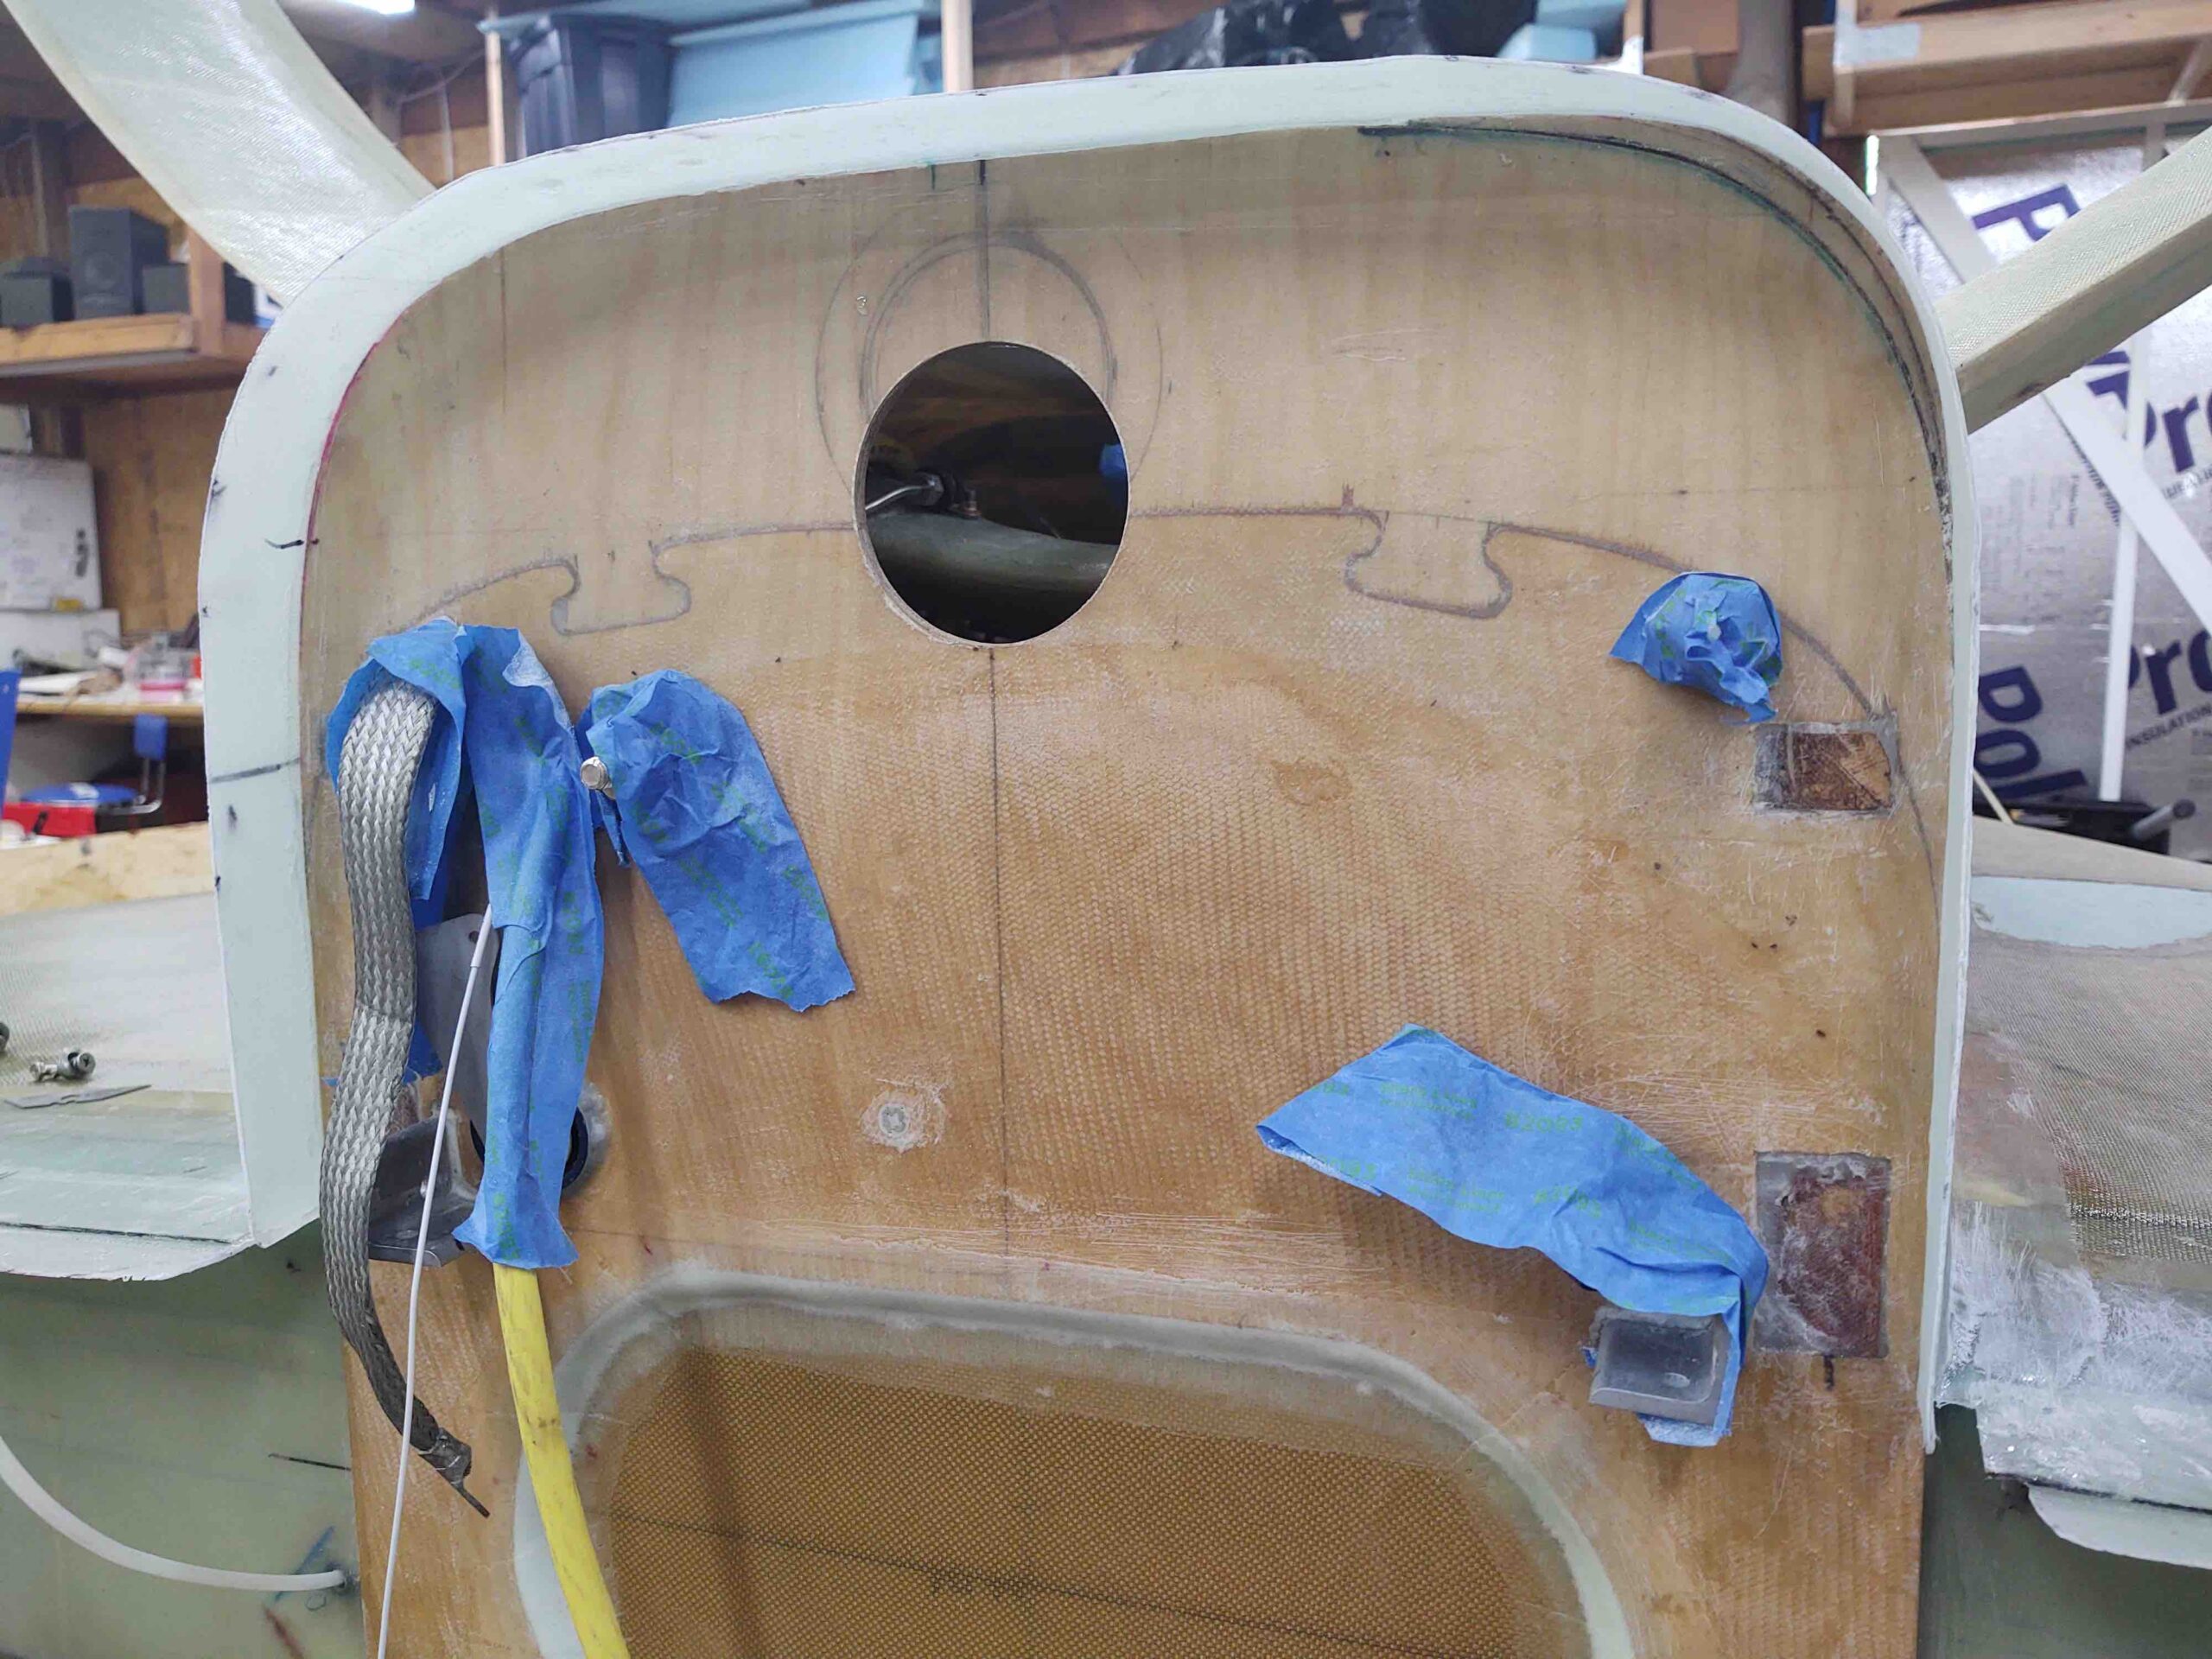
Using hot-glued popsicle sticks, I then locked in the alignment of the newly glassed stock fuselage-side flange with the front edge of the bottom cowling on the left vertical wall.
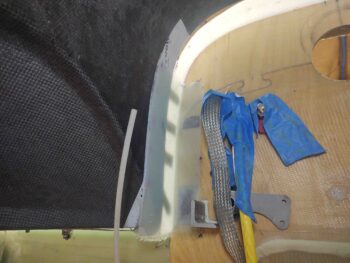
I then wet out my 5 plies of pre-pregged BID and laid it up in the inside corner. I then peel plied the layup.
Besides wanting to dial in the cowling install one step at time to make sure all the fasteners play nicely with each other, another reason that it was good I didn’t glass both vertical flanges at the same time is that a huge storm came through my area, replete with torrential downpours, that not only flooded about a third of my shop –right after I mixed up a big batch of epoxy– but also knocked out the power for over 3 hours.
I ended up laying up these 5 plies of BID by kneeling on 2x4s so as not to get wet and using my phone’s flashlight wedged into the wing root to light up the work area. Obviously not the best environment for layups, but nothing important got wet and I was able to get ‘er done!
Tomorrow I plan on installing a CAMLOC into this side and then glass the left vertical cowling wall mounting flange. After the vertical sides are secured into place I’ll then move on to configuring and mounting the bottom horizontal flange.