
I started off today by removing some of the hot glued popsicle sticks securing the bottom cowling’s left side. I then went ahead and marked and drilled out the first of 2 CAMLOC holes.
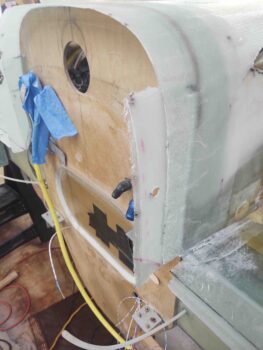
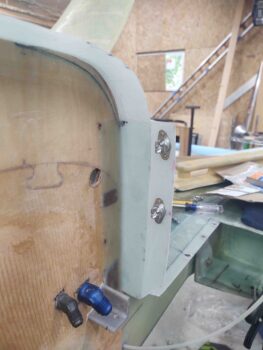
I then pulled the peel ply on each side, trimmed the left cowling mounting flange and then installed the Skybolt (CAMLOC) receptacle.
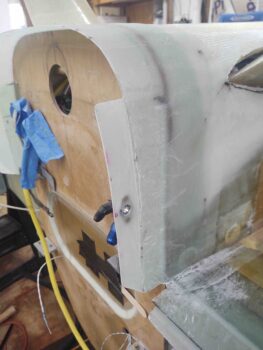
I then re-mounted the bottom cowling, marked and drilled out the bottom CAMLOC hole (top hole in these pics, as situated) and mounted another Skybolt lightweight stainless steel receptacle.
I’ll note that I’m using 2 CAMLOCs on the left side for a couple of different reasons.
First, the left side cowling is noticeably bowed on this side and I’m attempting to straighten out the cowling side by pinning it in place in 2 spots vs only one.
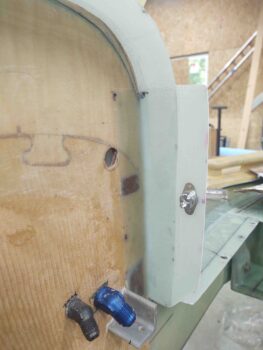
Secondly, the area conducive to mounting CAMLOCs is more hospitable on the this left side than it actually is on the right side…. and that all has to do with the curve at each firewall “corner.” The curve on the left side actually starts lower (higher in pics) than on the right side, so there’s more room to add another CAMLOC receptacle.
I’ll also note that I mounted these 2 CAMLOCs at the same spacing as the strake-cowling horizontal ones: 3.3 inches apart.
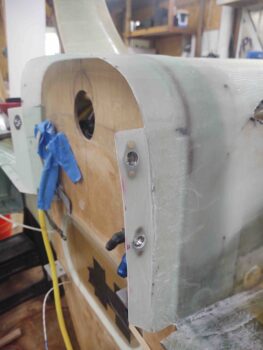
Although I grabbed a shot of the cowling installed and secured on the right side (again, left side when inverted) before, I grabbed another one here with the opposite vertical side wall secured by the 2 CAMLOCs.
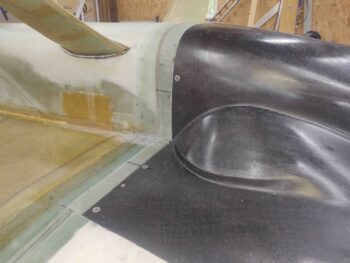
Here’s the left vertical side secured by 2 CAMLOCs. As you can see, the cowling’s bottom edge matches up fairly well the aft fuselage/firewall flange. What’s a bit more difficult to tell is the gap on each corner that will need to be worked to some degree after all the CAMLOCs are in.

I then aligned the cowling’s bottom edge with the aft fuselage/firewall flange before securing the 2 sides together with hot glued popsicle sticks.
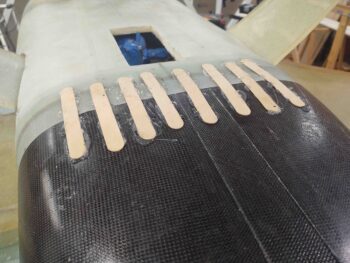
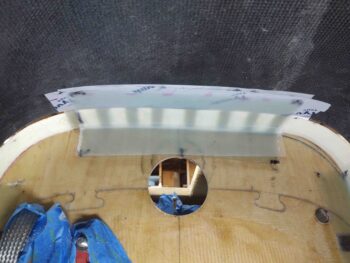
Then, just as I did on both the right and left vertical sides, I laid up 5 plies of BID to create a new mounting lip along the very bottom horizontal edge of the bottom cowling.
I then peel plied the layup and left it to cure overnight.
Tomorrow I plan on installing a CAMLOC –one each– at the very outboard edge of this freshly added flange. Mike Melvill used 4 CAMLOCs along the bottom edge here, but due to clearance with the RAM air canister (I’ll discuss tomorrow or day after) I will not be installing the middle 2 CAMLOCs on this flange.