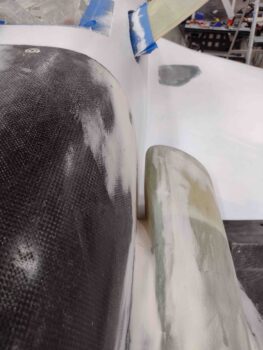
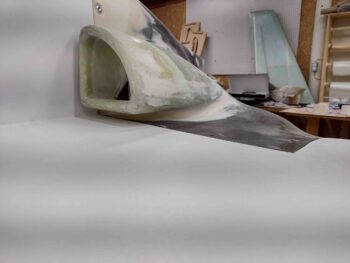
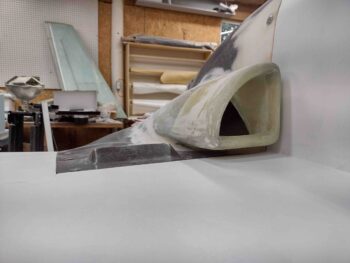
Today I started off by acting on some intel that I received when I called Jack Wilhelmson about the nose gear lift that he makes… specifically about the rust it accumulated on both the upper and lower tubes. Jack noted that it was probably surface rust and that both tubes were sandblasted and treated with black iron oxide before assembled, so they should be quite rust resistant.
With my newfound information in hand, and following Jack’s recommendation, I simply cleaned up the bottom (inner) tube with some fine steal wool and then oiled it up really well.
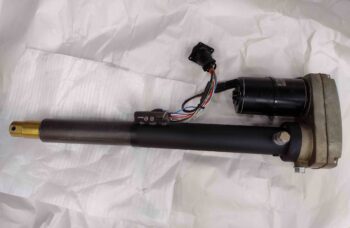
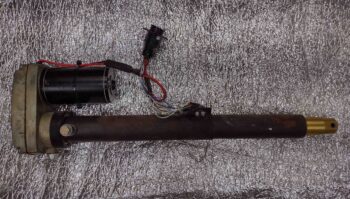
Here’s the AFTER pic of the nose gear lift actuator all cleaned up.
And as a reminder, here is a BEFORE pic after I just pulled it from the plane… it had been mounted for many years, so this time around I want to ensure it stays rust free for as long as possible.
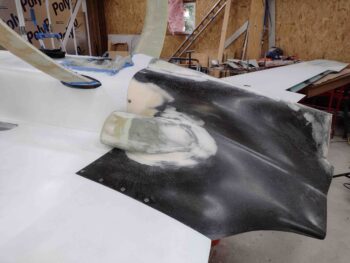
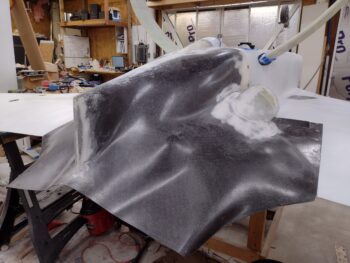
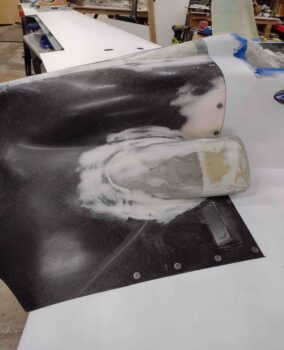
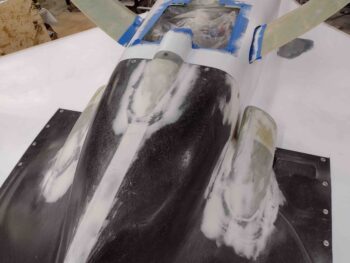
Once again I’m remiss in my blogging duties since I failed to get pics of the the initial micro finish application on the cowling yesterday. Anyway… this morning I sanded down the “micro” finish before placing the cowling in place on the plane.
The following are pics of the cowling in place as I do the final dial-in to ensure the cowling fits well at all the interfacing junctions before I finalize the finish and apply epoxy wipes.
As you can see, not too bad… if I say so myself!
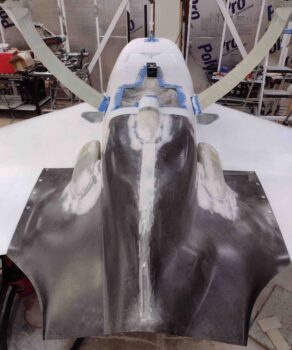
Here’s an overhead view of most of the CAMLOCs in place, as well as the cowling seams with the wings, strakes, and fuselage.
Aft shot of the cowling in place.
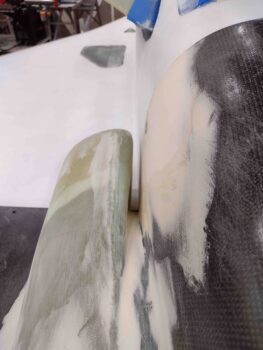
And the corrected divots at the cowling sides-to-fuselage sidewalls… much, much better both visually and aerodynamically.
Here’s a shot of the cowling to right strake/wing interface.
And a shot of the left side. Again, I’m very happy with the bottom cowling fit with all its interfacing junctions.
I did note a few more spots on the bottom cowling that will need another round of “micro”/West 410 fill, which I’ll knock out tomorrow.

