
Today was again all about reskinning the bottom cowling aft area and opening, only now I’m moving into the inside of the cowling with the final 3rd ply of CF to create the displaced cowl surface.
I started by pulling the peel ply off the right side. It had been about 20 hours since the layup, and the peel ply came off fairly EZ.
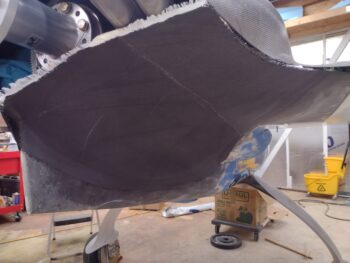
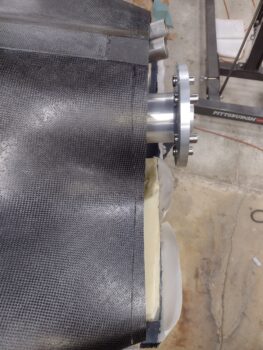
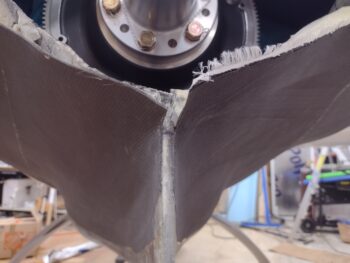
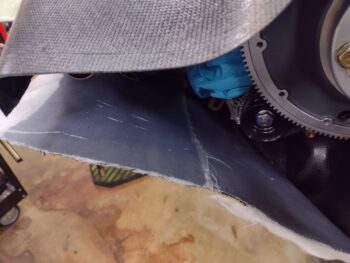
I grabbed this shot to show the extended left and right aft edges of the bottom cowling as compared to the re-extended aft edge of the top cowling.
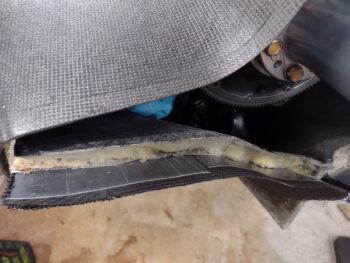
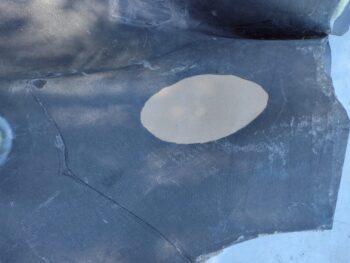
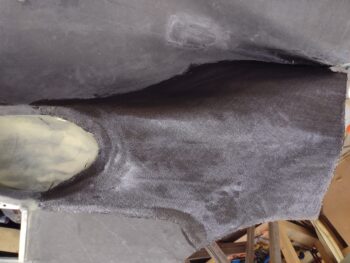
I then cleared out a good bit of foam, tape and cardboard on the left side to show the distinction between the old bottom cowl surface to the new, lower surface: quite a significant drop.
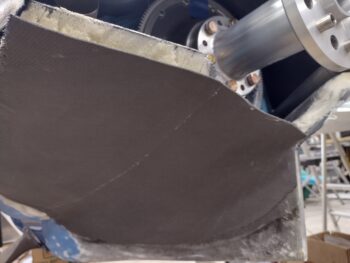
I then cleaned up the middle intersection CF overhangs at the top center fin of the bottom cowling and trimmed the left side aft edge close to its final length. You can see a good bit of the original bottom cowl on the left as well (pic #1).
The left and right aft edge look offset from each other in the center in pic #2 because I have yet to trim the right side to length.
I then removed the bottom cowling off the plane and took it outside. I marked up the left side interior for removing the old cowl surface, foam, micro, cardboard, tape and peel ply.
I then cut around the perimeter mark with my Fein saw at a shallow angle to be as careful as possible not to cut through the new bottom cowling skin, but unfortunately I did cut through for about 4″ on the bottom vertical wall.
Here is all but the peel ply removed on the left interior side of the bottom cowling, except for the perimeter edges… which needed some more trimming to remove tape, foam and old CF.
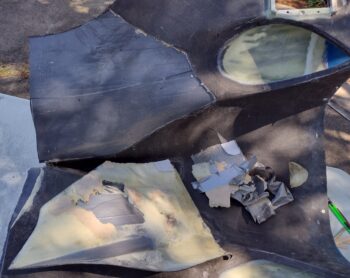
Here’s the same initial shot as above, only with all the debris removed:

I then went through about 8 iterations of slowly trimming the outboard, front curve around the armpit intake, and the inboard edge to expose the original peel ply edge from the added CF layup.
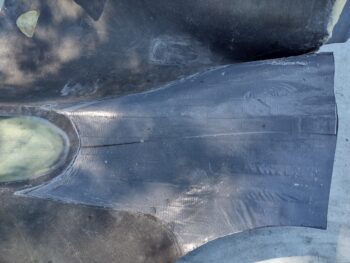
I then pulled all the peel ply.

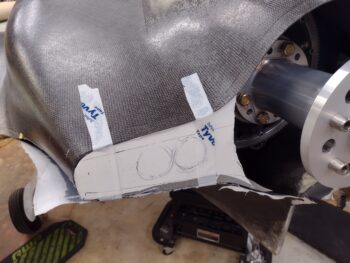
I wasn’t planning on adding any other CF other than the large interior ply, but the thickness of the aft edge of the armpit scoop required a thin fillet of flox filler (not messing around with the security of the armpit scoop since it hangs out in the wind) for a transition and added ply of CF over the transition. I added an extra ply of CF on the inboard edge about 1″ wide for the cut through and the aft area (just inside the top fin) which had a pretty good transition bump as well and need about 3/4″ length of fillet there too.
I then laid up the large ply of CF. I’ll note that like most of the BID we use, I cut all the CF plies at a 45° bias.
I forgot to grab a pic of the peel plied layup, but here it is inside the re-mounted bottom cowling.
After a couple of hours I realized that the weight of the added CF was causing the unsupported outboard edge of the bottom cowl to droop about a 1/2″ from where I wanted it positioned in its final state. I gave the layup another 45 minutes to tack up a bit more and then taped the outboard part of the aft cowl opening template in place to secure the correct opening spacing betwixt top & bottom cowl as it cured.
This completes Phase II for the left side. That being said, I’ll need to evaluate further tomorrow but I may not get the right interior cowl layup (Phase II) completed since I really want a good cure on this interior layup on the left side… which may very well mean leaving it set in place, as is, for 24 hours.
Maybe I can find something else to work on? <wink>