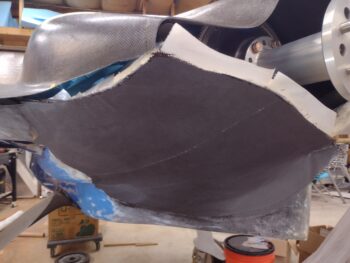
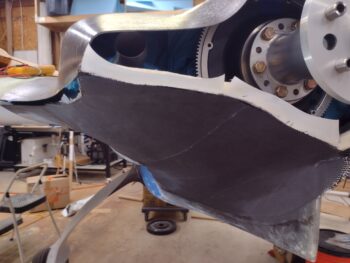
Today I started out by pulling the peel ply off the bottom cowl left side 2 ply CF skin + 2 ply CF edge reinforcement tape layup (using Pro-Set epoxy). I pulled the exterior peel ply at about 24 hours into the curing cycle and from my experience it felt like that although the layup was definitely cured, it was still at only about 90% fully cured.
No big deal as I’m rolling into the right side layup on the bottom cowling today, so this left side will get a full 2 day cure minimum before I start mucking about with it… just a good note to self that the Pro-Set epoxy with 226 medium hardener is going to take a minimum 24 hour cure before working on the part again. I can hear a lot of you saying that should be the case anyway, but remember, I normally use fast hardener (MGS 285/335) on the majority of my layups.
I then took the bottom cowling off and outside to carefully knock down the right side applied West 410 “micro” patches with my DA and pad sanders. Note to self and for those interested, I put a decent amount of alcohol in that mix of West epoxy + fast hardener + West 410 and it did nothing but laugh at the alcohol (and probably me!)… that stuff was hard as a rock!
Anyway, after my final shaping and making dust outside, which included cleaning up the foam edges and re-sanding the bordering CF for good adhesion (followed by Acetone cleaning), I then applied duct tape over the added foam.
As I did on the left, I made a clear plastic template of the right side bottom cowling and cut both the internal and external peel ply, both cut in half lengthways to better fit them to the curves, the large 2 plies of CF (I’ll note the exterior is the standard weave while the inside [first layer on] is the twill weave), and the 4 reinforcement CF plies.
I then laid up the initial peel ply, wet it out, and then added the initial aft and side CF reinforcement tapes (single ply each).
I then laid up the first big ply of CF, which I’ll remind everyone is actually the MIDDLE of the 3 plies, since I will adding one more large ply of CF from the inside of the cowling, overlapping onto the interior edges of the cowling… again, for added grip strength of this newly added cowling skin segment on each side.
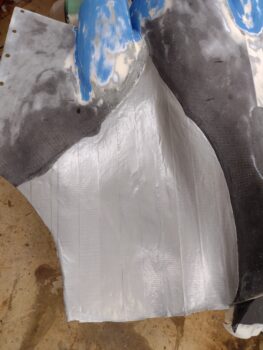
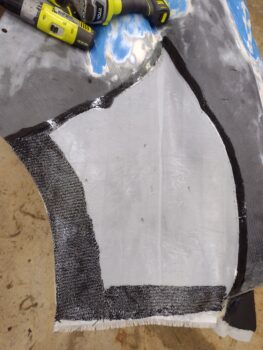
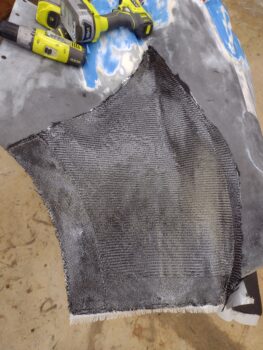
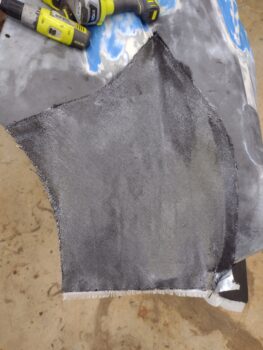
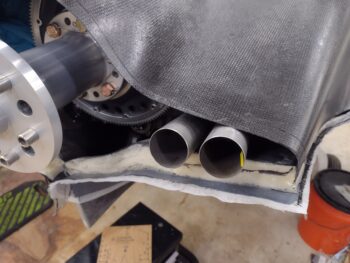
I then added the second and final reinforcement tapes on the aft and outboard sides (pic #1), before then adding the final exterior big ply of CF and wetting it out (pic #2).
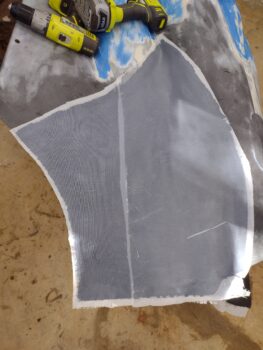
I then peel plied the entire layup. I’m getting a bit lower on my large sheets of peel ply, so I’m trying to pick the best, non-wrinkled sections, but it’s getting harder and harder to find those… so I’m using what I have! Clearly I’ll be giving these segments of added CF skin a thorough sanding, but the smoother starting out is always nicer to work with.
I gave the bottom cowl right side CF layup a good 45 minutes to tack up before mounting the bottom cowl back onto the plane. I’ll reiterate, I don’t want such a large layup on the cowling to cure off-bird because it may be off slightly in position and then I’ll be fighting it for the rest of forever. Clearly much better to have it cure on the bird, in situ, so that the correct contours are locked into place.
I will admit after some battle damage assessment on the left side, I decided I didn’t need quite the huge overhang to match the bottom cowling aft edge to the top cowling’s aft edge… so to save time, effort and be efficient (or lazy?!… ha), I cheated and just did the extended aft edge on the right side au naturel. I’ll note that after about 5 hours of cure time, I went back out to the shop and ensured this naked aft edge was in line and even with the rest of the new bottom cowl skin.
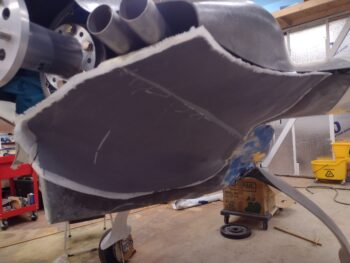
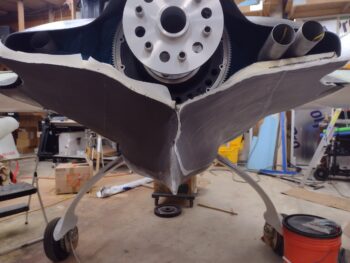
Here’s a shot of the new bottom cowl skins, both sides. Yep, some clean up required but note that there are no longer any big gaping holes or odd protrusions & bumps jutting out in various spots. Once sanded thoroughly, micro finished and painted I think this thing will look much better than previously on the OUTSIDE, as well as give me critical clearances for the inside engine components, especially the exhaust pipes. Speaking of which, I will now have a no-kidding decent sized aft cowl opening.
I’m calling Bottom Cowling Phase I complete. On to Phase II (internal layups).
Besides the internal cleanup and single CF ply layup each side for the finalizing of the new cowl skin, the big 3 areas remaining to work on this lower cowling are the right and left interfaces between upper and lower cowlings, and the bottom cowl center interface where the right and left new skin layups meet at the top of the fin. Once all these are done (and CAMLOCs installed) I will call the top & bottom cowling installs officially complete!

