
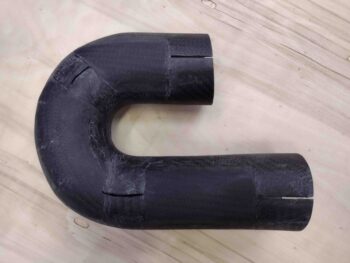
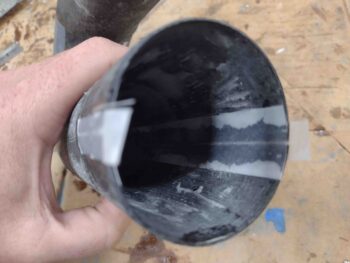
I started out today by sanding the cured MGS epoxy wipes on the inside surfaces of the air induction tube. Of course as per usual that took a good little bit of time, but I have to say that these surfaces turned out pretty darn smooth!
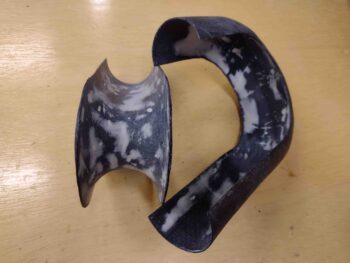
My initial plan was to tape each end and completely glass the tube halves back together in between the tape with 2 plies of carbon fiber —one just along the seams and one full ply around the entire tube. However, it turned out that I needed 2 extra respective wraps of tape (I used electrical tape) around the curved area of the tube halves to get them even and aligned to each other.
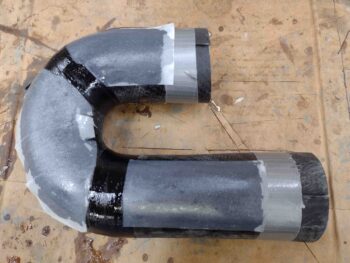
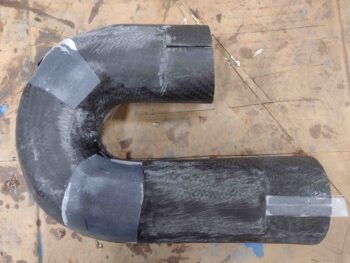
I thus pivoted and decided to simply start down a longer road of getting these induction tube halves back together. I laid up a single ply of carbon fiber BID overlapping about an inch onto each respective tube on each side of the split and then peel plied the layups. As you can see, that resulted in 3 layups per side of the induction tube. I’ll note that I used MGS epoxy with fast hardener.
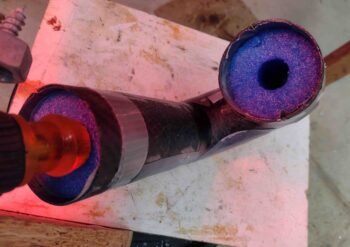
To ensure my ID was pegged at 2.3″ I cut and taped up (to keep them epoxy free) segments of a pool noodle that just happened to be 2.3″ in diameter… remember, better to be lucky than good! That being said, that worked well for each end.
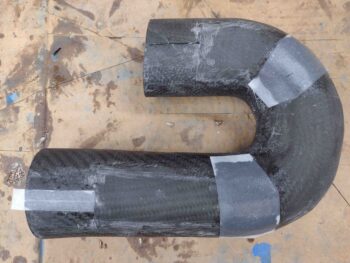
Here we have the air induction tube with the majority of the sides rejoined with separate single plies of carbon fiber. Note how the electrical tape around the “corners” of the curve pulled this area of the curve tighter together.
As a mere point of note, I calculated the differences in circumference vs diameter that I lost about 0.02″ in ID around this curved area from the tape pulling in the halves of the tube more tightly together than at the ends. Not a big deal, and I figured I would pay some minute penalty for cutting the tube and rejoining it back together… it’s simply the cost of doing business in making these parts.

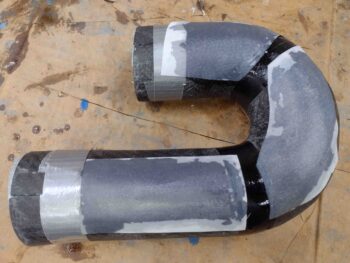
A number of hours later I pulled the peel ply from the layups and the tape securing the air induction tube halves together. I then cleaned up the layups.
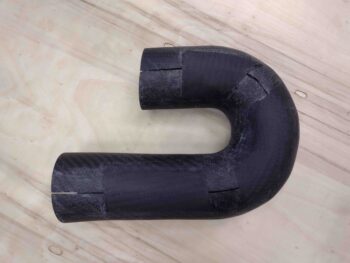
Here we have the initial rejoining of the air induction tube halves.
I then cut and laid up 2 small patches of carbon fiber BID on each side to fill in the gaps for rejoining the air induction tube halves. I’ll note that up to this point I have still used nothing but scraps (as in loose pieces not off the spool) of carbon fiber to create this air induction tube.
Since I wanted to keep the original 2.3″ ID of the tube as best possible, I have a gap between the tube halves on the inside of the tube. To optimize wall smoothness inside the tube, I laid flox into that small gap on each side and peel plied it… about 6″ into the tube where I could reach with a long narrow piece of wood. I also peel plied the outer gap on the lower front part of the tube.
I then left the glassed and floxed air induction tube to cure overnight.