
Well, once again one of my canardian buddies helped me dodge a bullet… thank God I have friends that are smarter than me!
A while back Marco pointed out my spinner (and thus engine angle) looked askew in some pics he saw. This time around, Dave Berenholtz, who has the same Melvill CF cowlings and the same spinner that I do, noticed that his spinner below looked significantly different than mine.
Yes, his spinner above definitely looks much better than how mine turned out, and I can’t let that stand! <wink>
Seriously though, as I was focused on the gap between spinner and cowling I just didn’t realize how much the amount of exposed flow guide looked off until I saw Dave’s pic above that he sent me.
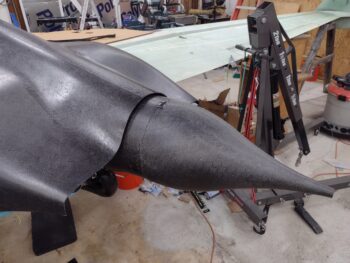
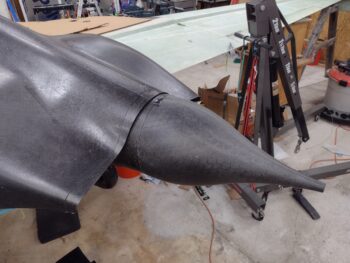
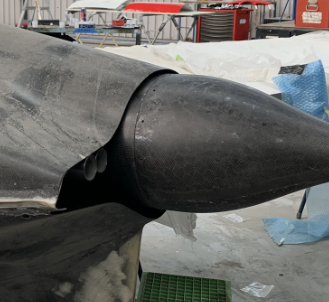
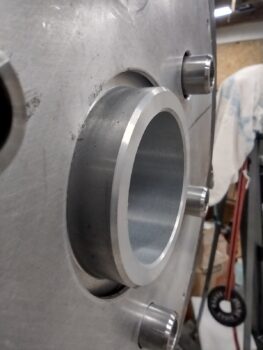
I had researched the distance “required” and “what’s best” between aft edge of the cowlings and the prop, but once again what I received and learned didn’t translate over well into the actual physical install. As you can see in the second pic above and the pic below, I taped the cut aft edge of the top cowling back in place to assess the flow guide exposure. Although not a straight line, it definitely makes it look much better.
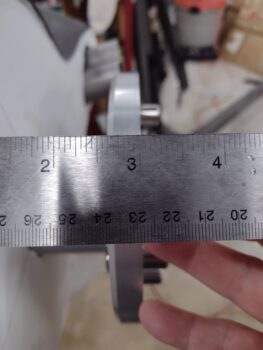
Again, after querying other builders and Long-EZ owners, I thought 3″ was a good gap between the cowling opening TE and the front side of the prop (pic #1). As I know now and as you can see, that needs to be a good bit less.
Having seen and assessed the difference, and in keeping with my 2 steps forward, 1 step back build philosophy, I will be reattaching the aft edge of the top cowling and then trimming approximately the aft 1/3 off. This will help cover a good bit more of the exposed flow guide but still provide a good clearance gap between cowl and spinner.
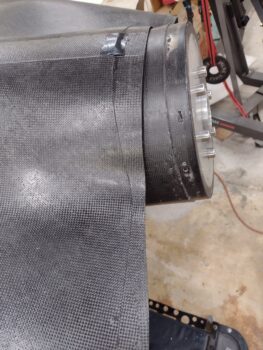
I will note that the original pic that Dave was comparing to was prior to me trimming the inside edges of the flow guide to get it to seat on the flywheel. That made the flow guide sit aft about a 1/4″ farther than if installed properly. Even with the inside edges trimmed and sanded smooth, the flow guide is still about 0.08″ too far aft when installed (pic #2). Clearly I’ll remedy this when it’s time to mount the spinner.
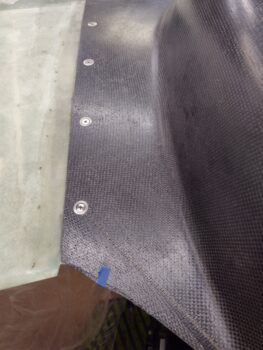
I also told Dave that I think my Melvill CF cowlings may very well be a bit shorter in front-to-back length than his, since even with my “standard” Melvill cowling install I’m short on the top cowl left trailing edge where it meets the wing. I have trimmed inboard of the blue tape, but I haven’t done a thing with the outboard area… a bit odd eh?
[I noticed the left side being short the first time I mocked up the top cowling on the fuselage and wings in Germany… I queried Larry at Feather Light on this and he somewhat humorously reminded me that Mike Melvill built his Long-EZ in about 5 months. Exactly what were you saying Larry…. Hmmm? LoI]
Back to my bottom cowl shenanigans: I took the bottom cowling outside and spent about 45 minutes hacking away the majorly excess foam.
I then mounted the bottom cowling in place and placed plastic on the underside of the right wing to keep the foam dust controlled as best possible. I then spent a good little bit ensuring the aft cowl opening template was aligned properly before marking the new cowl lines on the aft and outboard side of the foam.

I then spent over an hour and a half sanding and shaping the bottom cowl right side added foam.
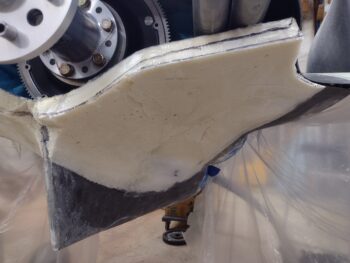
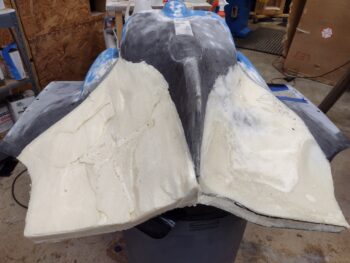
Here’s the bottom cowling right side added foam contoured to over 90% of its final shape. I still have some fine tuning to do, but you can clearly see the contoured right side in conjunction with the left side. Again, more tweaking required, but pretty darn close to where it needs to be.

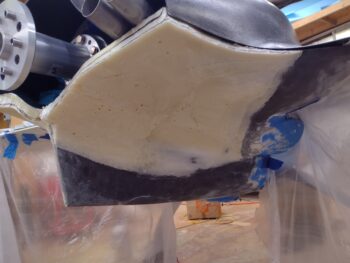
Here’s a closer up look at the bottom cowl contoured right side added foam, specifically to show the angles and curves in relation to the original cowling surface.
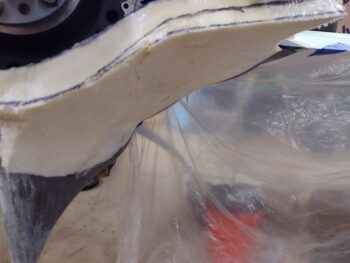
And another closer in shot of the left and right sides in comparison to each other. The left side, as it was before, will be noticeably lower since I needed to add a good bit of clearance for the inboard exhaust pipe (about 3/8″).
Tomorrow I plan to do the final tweaking and dialing-in on the bottom cowling added foam on both the left and right sides. I will also assess how I’m going to deal with any divots and imperfections on the foam surfaces… whether that will be adding more foam or perhaps even hard-shelling it with micro to create a very smooth surface for laying up the new bottom cowl CF skin.
Pressing forward!