
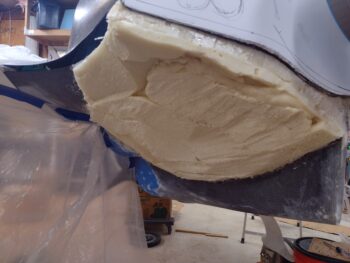
I started off with the added foam on the left side of the bottom cowling. I prepped the area to minimize dust from sanding by taping some hanging plastic in place (pic #1) and then went to town with a couple different saws to really knock down the surface of the foam (pic #2).
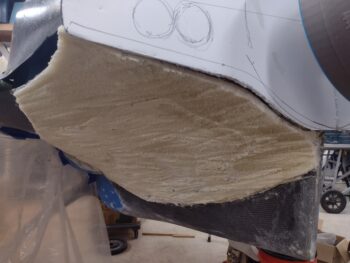
I then used a foam shaper for a good bit (pic #1) before finally converting to 60 grit sandpaper wrapped around a tube (pic #2). This got the left side to about 90% final contour.

I then pulled the bottom cowling off and contoured the added foam a bit more, mainly concentrating on the edges and their convergence into the original cowl skin.
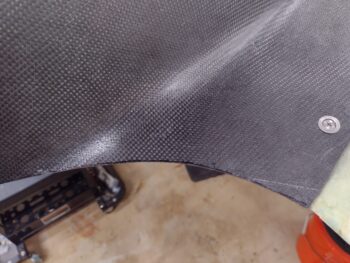
In sitting straight aft of the cowling, I noted that the outboard trailing edge of each side dips a bit in elevation as compared to the wing TE.
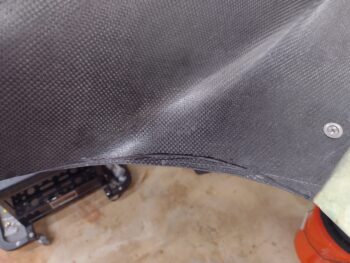
So I trimmed it to bring the curve close to level in W.L./elevation with the wing TE.
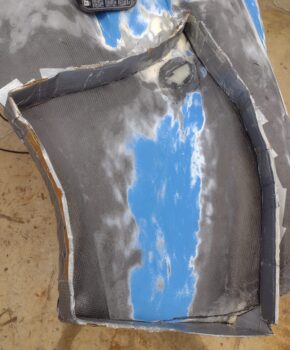
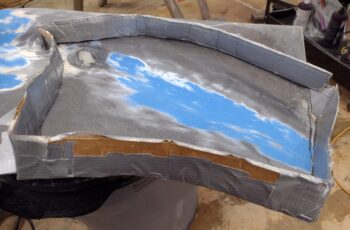
I then constructed the perimeter pour foam dam walls for the right side bottom cowling application.
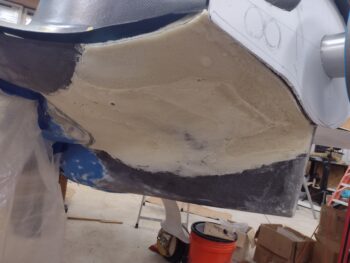
Here’s a side shot of the pour foam dams on the lower cowling right side.
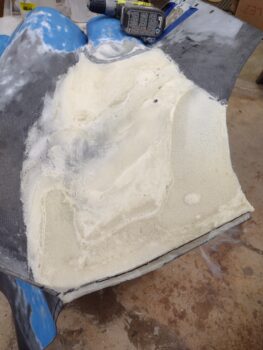
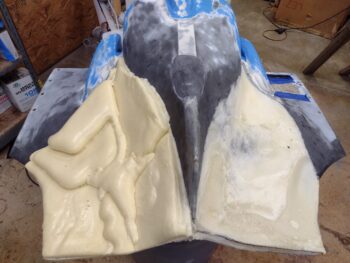
I then added a good slab of pour foam to the right side lower cowling, as I did on the left side a couple days ago.
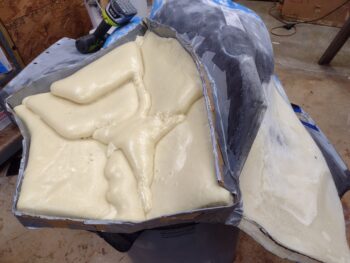
Here we have the lower cowling right side pour foam added.
I plan to knock down the pour foam on the right side tomorrow and shape it close to the same contour as the left. I probably won’t get to laying up any carbon fiber, but I’ll push to get it as prepped as possible.
Moving forward.