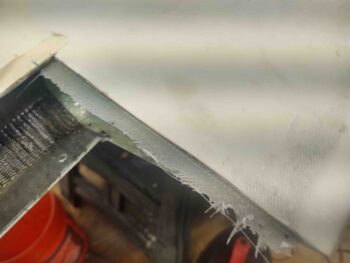
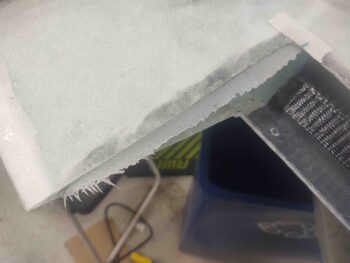
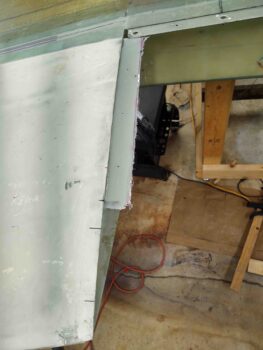
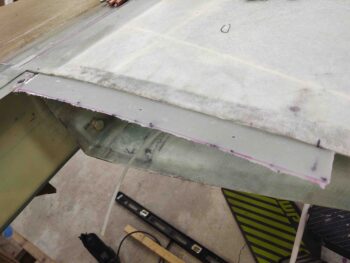
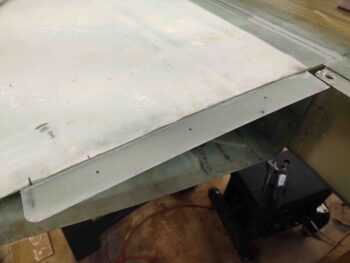
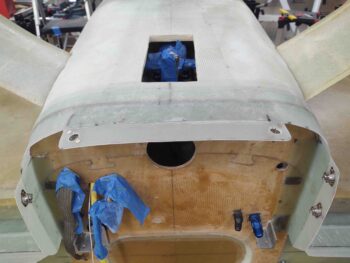
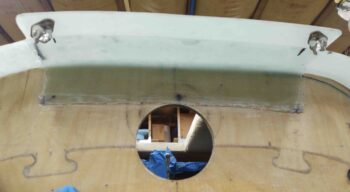
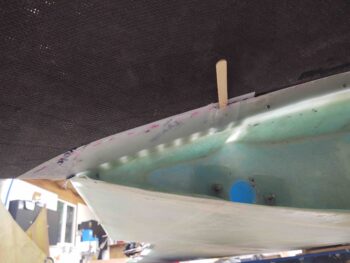
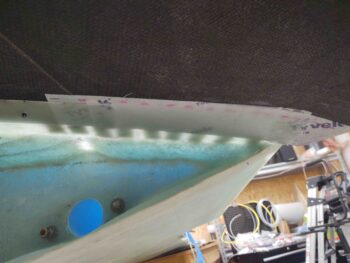
To start, I failed to mention in yesterday’s post that I had a decent amount of epoxy left over after laying up the forward 2/3rds of the cowling mounting flanges on the wings. So I decided to knock out a sideline task I had on my list which was to fill in the inboard gap between the bottom of the aileron and the wing… on both wings.
I quickly measured up, cut and pre-pregged 3 plies of BID to glass each inboard side of the elevator pockets. I of course sanded the internal aileron pocket area first before laying up the glass. I then peel plied the small edge protruding out.
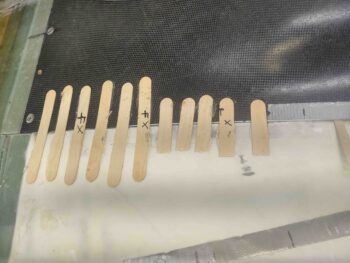
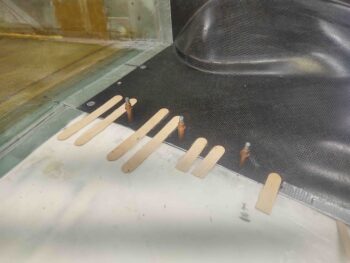
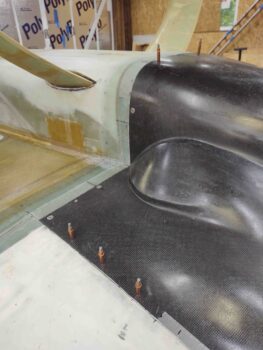
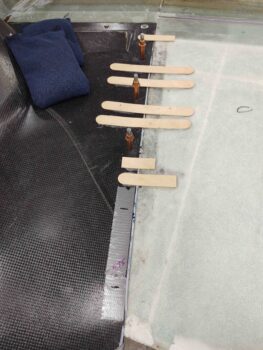
Today I got busy on the bottom cowling side attach hardware configuration. I started on the right cowling side (left as situated inverted) and marked the locations of the front 3 CAMLOCs, each of them pretty much on a hot glued popsicle stick. I then drilled the 1/8″ pilot holes right through the popsicle sticks…. clearly to ensure that I maintained the position of the cowling in relationship to the wing and the newly glassed flange.
I then removed those popsicle sticks and the glue residue before installing the 3 respective clecos.
I then removed all the hot glued on popsicle sticks off the right side cowling edge front 2/3rds.
I then repeated the same thing on the left side (right side as inverted).
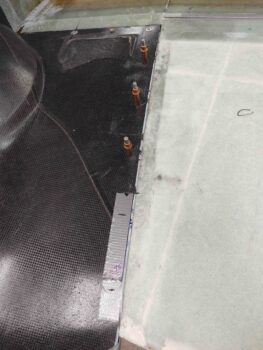
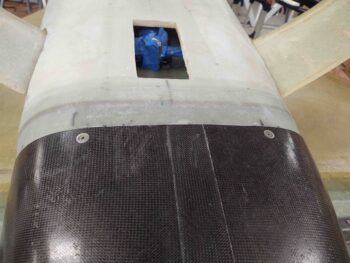
And here we have the 3 clecos installed at the future CAMLOC positions.
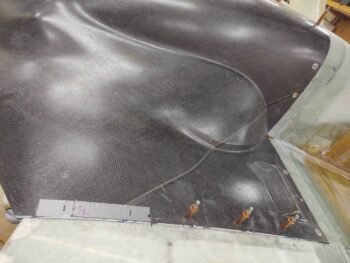
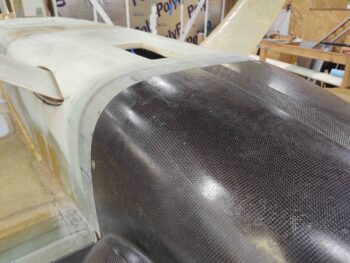
And another wider angle shot with more of the bottom cowling showing.
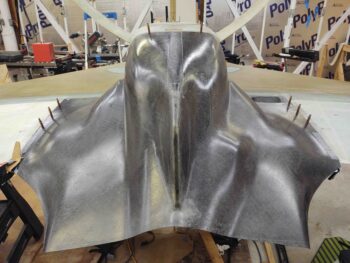
I then grabbed a shot of the entire bottom cowling in position, with a number of clecos installed at future CAMLOC positions.
I then pulled the bottom cowling off, pulled the top (as positioned) piece of peel ply from the wings’ cowling mounting flanges, both the right . . .
And the left wing. As you can see I marked the flange edges to be trimmed.
And then trimmed them up. Here’s the right wing flange, and the left wing flange of course looks very similar.
With the cowling off I had mocked up the 2 bottom cowl mounting flange CAMLOCs to see if I could push them even more outboard than I had them. I determined that if I installed them at about a 45° angle I could push them out another good 1/4″, so that’s what I went for.
In the countless cycles of mounting and removing the bottom cowling, I mounted these bottom flange CAMLOC/Skybolt receptacles…
again, just about as far outboard on the flange as I possibly could. I actually installed these one at a time in order to keep one cleco installed and the position dialed in as I mounted the other CAMLOC. Once the first CAMLOC was installed I then installed the other one.
Here we have the 2 bottom CAMLOCs of the bottom engine cowling installed.
With the bottom cowl CAMLOCs installed, I then proceeded to mark the aft 1/3 of the cowling sides, right up to the wing (and cowling) trailing edge.
On the right side I simply needed to sand about 0.050″ away for a good 6″ on the aft edge for it to fit into position.
But on the left cowl aft 1/3 edge I needed to cut a good 0.150″ off the entire aft side to get it to fit. It’s a weird fit back on these aft edges because you’re attempting a basic vertical cut while simultaneously dealing with 2 disparate (wing + cowling) non-linear curves.
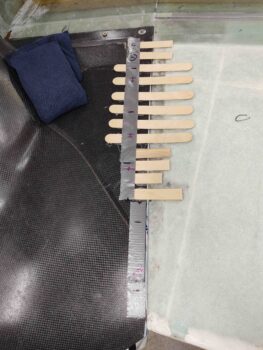
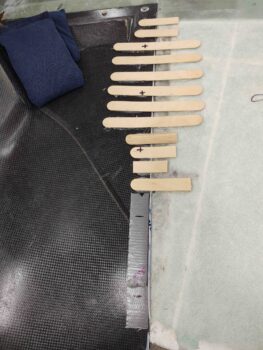
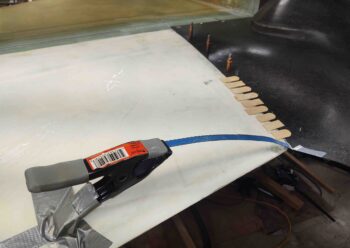
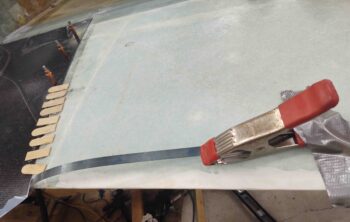
As you can see by the pics above and below, I then used a hacksaw blade and thin metal strip held at just the right elevation to just grab the very aft edge of the cowling and secure at an even level with the aft wing/trailing edge. I then secured those positions by once again using hot glued popsicle stick pieces.
With Jess helping me out in the shop again for this portion, I then laid up the aft third section of the bottom cowling-to-wing mounting flange. You can see that on the right side (below) I actually had to adjust my elevation with a popsicle stick since the aft edge of the forward 2/3rds flange on this side started dipping a bit too low to continue on with that trajectory for the remaining aft third layup…. it had to be adjusted. I will of course work that joggle to smooth it out and dial it in to seamlessly fit both wing and cowling.
Thankfully I didn’t have any elevation issues on the left side and was able to just extend the aft third section of the bottom cowling-to-wing mounting flange fairly easily.
As per usual I peel plied the exposed glass surfaces and then left these layups to cure overnight. My plan is to continue to work the bottom cowling install for another 2-3 days before getting back to work on the lower aft fuselage/hell hole hatch and RAM air scoop install.

