
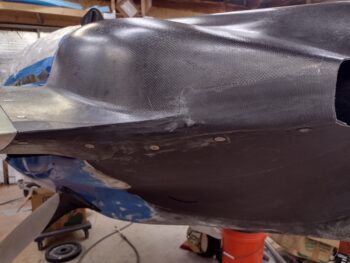
I started off today by pulling the peel ply on the right side ‘final’ CF layup that created the top cowling skin over the inter-cowl-connecting flange.
I then pulled the top cowling, cleaned up the edges of the flanges and the new top cowl added “skins” (both sides) as well as pulled the tape and cleaned up the bottom cowl edges.
I also trimmed and sanded the added CF plies to the top cowl screw holes and redrilled those holes out.
I then remounted the top cowl to check out my interface seam between top and bottom cowling on each side. Not bad and all… and very workable with a little blemish-hiding micro!

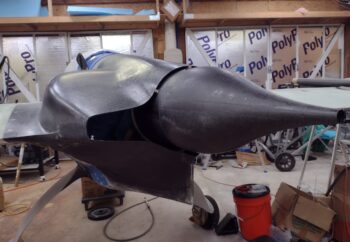
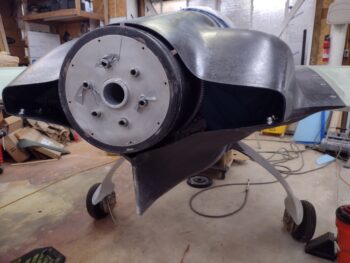
I realize that over the past couple weeks I haven’t really gotten an all-encompassing aft end shot. I did a good little bit of cleanup around the strakes and wing tops to get a more presentable shot here, clearly with the spinner temporarily in place. Yes, the spinner is in focus and the cowl opening sides are not, but you can certainly make out the size and shape of the aft cowl openings. The outer edges of the openings ended up being a hair over 2.5″ high.

Here we have a couple of shots, from both left and right angles, showing the aft cowling opening, the new aft sides and a bit of the interface between top and bottom cowlings.
I’m leaving the ~5/16″ spacers in place between the top cowling and spinner for a good week minimum as the final curing of the side CF takes place to ensure I maintain that gap. I’ll also be glassing in a cowl stiffener across the aft inside end of the bottom cowling which should not only help keep the newly made outer panels of the lower cowling stiffer, but also help keep the top cowling in its position as well.
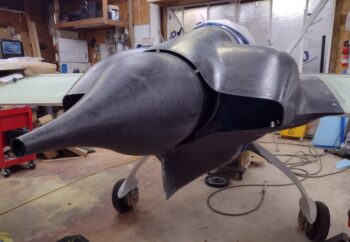
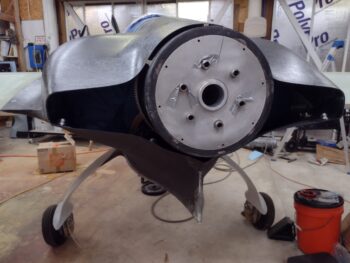
These shots focus more on just the aft opening of the cowling, with the interfacing sides of the cowlings. My next near-final tweak on the cowling will be re-doing the top center lip on the bottom cowling, just below the spinner flow guide, to make it rounder and more symmetrical.
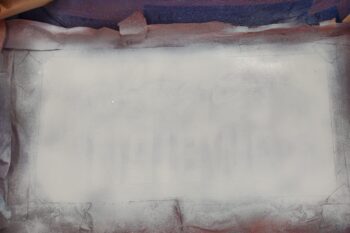
I spent a good half hour sanding around the vinyl letters I placed on the upper inside panel of the aft nose/avionics cover. After a good cleanup I then hit it with 2 light coats of primer, followed by 2 light coats of white paint.
I’ll let it cure for a couple of days, tape off my checkerboard pattern and then hit it again with 2 coats of white. I’ll then pull the checkerboard squares off, cover the white squares and then shoot the black paint.
I’ve also been doing a rather deep dive on my engine baffles. As a reminder, I have the VANs baffle kit on hand for an O-320 motor. These baffles take care of the front (accessory case), left, and right sides, but the prop/exit side will have to be built from scratch. Also, I’m fairly certain that I’m going to be able to get my hands on some molds for the interior baffles to make them out of CF. More on that.
And yes, I do have mental plans on how to button up the plane to start sanding and micro-finishing the top areas to finish for paint.
But one step at a time in finishing this bird up!