
Let it be known that I’m not trying to sound like Chicken Little or be overly melodramatic on my blog post titles… it just really is both surprising and perplexing to me how relationally off the cowlings can be in regards to the engine components.
Now, to drop yet another movie reference, “With great power, comes great responsibility” Peter Parker’s (aka Spiderman) uncle. So, with high engine power derived from cold air induction, RAM air and fuel injection… yes, there is bit more to contend with stuffing all this into a Long-EZ cowling. Thus, am I allowed to state: With great engine power comes great challenges… ?!
Now, to be fair, I thought I could cheat with stuffing an O-320-sized motor into cowlings specifically designed for an O-360 and get away with adding all these goodies… but I got caught! Big time.
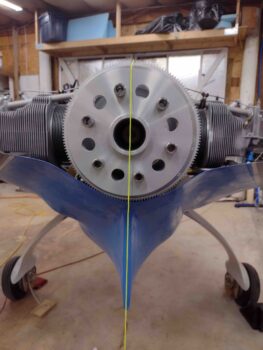
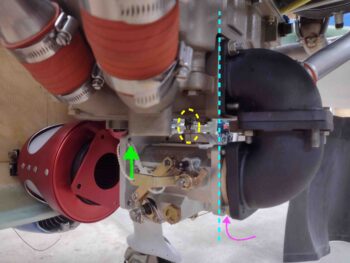
Starting off this morning I wanted to verify that my engine was sitting in the center of the lower cowling… as you can see below it clearly is. At least within an acceptable tolerance (I ensured that the gap issues below were mitigated when I did this plumb bob exercise).
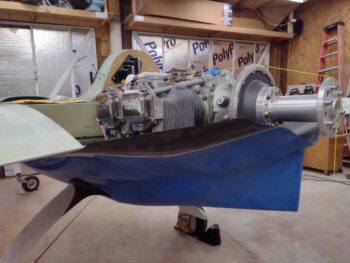
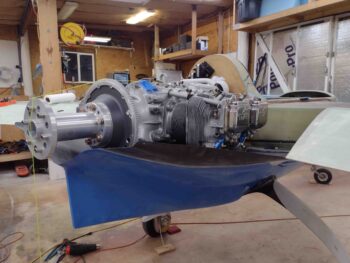
A couple more shots of the lower cowling partially installed around the engine.
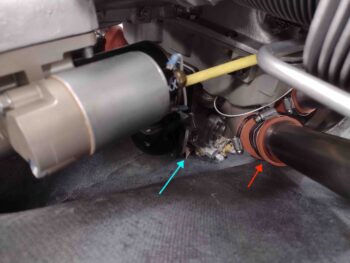
The issue is that I have gaps on both inboard corners, with the right side more so than the left… at about 1/2″ (blue arrow and pointer).

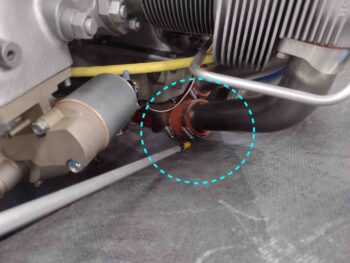
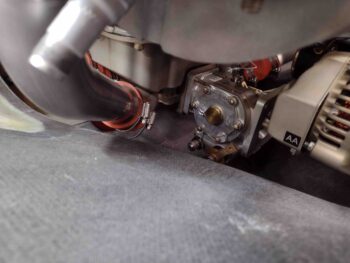
At first I chalked it up to the fuel injection servo being too low, but then lo and behold I discovered that the right side cold air induction pipe coming out of the plenum into the aft cylinder intake manifold was keeping the cowling from moving upwards the last 1/2″.
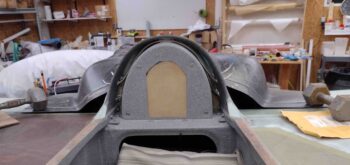
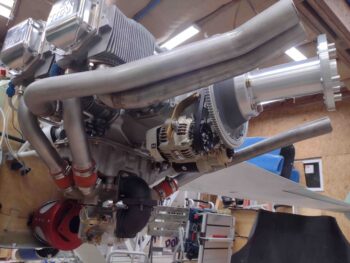
Before I delve into any more issues, let’s take a brief moment for some feel-good pics… here is the upper cowling set in place to get a general idea of how it will look once mounted.
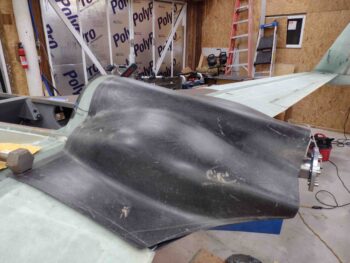
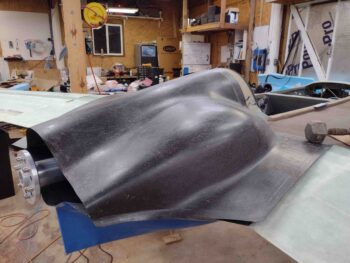
And a couple shots of the upper cowling looking over the strakes….
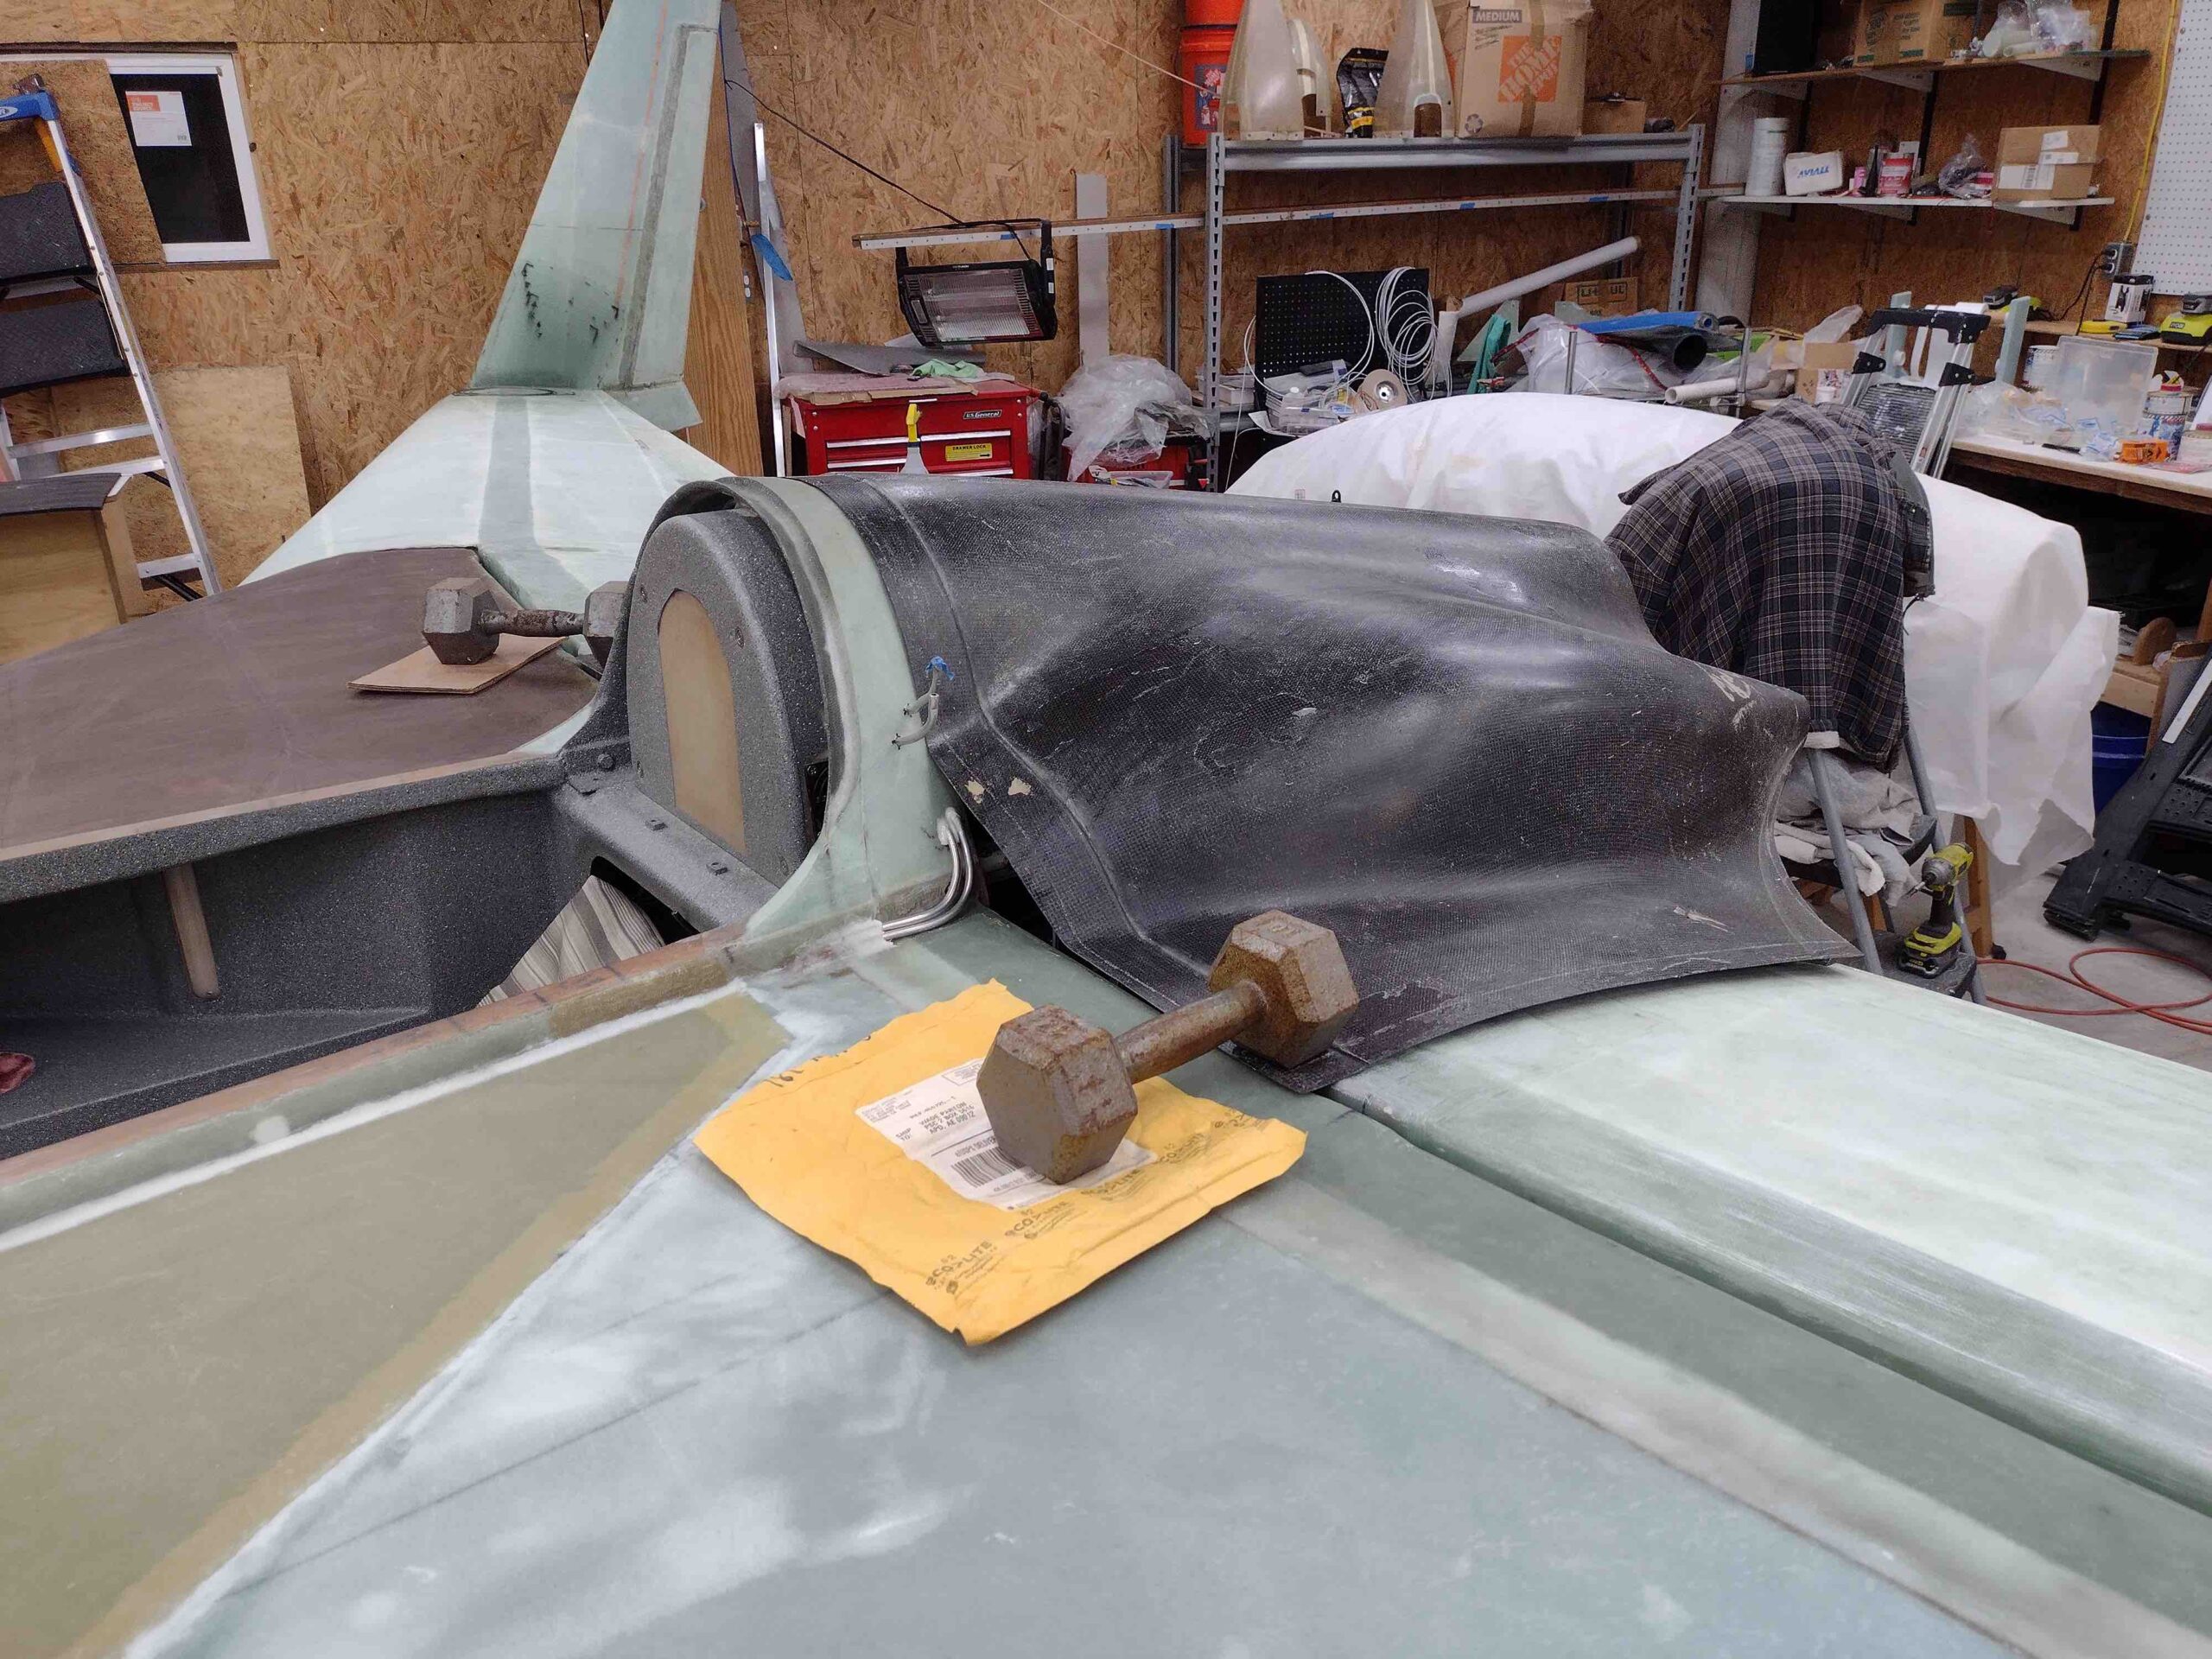
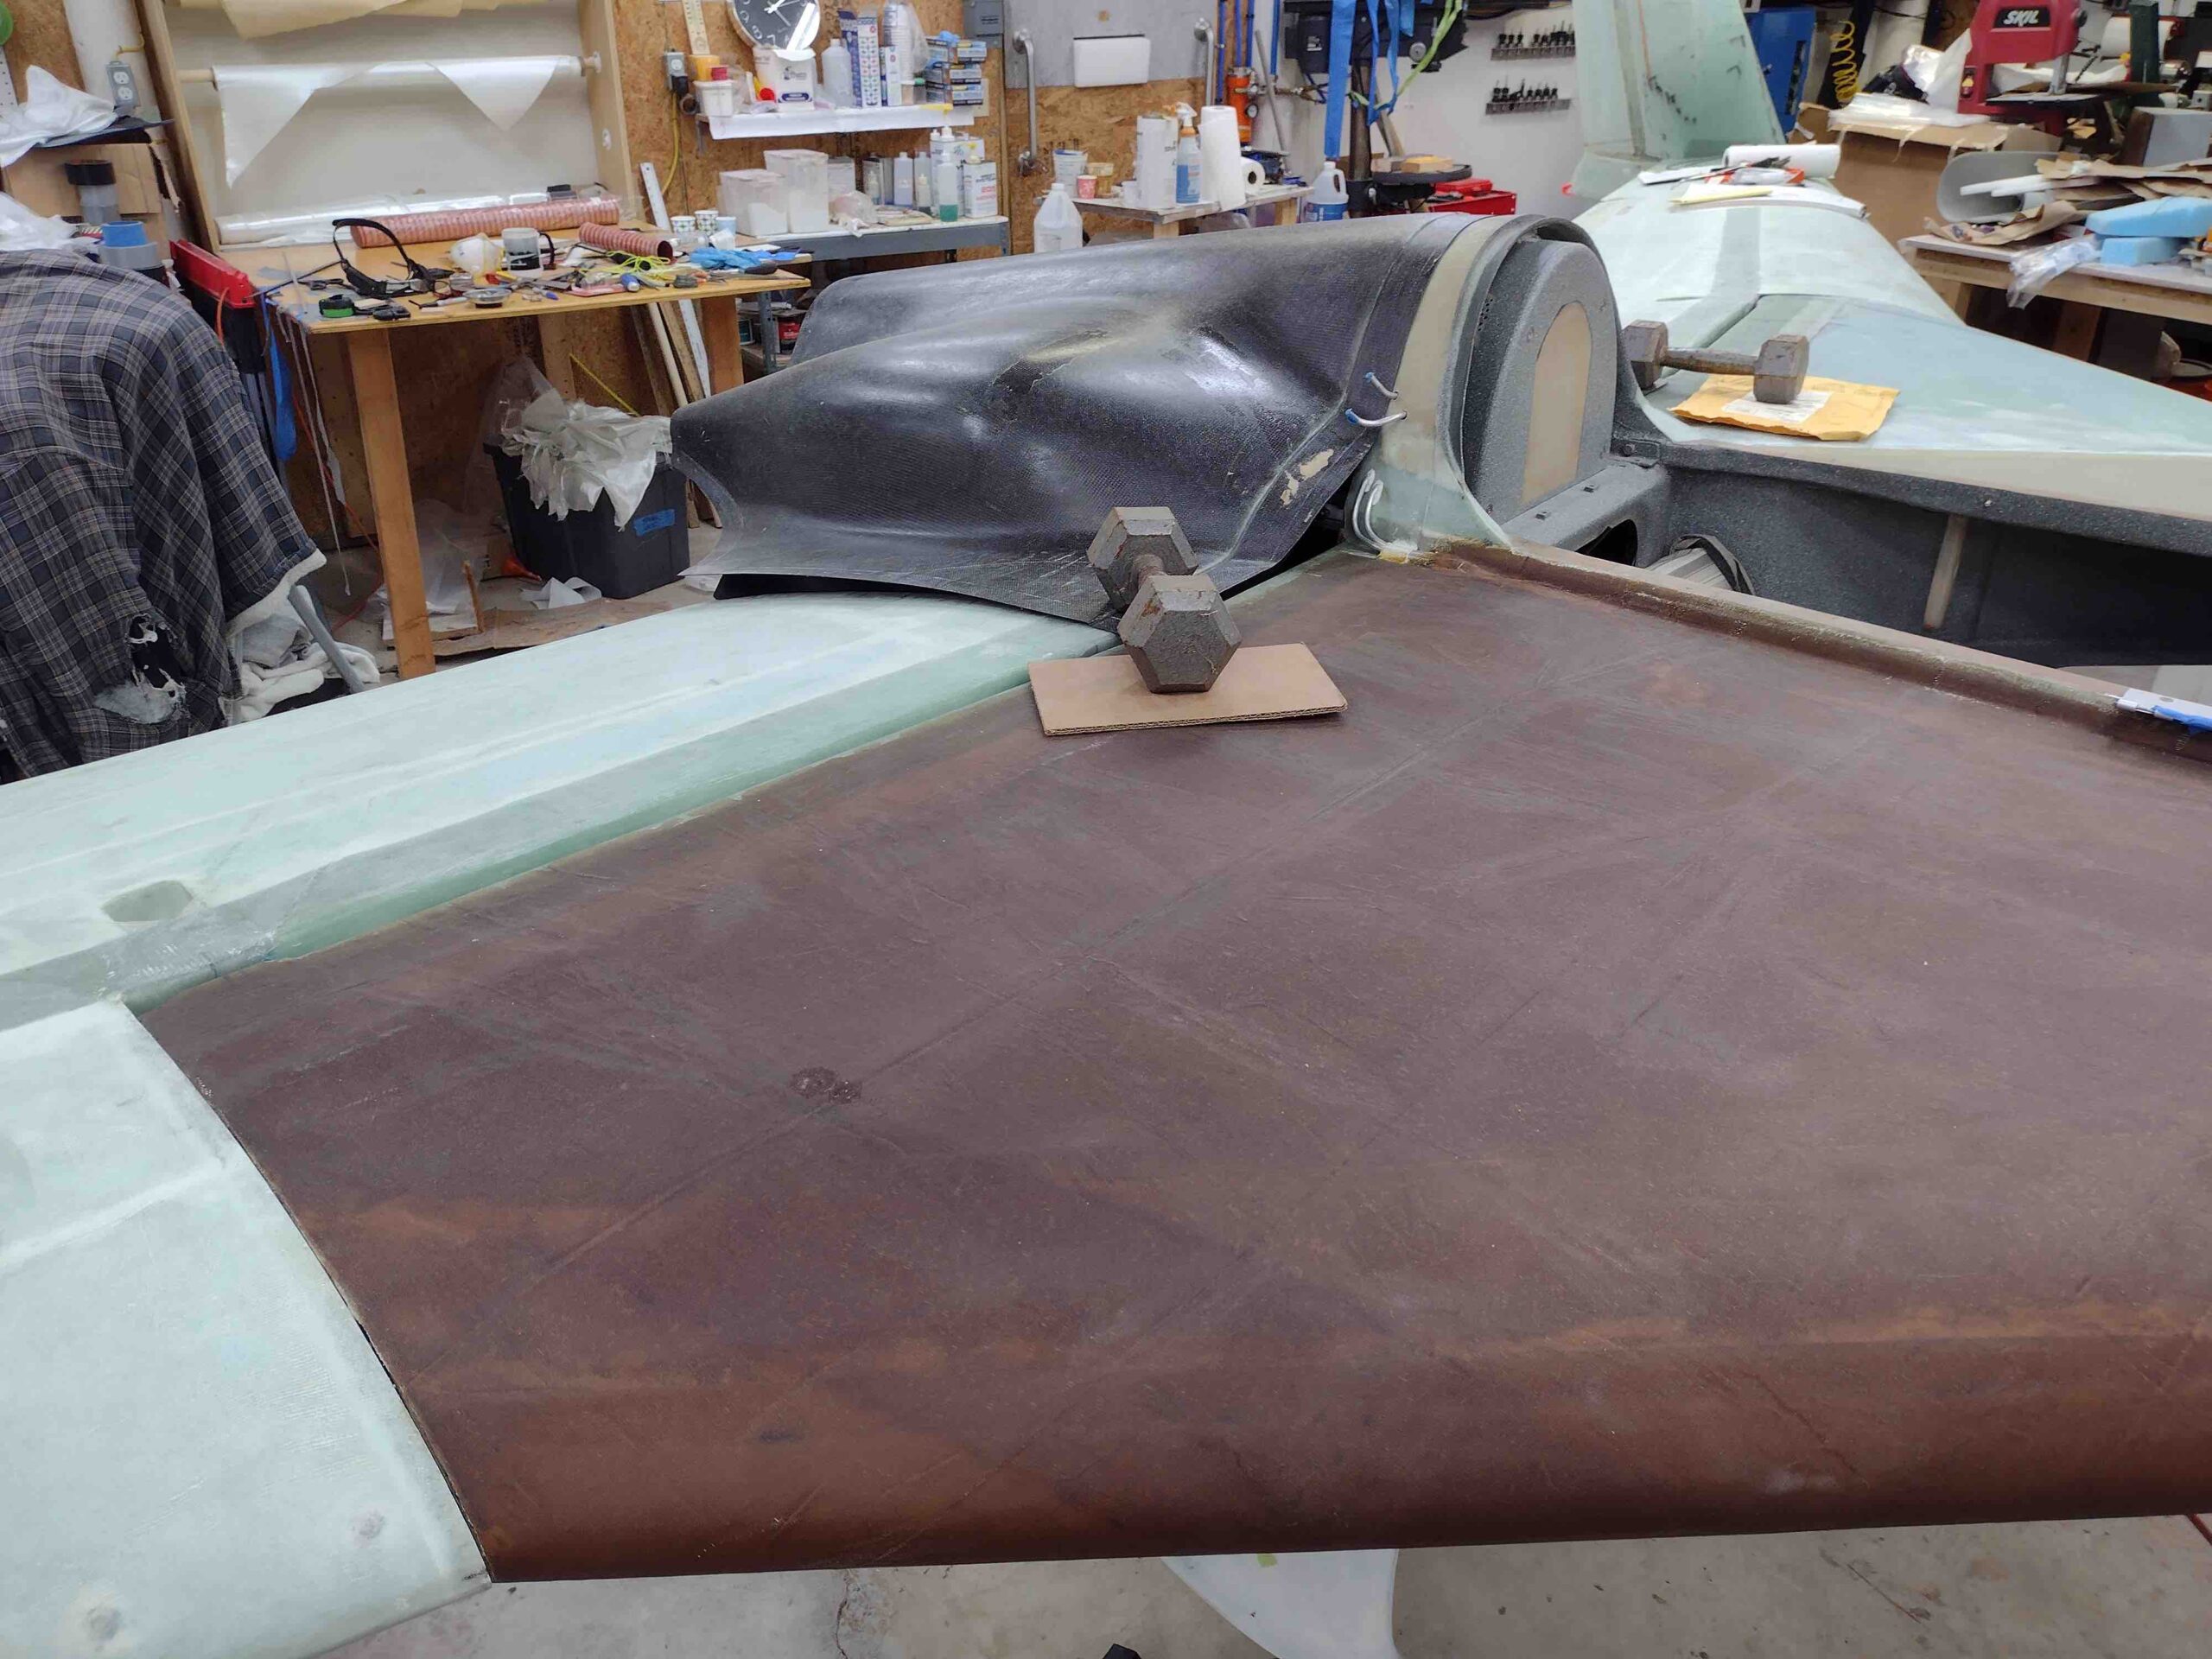
And finally, some shots of the shoulders, where the cowling “corners” come forward onto the CS spar and strake. If the left side (right in pic) looks a little higher than the right, that’s because it is. Please refer all design questions or comments to Mike Melvill… ha!
Ok, back to the issues at hand. I ran out to have a quick lunch with Jess, but before I left I grabbed this shot of the fuel injection servo mounted straight to the aft side of the Superior Cold Air Plenum. I wanted to see how it fit back there in case I need an optional place to mount it due to limited space. It actually fits fine. One challenge would of course be ensuring that I could get air U-turned back into the FI servo (nose is to the left ← ).
On the way back from lunch I stopped off at an auto parts store and picked up a stud removal tool. Nothing else was working so I hoped this would do the trick. Here I have it attached to the stud from hell that just would not budge a micrometer.
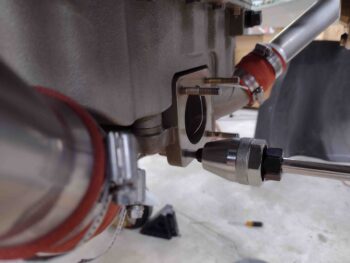
And voila! It took the stud right out… very handy little tool.
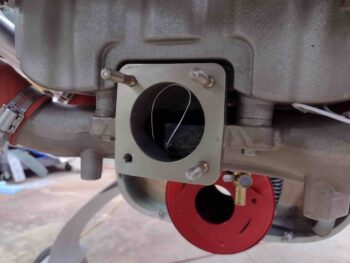
I then proceeded to take all the long studs out of the cold air plenum. I will say one detractor about the stud removal tool is that it bites so hard on the stud that it ruins it for any future use. Oh well.
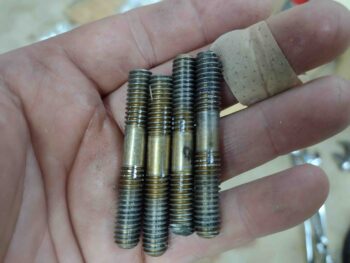
My camera (phone) ran out of memory so I didn’t document installing 3 of the 4 studs. Ok, wow. Those shorter studs were way harder to install than removing the stubborn long studs with the handy, dandy stud removal tool. No tool to put these things in, just trying to lock 2 nuts to each other. I simply couldn’t get them in as far as wanted to, but far enough to meet the requirements [#4 is in the freezer and when I get a chance I’m going to really hit the plenum face hard with heat before threading in the frozen stud… let’s see how it works eh?]
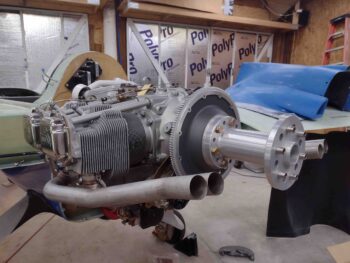
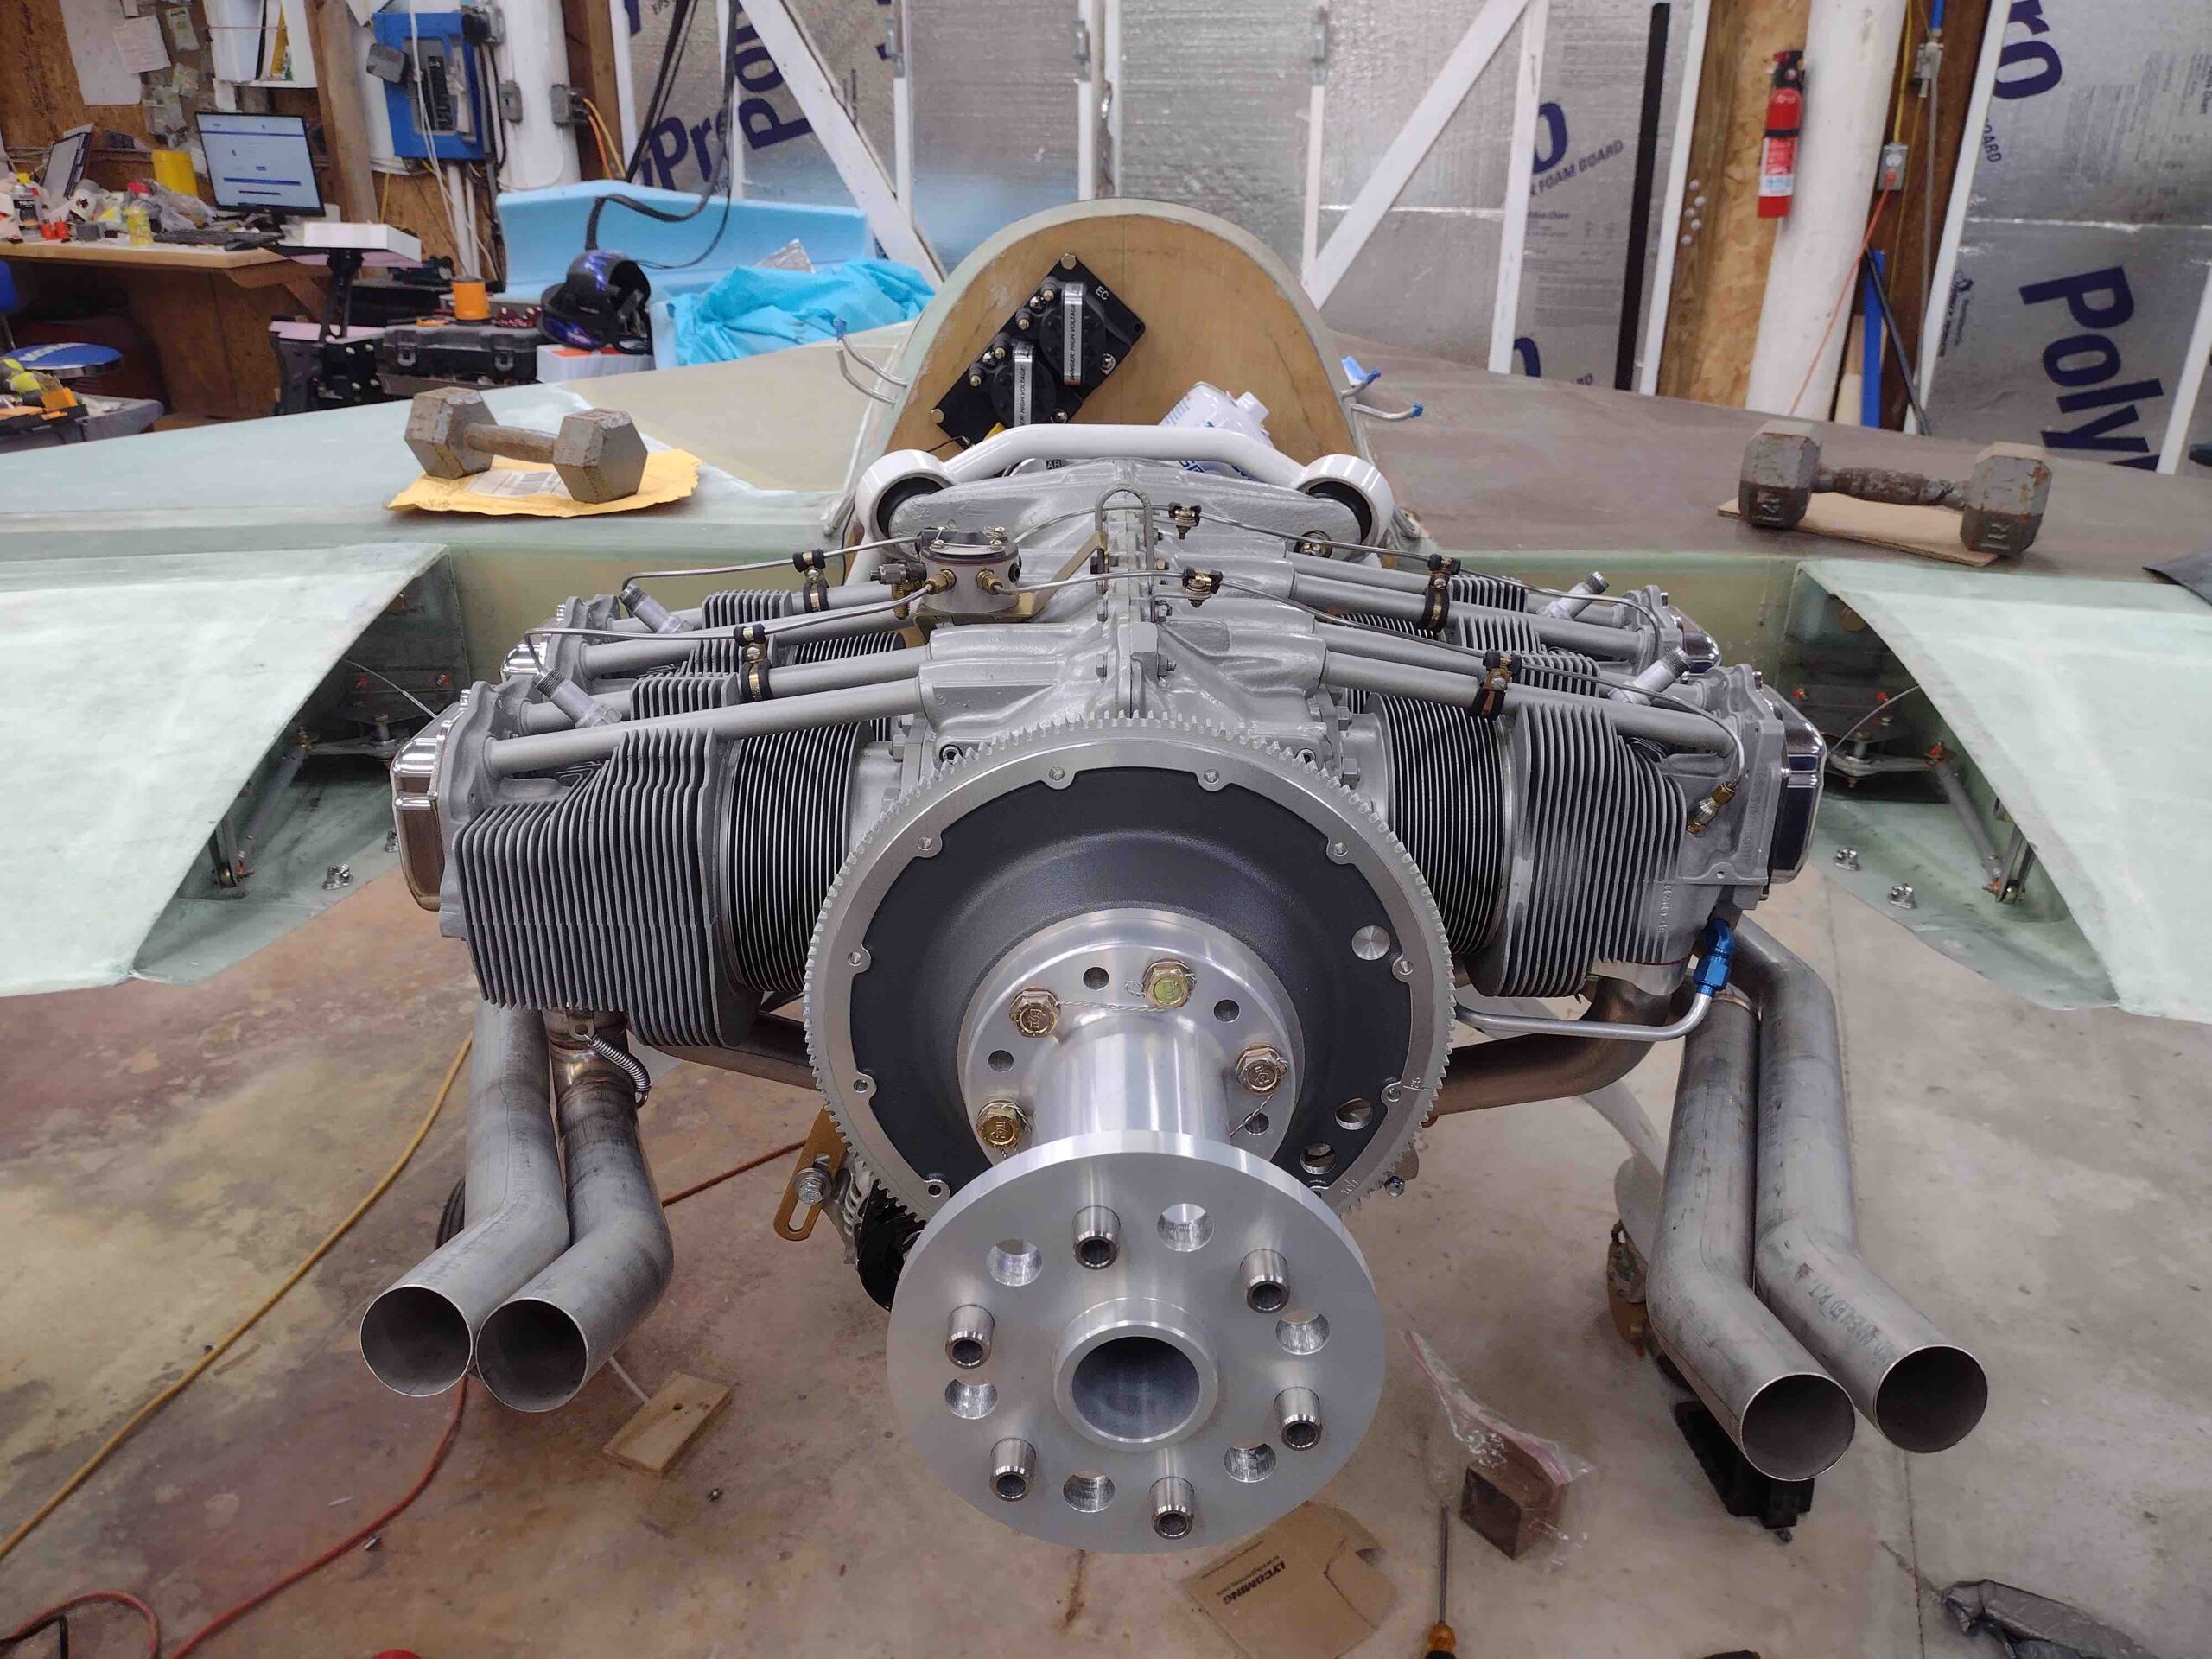
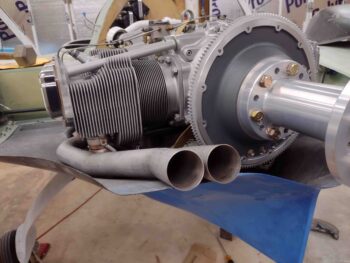
I then figured if I was going to stress test the lower cowling for space and clearance of all things engine-related, then I needed to lay all my cards out on the table…. so I grabbed the exhaust pipes and installed them in place.
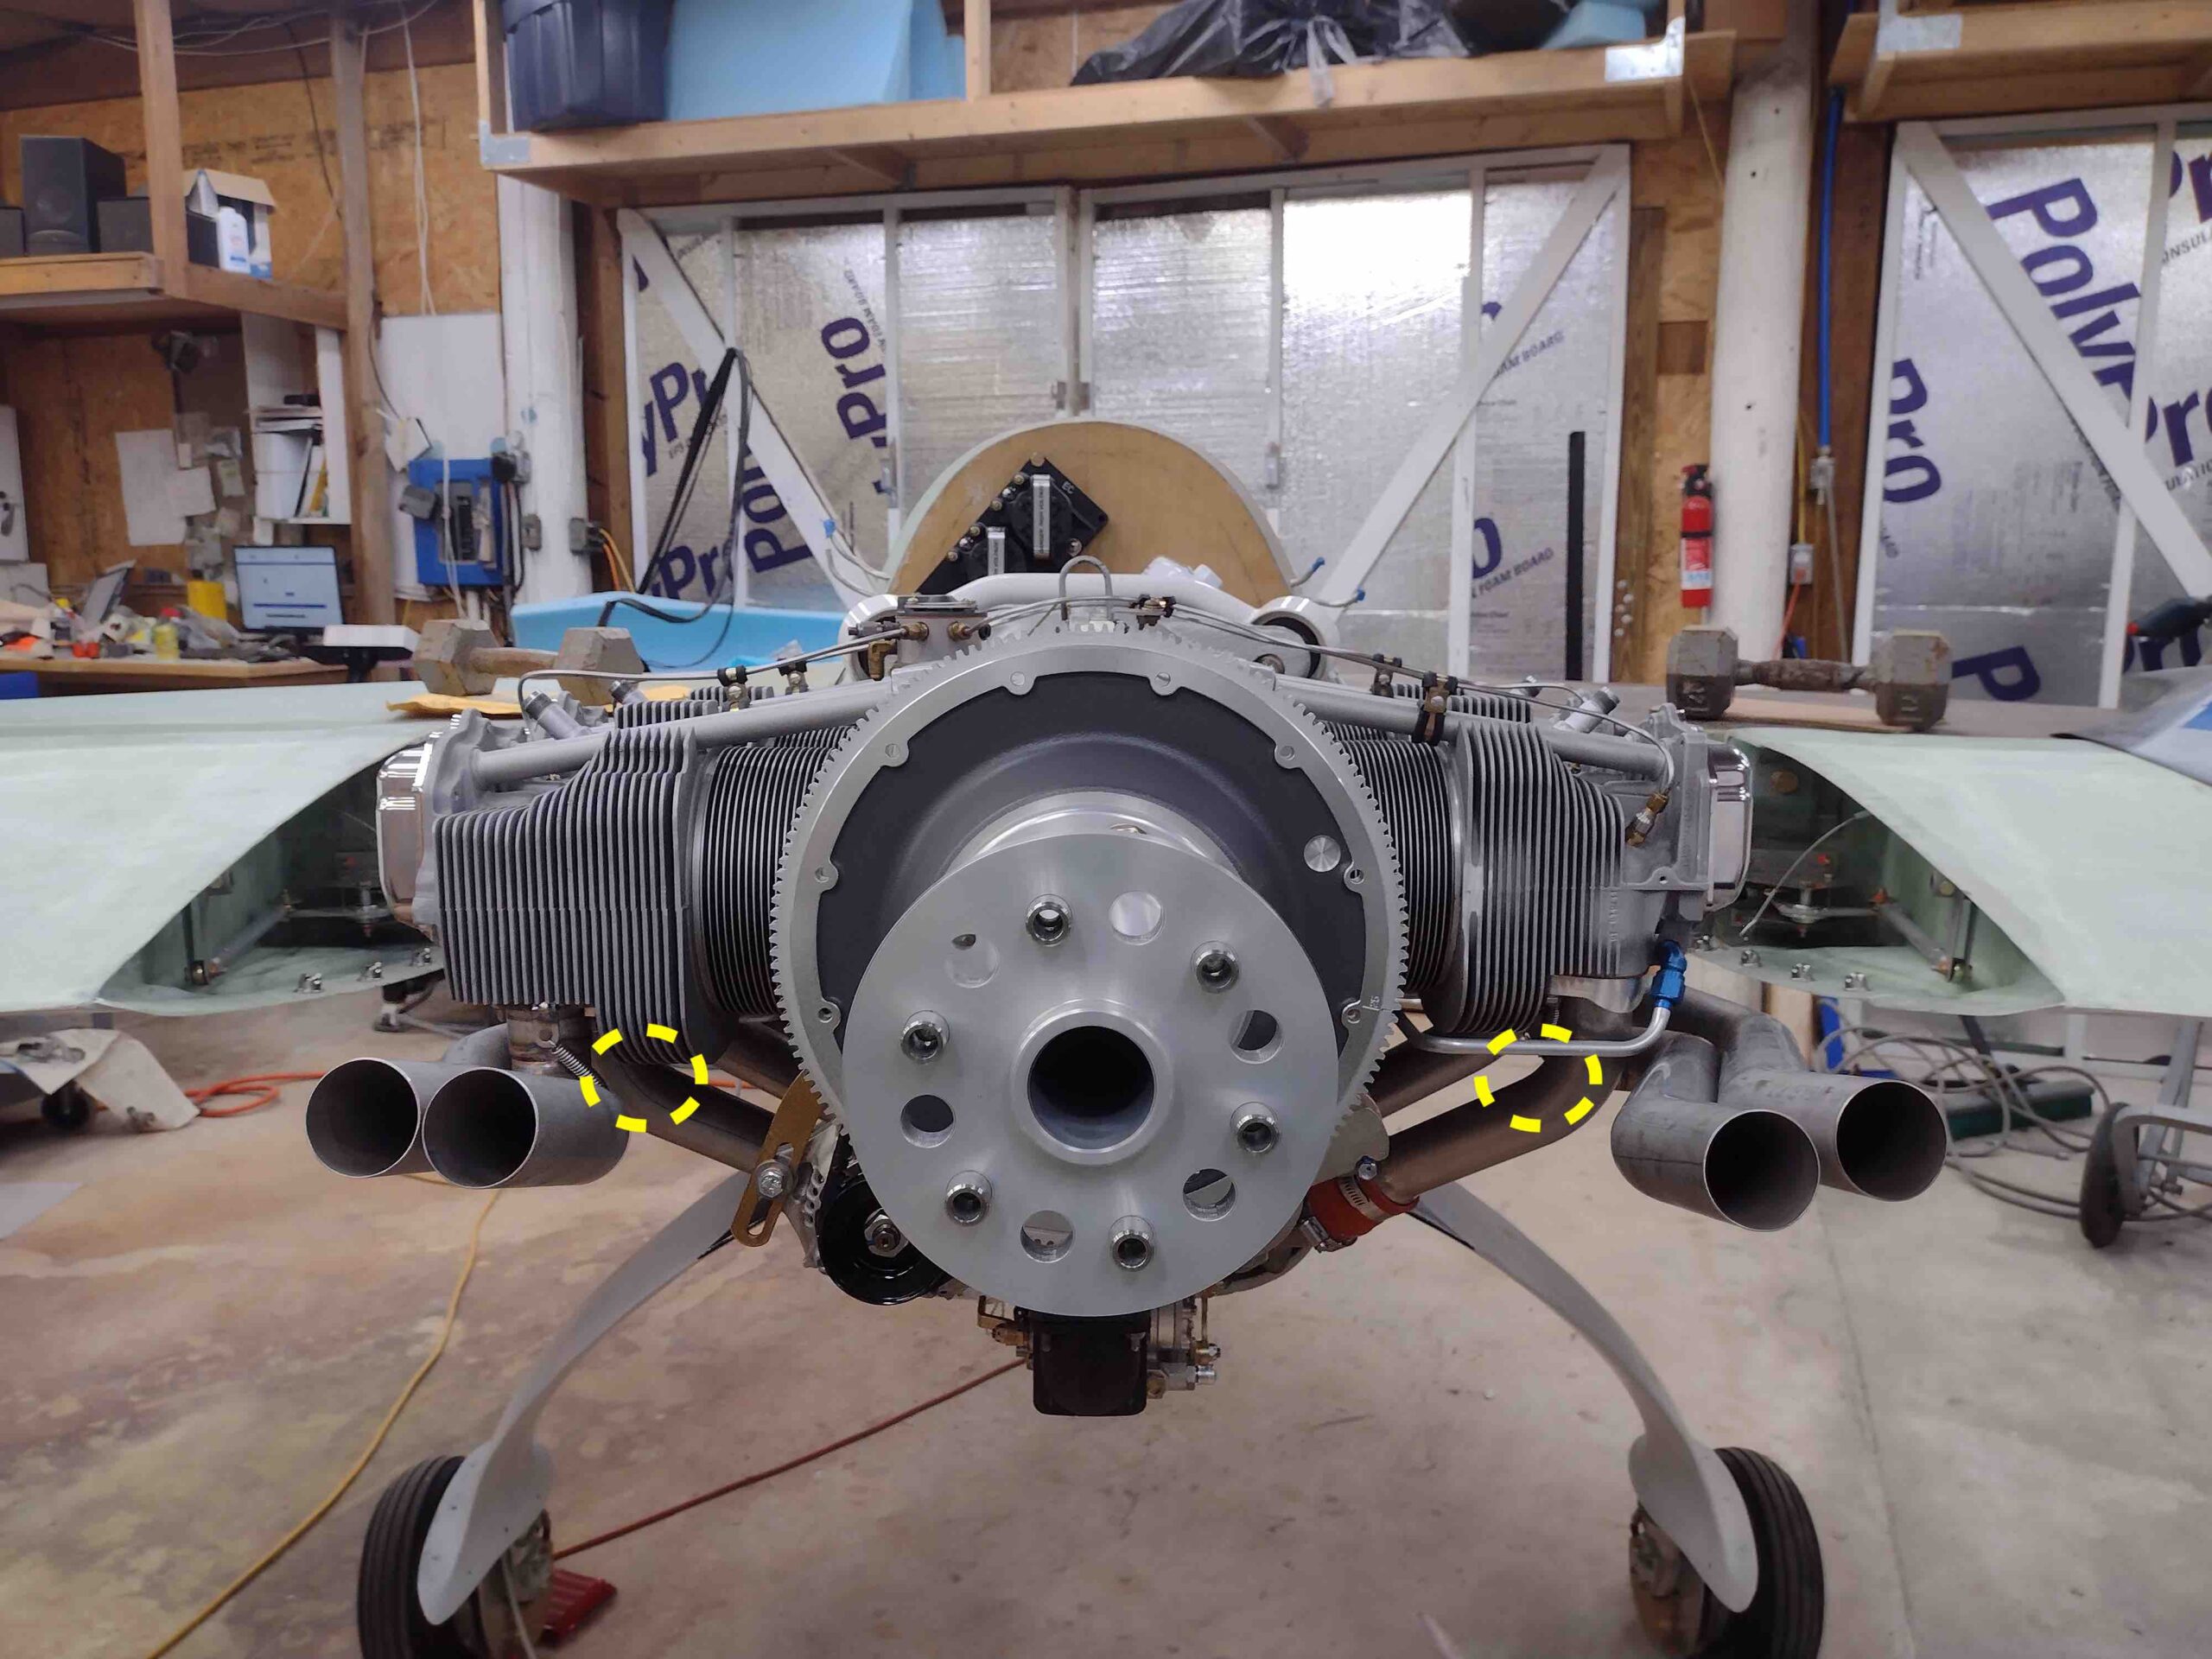
Here’s some shots from straight aft of the engine. The yellow dashed circles denote about where Mike Melvill’s inside exhaust tubes are located. Mine are significantly outboard of his.
With exhaust tubes in place, I then set added some washers (magenta arrow) to the bottom of the 85° bottom elbow to get it as close to a 90° elbow as possible. Note the blue dashed line. This of course had the effect of raising the entire fuel injection servo up a bit, especially the front end (green arrow). Finally, I wanted to ensure that I still had decent clearance for the fuel spider feed line connector on the top of the FI servo (yellow dashed circle)… the space was tight, but looked ok.
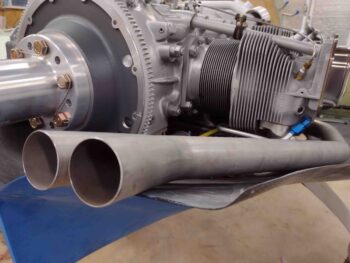
One last shot of the exhaust pipes and fuel injection servo before the cowling went back on.
Ok, having the exhaust pipes mounted after all these years is admittedly pretty darn cool. However, what is NOT cool is that the exhaust pipes are essentially laying on the inside surface of the bottom cowling.
I put a piece of 1/4″ plywood under the FI servo, so at this point I had about 3/8″ of clearance minimum under the servo, I’d guesstimate. But the with the cold air pipe of the aft right cylinder blocking any upward movement of the cowling, I was at a standstill assessment-wise until I could start turning some of these variables into constant data points.
As I stared down the lower cowling and engine from all different angles to understand the issues and possible remedies, annotating it all, I accepted the fact that I was going to have to put a hole in the right side of the lower cowling to allow space for that cold air induction pipe.
On a slightly different note, remember that Mike Melvill put an O-360 motor in this cowling, which IS a bigger motor. That means some things were naturally in different positions and different proportions than my engine configuration. One such thing is the bump out on the cowling for the alternator. It is just way too much for my more diminutive 40-amp B&C alternator.
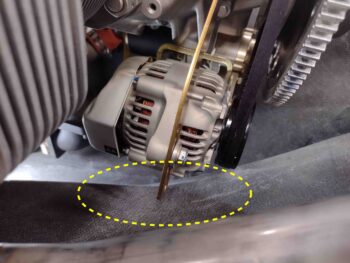
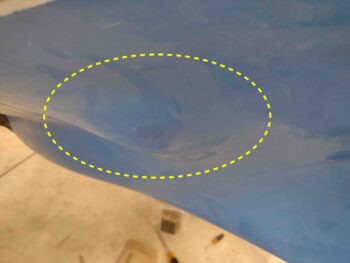
I decided that if I had to Frankenstein my lower cowling (thank goodness I never went to final paint on the darn thing!) that this repugnant bump —which most certainly would have disturbed my nice airflow to the prop!— had to go.
Yep, I am going to perform a bumpectomy and get rid of this blight on my cowling. While I try desperately not to add another one on the right side.
So… with all this head scratching and emotional gut punches in dealing with so many darn clearance issues between my lower cowling and engine, it was time for a glass of red and a late dinner!