
I started off today spending a good hour pulling peel ply, trimming glass and cleaning up the aft lower fuselage skin layup.
I then spent a good hour-plus dialing in the bottom cowling alignment. With the firewall and surrounding glass now a known constant, I was better able to dial in the alignment of the lower “U” front edge of the bottom cowling. As my buddy Dave Berenholtz so astutely pointed out, these cowlings are finicky because any adjustment in one area has a ripple effect and can throw off previous alignments.
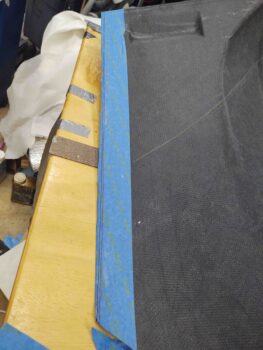
Such was the case here to a minor extent. I had to trim a slant on the left front horizontal cowling edge (top of first pic below) about 0.1″ off the front outboard edge, converging to a zero point on the inboard corner. This was due to pulling the sides of the center “U” section (lower fuselage-interfacing part of bottom cowling) inboard just a bit more to better align the cowling with the firewall edge.
All my fiddling caused the alignment of the aft boat tail to come off-center about 3/16″. So this slight trim shifted primarily the aft center of the cowling to the left (right as situated inverted) near to perfect center.
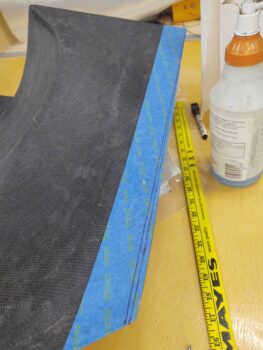
In addition, I had taped up the inside edges of the cowling where it intersects along the wing root to mark the cut line. To ensure I have some wiggle room when I integrate the top cowling install with this bottom cowling, I kicked the line outboard another 1/8″ on the Trailing Edge side. It then converges with the original line at each respective front corner, which once the sides of the lower “U” section of the cowling are set will in turn fix these front corners as a constant point as well.
With the cowling having a bit of flex to it, you can see where moving the aft edges outboard just a hair, and then setting them in-between the fixed wing roots, will cause the center of the cowling to bow in the only direction it can: downward (up in this orientation) … giving just a bit more room for the engine flywheel if need be. While installing the upper cowling I can always trim more of the bottom cowling side edges away if I need to, since it’s always easier to cut away then add back.
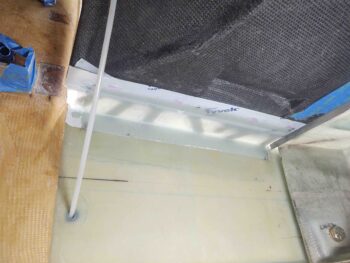
I then got into the ‘arts n crafts’ portion of the day by hot gluing popsicle sticks to both the strake surface/original 1.6″ stock cowling flange and the horizontal front edge of the bottom cowling on each side. This will keep the surfaces of the cowling and original 1.6″ cowling flange acceptably level as I add the new extended flange in place “under” the front cowl lip via laying up a 5-ply flange underneath it.
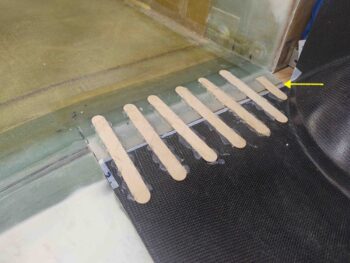
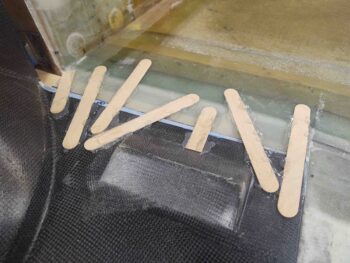
Which is what I did here. Apparently my math skills are slipping since I should have had, or preferred rather, another 1/2″ of glass down onto the face of the CS spar. Still, I have a good 1/2″ with 5 plies of BID, a robust flox fillet as well as 1.6″ of glass-to-glass bonding with the stock flange I created earlier, so I’m confident this will be plenty strong… so no re-cutting 10 plies of BID!
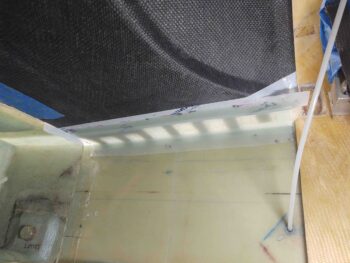
I then peel plied the exterior (internal face) of the layups (the taped edge of the cowling got a ply of peel ply as well) and left these new flanges to cure overnight.