
Today I started with what I’m calling “Phase 1″ of a multi-part construction of the GIB throttle quadrant and cable cover. Again, I intend for this cover to also flair out a bit to also cover the throttle cables as well.
My first action after taking a good number of measurements was to build the somewhat squarish/blockish cover segment that goes around the immediate throttle quadrant. It has a little bit of an edge around the quadrant itself and then rounded corners on the part that will remain un-glassed from here on out.
I made a mold out of 3/8” thick PVC foam, which I had considered actually incorporating as the wall for the cover… but why? Unneeded weight and bulkiness, so I simply taped over it to use as a mold.

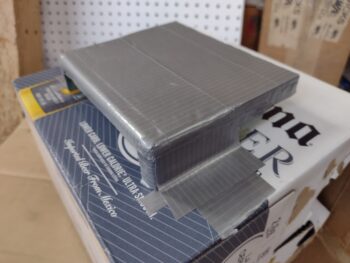
I then laid up a bunch of larger scrap pieces before the final top single ply of BID. I then peel plied the layup.
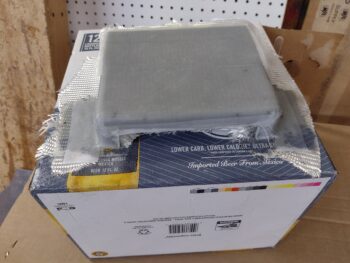
Although I was busy doing other build stuff while the GIB throttle cover – Phase 1 was curing, I’ll go ahead and jump ahead about 6 hours to when I pulled the peel ply off the cover, and then the cover off the mold. I then razor trimmed it and used the Fein saw to cut it to shape.
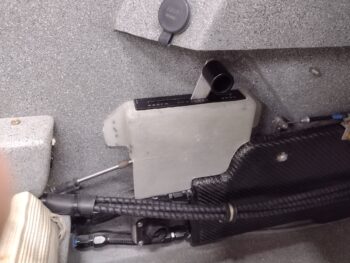
Here is the Phase 1 GIB throttle cover set in place… I have to say it fits a treat and I’ll continue to add onto it with Phase II and probably Phase III tomorrow.
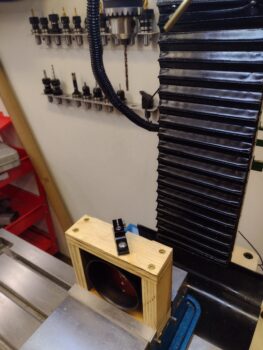
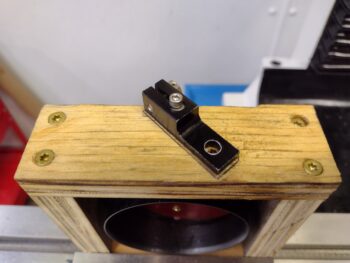
While the GIB throttle cover was curing, I measured out and cut some 3/4″ plywood to use as a cradle to secure the RAM air can butterfly valve assembly in place while drilling the valve pivot rod to enable me to thread a #6 bolt into it.
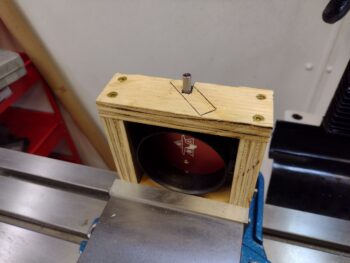
Here I’ve put the original clamp on lever assembly back in place to help secure the valve rod and keep it from pivoting as the rod gets drilled (I had to run out and get some Cobalt drill bits because I’m fairly certain the rod is stainless steel).
Well, I have to admit everything involved with a promising, fairly simple machining (actually drilling only) job then devolved into a 2-hour long hellish nightmare with very little going right. I didn’t want to trash my good hole-starting bit (I was following a good number of “how to machine stainless steel tips”)… anyhoo, the final result was the hole was drilled off center and I broke a 6-32 tap deep into the hole (yes, I was being careful!) . . .
For all the wailing and gnashing off teeth, I actually got what I needed, just not what I wanted. I was able to finally get the broken tap out and even though the hole is off center, it will do fine to secure the lever onto the end of the RAM air can butterfly valve pivot rod.
Yes, I called it a night and am having a well deserved glass of red wine…. tomorrow I will continue my push in finishing up the GIB throttle cover and the RAM air can valve lever (hopefully the valve lever actuator install as well…).
Inching closer!