
I started off this morning with trimming the GIB throttle cover for a final time as well as sanding the edges.
I then mounted the GIB throttle cover back in place to check that the final fit was good before pressing forward with my paint antics.
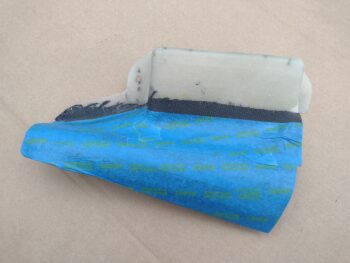
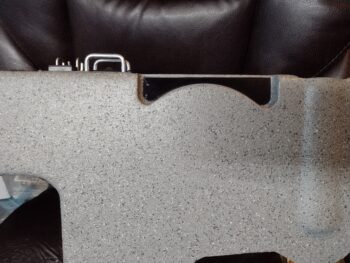
Which I did next. I taped up the carbon fiber bottom area on the cover in prep for paint. I then shot a couple coats of primer and the gray granite paint (see below) and set the cover aside to dry.
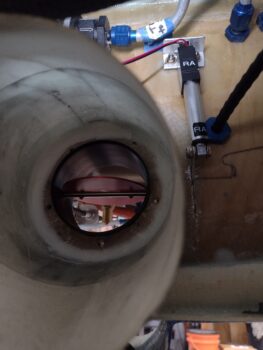
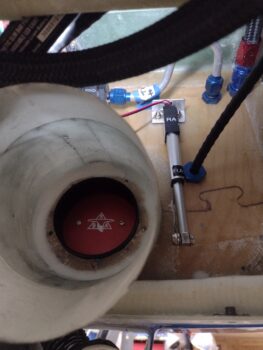
While the primered and painted GIB throttle cover cured, I then pulled the tape and peel ply from the 2-ply BID layup over the pair of clickbonds mounted inside the hell hole high up on the front side of the firewall.
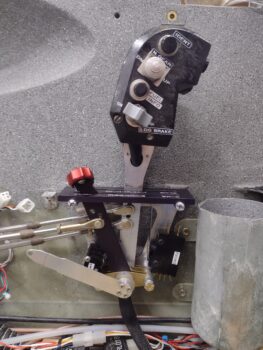
I then mounted the RAM air can butterfly valve actuator onto the 2 clickbonds and tested out the functioning of the actuator in manipulating the butterfly valve open and closed. The actuator opening and closing the valve worked like a champ.
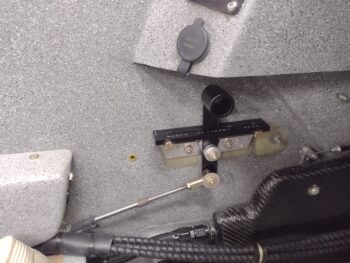
I then mounted the GIB throttle lever to machine it to shorten its length.
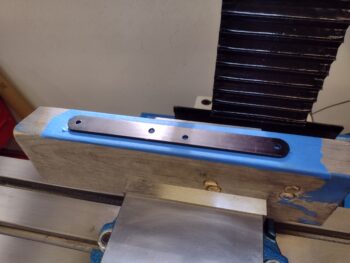
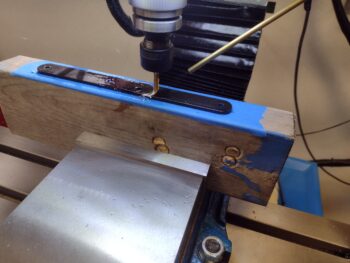
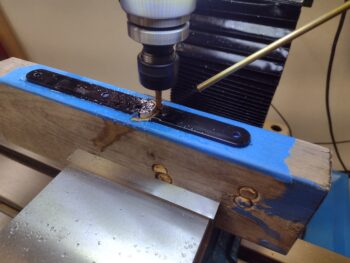
Here are some action shots of the GIB throttle lever being machined to shorten the overall length of the lever.
Here is the shortened GIB throttle lever, ready for install.
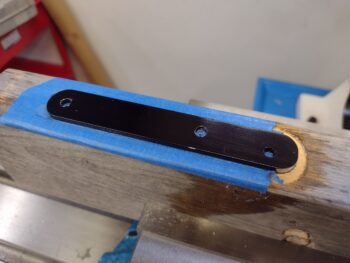
Which I did here. I will note that after dialing in the final configuration and pivot action between the front throttle quadrant lever and the GIB throttle lever, that I had to drill another hole closer to the bottom edge of the lever to get the pivot just right.
This was the final task on the GIB throttle install and I’m calling it officially complete.
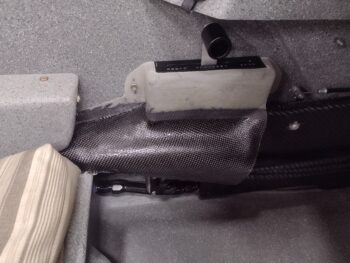
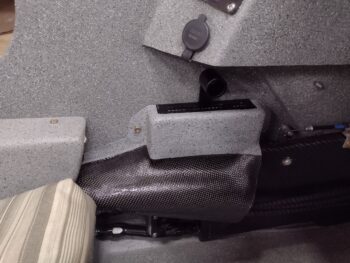
A number of hours later I put the painted and clear coated GIB throttle cover back in to check to see how it looked… I have to say I’m very happy with how the rear seat throttle installation came out.
Still working the GIB throttle, I then did the final attach of the slaved GIB throttle cable to the pilot throttle lever with a clevis pin secured by a cotter pin.
Back in the house for the evening, I modeled up a few versions of what will be the protective back plate that I’ll attach inside the throttle friction lock pocket to keep the actuation of the throttle friction lever from scraping the paint off.
Here we have a shot of where the throttle friction lock pocket protective back plate will go… I’m going to attempt to make it out of thin stainless steel to withstand the upcoming years of scraping it will receive from the screw securing the throttle friction lock knob to the lever.
With that, I called it a night and will continue to press forward tomorrow!