
I started off this morning spending a good 45 minutes creating a form out of cardboard and duct tape for the remaining portion of the cover for the GIB throttle quadrant, cable rod end and 3 transiting throttle and mixture cables across the face of the oil heat exchanger. In my mind I figured I would have to do 3 different rounds (or phases) of layups to construct the cover, but I was able to knock out both my planned Phase II and III in one fell swoop here.
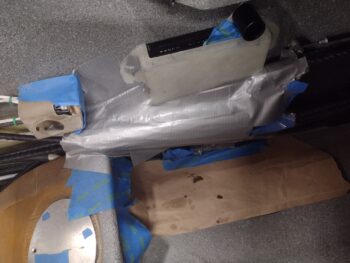
I then laid up 2 plies of BID, a partial ply of Kevlar —where you can imagine a foot stepping onto or scraping against the inboard “horn/long funnel” shaped area— and then a single ply of Carbon Fiber nearly full size.
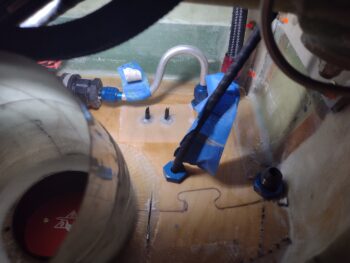
Note how the cover is laid up around the aft edge & inboard face of the initially glassed cover piece. Also note how it is anchored on the forward end by resting on (or very closely) to the Adel clamp that secures the 3 transiting throttle mixture cables heading towards the pilot throttle quadrant (though not visible… trust me, it does). On the aft side the cover rests upon the top front edge of the GIB thigh support.
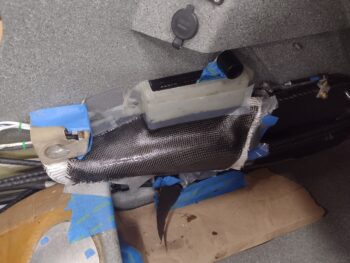
About 6 hours later I pulled the GIB throttle cover off the mold, pulled and discarded all the tape, cardboard and peel ply. I then did a quick trim of all the un-wetted out glass/CF.
Speaking of peel ply, see the seam between the carbon fiber and the 2 plies of BID (which aren’t clearly visible) that I peel plied? This is essentially the paint line where everything above that will get shot with primer and the gray rock/granite paint, and everything below that simply left as bare —probably clear coated— carbon fiber.
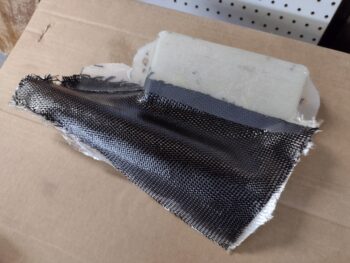
I then cleaned up the edge with the Fein saw for a secondary trim…

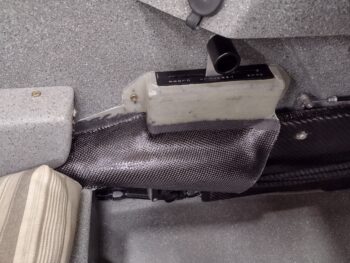
before remounting the cover back into place around the GIB throttle quadrant. Admittedly, I am getting just a hair bit of interference with the lower headset jack when putting the plug in or taking it out. If I pop off the screw at the RivNut I can press the cover down to give me that 1/8″ I need to get the lower jack in and out…. yes, I was trying to have full unabated clearance for both jacks, but space is so darn limited I’ll take what I can get here.
It was mid-evening by this point, with rain off and on all day… so I simply left the cover in place to get a solid overnight cure before I start sanding and painting it tomorrow.
After testing out the RAM air can lever actuator to ensure it functioned as designed (pics of it installed coming tomorrow) in opening and closing the RAM air can butterfly valve, I then taped up the actuator mounting bracket and floxed 2 Clickbonds to the face of the firewall inside the hell hole. A few hours later I cleaned up the Clickbonds and laid up 2 plies of BID over them, peel plied the layup and then left it to cure overnight.
Tomorrow I’ll finalize the trimming and shaping of the GIB throttle cover before commencing its painting and clear-coating. I also plan on trimming (machining) the original GIB throttle quadrant lever to install that for a final time… once I verify the lever & cable pivot is dialed in between pilot and GIB throttles I’ll install the clevis and cotter pin on the GIB throttle cable on the pilot throttle quadrant. Once all these parts are back in place, I will officially be complete with the throttle and mixture cable install from engine-mounted fuel servo, to front seat throttle quadrant with slaved GIB throttle. I should also have the RAM air can butterfly valve lever, actuator, switch and wiring all installed and complete tomorrow as well.
Pushing forward!